
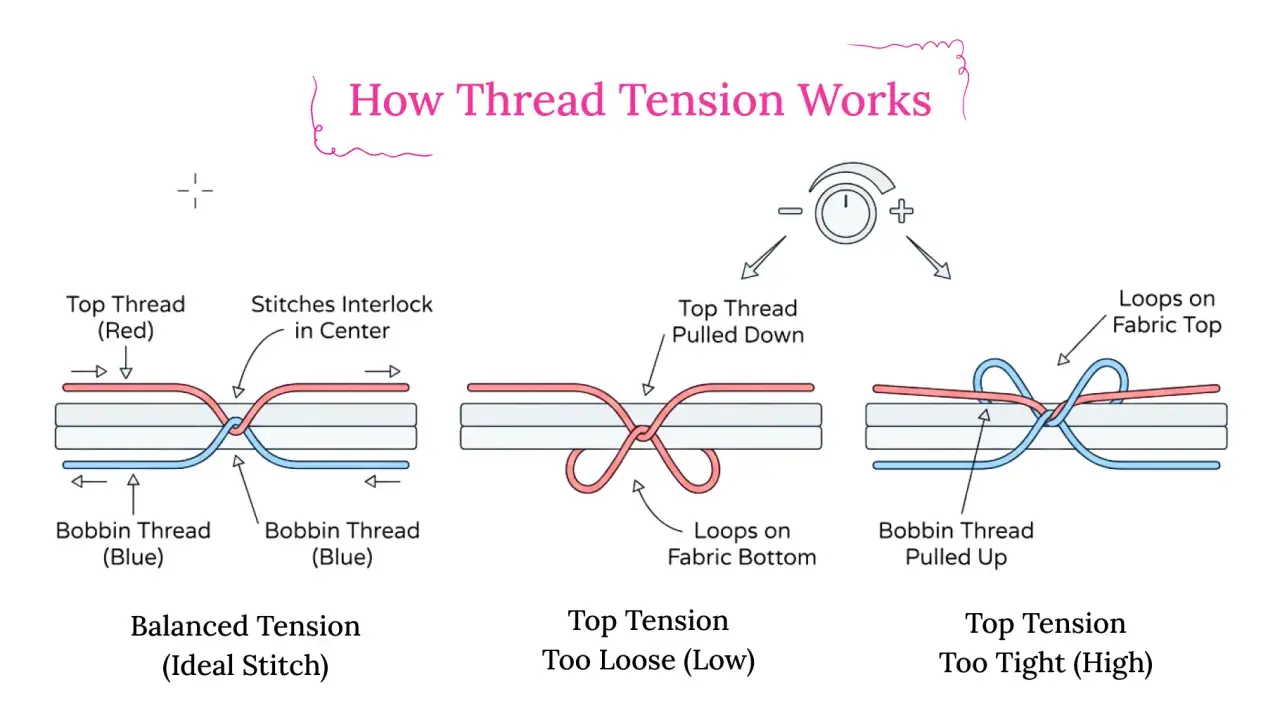
Managing twin needle tension is less about finding one magic number than reading the stitch the machine gives you. The two upper threads need to feed evenly, the stitch width has to leave the needles clear of the plate, and the fabric needs enough support to avoid tunnelling or puckering. In this guide I walk through the setup, the tension checks, and the troubleshooting steps that actually make a difference.
What matters most when setting up a twin needle
- Use two upper threads of the same weight and quality so the stitch forms evenly.
- Start from your normal top tension, then back it off slightly if the fabric draws in.
- Keep the stitch width narrow enough that the needles do not strike the throat plate or foot.
- Test on the same fabric layers you will use in the project, not on a random scrap.
- If the stitch looks wrong, check thread path, needle size, fabric support and presser foot pressure before touching the bobbin.
Why the stitch behaves differently with two needles
A twin needle creates two parallel lines on the right side of the fabric and a linked stitch on the reverse, so you are not balancing one upper thread against one bobbin thread in the usual way. You are balancing two upper threads at once, and any small difference in drag shows up fast as uneven loops, tunnelling, or one line looking tighter than the other.
That is why the best starting point is usually not a dramatic tension change. It is a careful check that both threads feed the same way, that the fabric can move freely, and that the machine is not fighting bulk or a stitch width that is too generous for the needle gap. Once that balance is clear, the setup steps become much easier to judge.
Set up the machine before you touch the tension
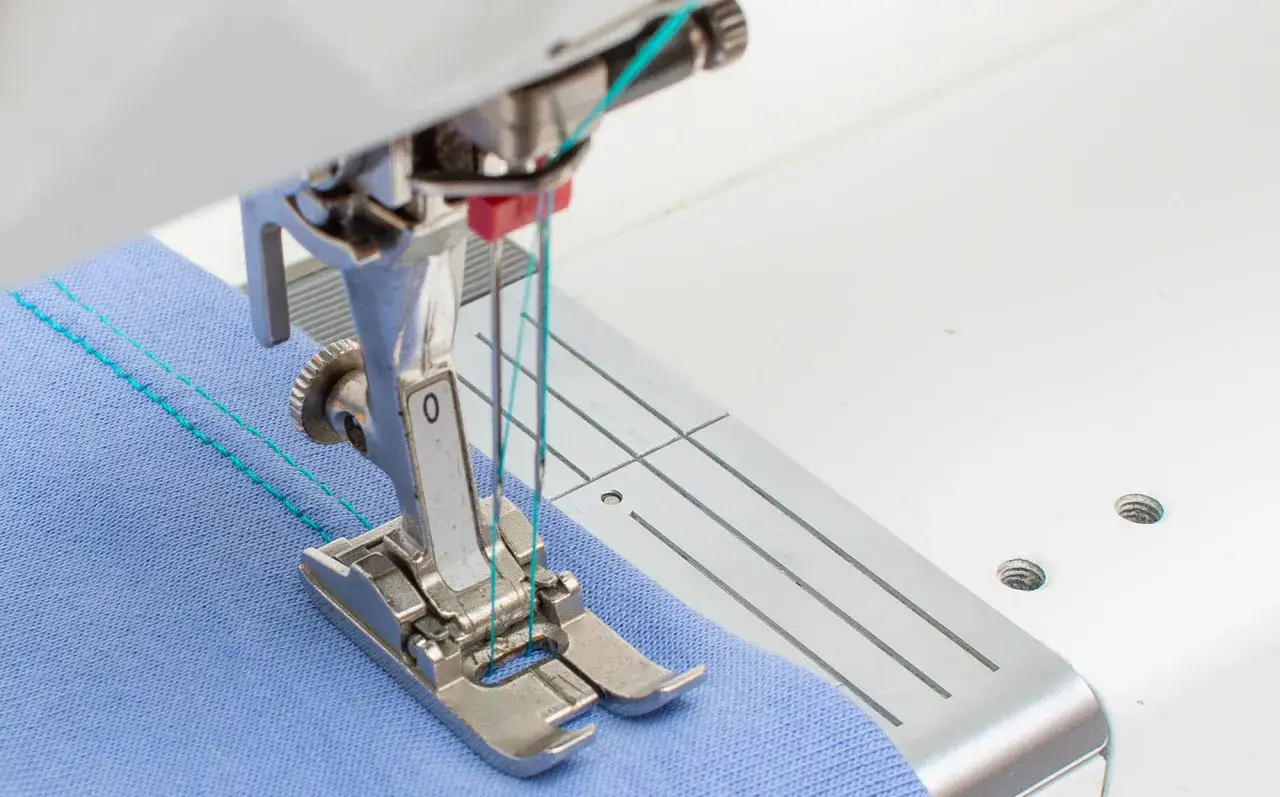
Before I reach for the tension dial, I make sure the basic setup is right. Brother notes that the two upper threads should be the same thickness and quality, and that advice matters more than people expect: mismatched threads create false tension problems that no dial setting can really fix.- Fit the correct twin needle for the fabric and the finish you want. A standard twin needle works well on woven fabrics; a twin stretch needle is usually the better choice for jersey and other knits.
- Use the second spool pin or thread stand so both threads unwind smoothly.
- Thread each needle separately and by hand. Do not rely on the needle threader.
- Choose the presser foot your machine recommends and check that there is enough clearance for the needle width.
- If your machine has a twin-needle mode, switch it on before sewing.
- Hand-turn the wheel once or twice before sewing a seam to confirm that neither needle clips the plate or foot.
I also pay attention to the spool itself. If the thread jerks, snags or races off the spool too fast, the machine can read that as tension trouble even when the dial is fine. A proper spool cap and a smooth unwind path remove a surprising amount of noise from the system, which is why this step is worth doing properly before you adjust anything else.
With the machine prepared properly, the next step is to tune the upper tension in small, controlled moves.
How I dial in the tension on scraps
My rule is simple: change one thing, sew again, then inspect both sides. If I alter the tension, the stitch length, the pressure and the thread all at once, I lose the thread of the diagnosis and end up guessing.
- Start with your normal upper tension setting, or one small step looser if you already know the fabric tends to pucker.
- Sew at least 10 to 15 cm on a scrap made from the same fabric, ideally with the same interfacing, elastic or seam layers.
- Check the top side first. The lines should sit flat without the fabric pulling up between them.
- Flip the sample and look for even loops on the underside. You want the two upper threads to sit neatly without one dominating the other.
- If the top looks tight or the fabric tunnels, loosen the upper tension one small step and test again.
- If the underside shows loose loops or the stitch looks lazy, tighten the upper tension one small step and retest.
- If the result is close but the fabric still feels squeezed, reduce presser foot pressure before touching the bobbin.
I only touch the bobbin tension when the upper threads are already behaving and the stitch still refuses to balance. That is a last-resort move, not a first one. Janome’s topstitching guidance says bobbin tension can matter, but most of the time the better fix is still on the upper side, with pressure and fabric support acting as the next levers.
When the stitch is close, the fabric itself tells you whether the problem is tension, support, or seam bulk.
What the stitch is telling you
Once I have a sample under good light, I read it symptom by symptom rather than guessing from the machine display. The table below is the fastest way I know to separate a real tension issue from a setup problem.
| What you see | What it usually means | What I try first |
|---|---|---|
| The fabric tunnels between the two lines | Upper tension is too tight or the cloth is not supported well enough | Loosen the upper tension one step, then add stabiliser or lower presser foot pressure |
| Loose loops show on the underside | The upper tension is too loose, or one thread is not seated correctly | Rethread both upper threads, then tighten the tension one step |
| One line looks heavier or more strained than the other | The two threads are not matching in weight, quality or unwind drag | Use matching thread and check the spool path, caps and thread stand |
| The needle hits the plate or foot | The stitch width is too wide for the needle spacing | Narrow the stitch width and hand-turn the wheel before sewing again |
| Stitches skip over bulky seams | The needle is struggling with thickness, lift or seam bulk | Slow down, use a hump jumper, and make sure the needle is fresh |
| No clear stitch forms on either side | Bobbin tension or threading path may be off | Recheck the bobbin case, thread path and lower-thread seating before adjusting further |
The most common mistake is to blame the bobbin too early. In reality, uneven tension on a twin needle is often a chain reaction: the thread path is slightly off, the fabric is being dragged, or the needle choice is wrong for the cloth. Fix the visible cause first, and the stitch usually settles down with far less effort.
Match the settings to the fabric
There is no single setting that works for every cloth, which is why I always match the machine to the material instead of treating the tension dial like a universal answer. A neat hem on jersey, for example, needs a different balance from crisp topstitching on cotton poplin, and both need a different approach again once seam bulk enters the picture.
Jersey and other knits
On jersey, I almost always reach for a twin stretch needle rather than a standard twin needle. The goal is a neat hem that still has enough give, so I keep the tension a touch softer than I would for woven fabric and avoid stretching the fabric as it feeds.A light strip of tear-away or wash-away stabiliser under the seam can stop tunnelling on finer knits. If the hem is intended to move with the body, I keep the stitch length moderate and test the stretch after sewing, because a beautifully balanced stitch that cracks under tension is still the wrong setting for the garment.
Woven cotton and shirt hems
For woven cotton, the setup is usually more straightforward. A standard twin needle is often enough, and the tension can stay close to your normal single-needle setting with only a slight adjustment if the fabric draws in.
Janome’s topstitching guide treats 3.0 to 4.0 mm as a common stitch-length range for this kind of work, and I agree with that starting point for visible hems and topstitching. If I want a cleaner, more tailored line, I stay near the lower end of that range. If I want the stitching to look more decorative and less compressed, I move a little longer and test again.
Read Also: Sewing Machine Settings for Denim - Your Ultimate Guide
Thicker seams and denim
With thicker seams, tension is only part of the story. Seam bulk lifts the fabric, tips the foot, and changes how the threads are pulled through the layers, so I usually reduce presser foot pressure, trim and grade the seam allowance, and use a hump jumper where the foot would otherwise dip.
If the seam starts looking rough, I do not force the tension tighter. I slow down first, because heavy layers often need steadier feeding more than they need more pull. That small distinction saves a lot of broken needles and a lot of unnecessary rethreading.
Those clues change a little from one fabric family to the next, which is why I always adjust for the cloth, not just the machine.
The notes that make the next stitch easier
Once I find a setting that works, I write it down immediately. I keep the fabric type, needle type, thread brand and weight, stitch length, tension position, and any stabiliser I used. That record is more useful than trying to memorise a dial number, because the next project is rarely made from exactly the same cloth.
I also keep the test strip with the garment or pin it to my project notes. If the stitch changes later, I can compare the new sample with the old one instead of guessing at what went wrong. When something does drift, I clean the bobbin area, rethread both needles, and start from the same sample again. That habit is usually enough to make twin-needle sewing feel predictable rather than fussy.
