
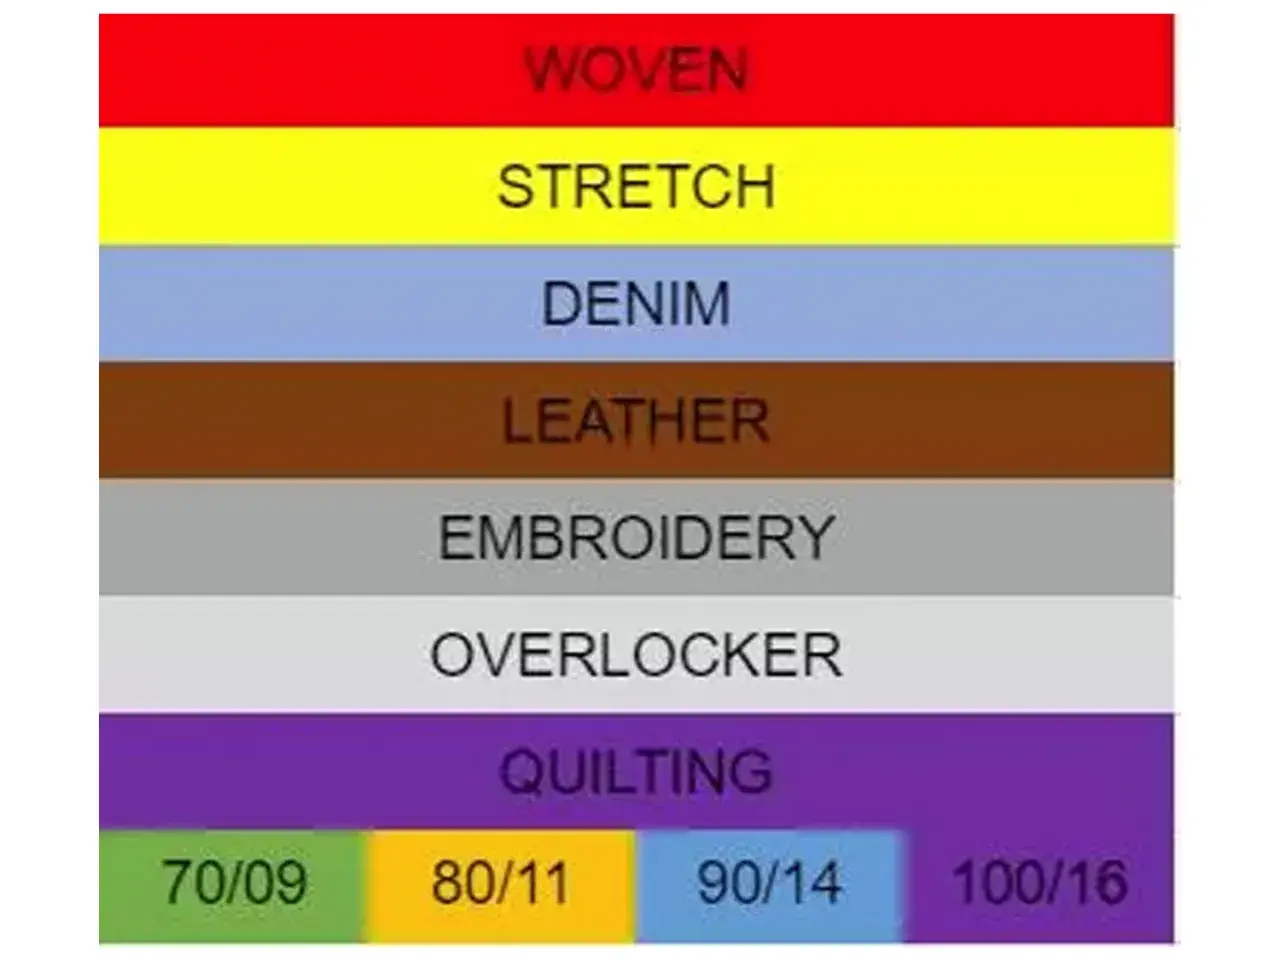
The quickest way to choose the right needle is to match fabric weight, thread thickness, and point style
- Lower numbers mean finer needles; higher numbers mean thicker needles.
- Most home machines use flat-shank household needles, often labelled with two sizes such as 80/12.
- Size alone is not enough: a universal needle, a ballpoint needle, and a denim needle of the same size behave differently.
- 80/12 is a reliable starting point for many everyday woven fabrics, but it is not a universal answer.
- If stitches skip, holes show, or thread breaks, the problem may be the size, the type, or both.
- A small set of well-chosen needles covers most sewing jobs better than a drawer full of random packets.
What the numbers on a needle pack really mean
Most sewing machine needles sold in the UK show two numbers, such as 70/10, 80/12, or 90/14. The first number is the metric size and the second is the older imperial-style number, so 80/12 describes the same needle in two systems. In practical terms, the lower the number, the finer the needle; the higher the number, the thicker the blade.That number does not describe the whole needle. A 90/14 universal needle and a 90/14 denim needle are not the same tool, because the point shape, groove, eye, and shaft design are different. I find this is where many sewists go wrong: they assume size alone solves the problem, when the point style often matters just as much.
For most domestic machines, the standard household needle is a flat-shank style, so the first check is compatibility, then size, then point. Once you understand that hierarchy, the rest of the decision becomes much easier. That leads naturally to the more useful question: which size actually suits which fabric?
A practical size chart by fabric weight
| Needle size | Typical use | What it feels like in sewing |
|---|---|---|
| 60/8 | Very fine fabrics such as sheer dress fabrics, lightweight linings, and delicate pieces | Makes a very small hole and helps reduce visible marking on fragile cloth |
| 70/10 | Light fabrics, fine cottons, lightweight shirting, and delicate everyday sewing | Still fine, but a little more forgiving than 60/8 |
| 75/11 | A useful middle step for light-to-medium projects | Handy when 70/10 feels a touch too fine and 80/12 feels too heavy |
| 80/12 | Quilting cotton, medium woven fabrics, and many general dressmaking projects | A dependable everyday size for a lot of home sewing |
| 90/14 | Linen, heavier cottons, jersey, seam bulk, and moderate topstitching | Better when the fabric has more body or you are crossing multiple layers |
| 100/16 | Denim, corduroy, heavier suiting, and thicker seams | Handles more resistance without deflecting as easily |
| 110/18 | Heavy denim, canvas, upholstery-style fabrics, and thick layered seams | Built for harder sewing jobs, but can be too aggressive for finer cloth |
I usually treat this chart as a starting point, not a law. If the fabric has interfacing, bulky seams, or a dense weave, I may move up one size even when the base fabric looks light. If the cloth is delicate, I may move down one size to avoid visible holes or distortion. The next step is learning why the needle type can override the size choice altogether.
Why needle type matters as much as size
Once the size range is right, the point style decides how the needle enters the fabric. A universal needle is a sensible all-rounder for many woven fabrics, but it is not the best option for every project. On knits, for example, a rounded point is usually better because it separates the fibres instead of piercing them, which helps reduce skipped stitches and fabric damage.Here is the simplest way I think about the main types:
- Universal - a general-purpose choice for many woven fabrics and some mixed sewing jobs.
- Ballpoint or jersey - better for knit fabrics, because the rounded tip glides between loops.
- Stretch - useful on very elastic knits when a ballpoint still skips.
- Microtex or sharp - best when precision matters on fine wovens, coated fabrics, or crisp piecing.
- Denim or jeans - made for dense woven fabrics and heavier seams.
- Leather - designed for leather, vinyl, and other non-woven materials, not ordinary woven cloth.
- Quilting - useful for piecing and quilting because the point and taper help the needle penetrate layered seams more cleanly.
- Topstitch - has a larger eye for heavier topstitch thread and decorative lines.
The practical lesson is simple: do not try to solve every problem by changing the size alone. If the fabric is a knit, switch the point style first. If the thread is decorative or unusually thick, look at the eye size and groove. That takes us to the part many people underestimate: the relationship between needle size, thread, and seam bulk.
How thread, layers, and stitch settings change the choice
Needle selection is not only about fabric weight. Thread thickness matters too, because the eye has to carry the thread cleanly without shredding it, rubbing it flat, or creating too much friction. A fine thread in a huge needle can look sloppy; a heavy thread forced through a small eye can fray or break long before the stitch line looks right.
When I choose a needle, I check three things together:
- Thread thickness - finer thread usually pairs well with smaller needles; heavier topstitch thread usually needs a larger eye.
- Layer count - seams, hems, zips, waistbands, and quilt sandwiches often need a larger size than the base fabric suggests.
- Stitch purpose - decorative topstitching, quilting, and embroidery often benefit from a specialty needle rather than a standard universal one.
There is also a practical limit to how far you can push a needle. If you are sewing several layers of denim or canvas, the needle has to resist deflection, not just pierce the cloth. If you are sewing a fine blouse fabric, a needle that is too large can leave visible holes that do not disappear after pressing. I find that moving up or down one size at a time is usually enough to solve the issue without overcorrecting. The next section shows how to recognise when the choice was wrong in the first place.
The signs you picked the wrong needle size
Bad stitch quality is not always a tension problem. A worn, bent, or poorly matched needle can create symptoms that look like machine trouble, which is why I always check the needle before changing anything else. If you know the warning signs, you can save time and avoid damaging the fabric.
| What you see | Likely cause | What I would try first |
|---|---|---|
| Skipped stitches | Wrong point style, needle too small for the thread, or the needle is worn | Switch to the correct needle type, then test one size up if needed |
| Visible holes or puckering | Needle is too large for the fabric | Move to a finer size or a sharper, more suitable point |
| Thread shredding or breaking | Eye is too small, needle is damaged, or the thread is too heavy for the needle | Choose a needle with a larger eye and replace any worn needle |
| Needle breakage | Needle is too small for the seam bulk, or the fabric is being forced through the machine | Increase the size and let the feed dogs do the work |
| Dull knocking sound | Bent or blunt needle | Replace the needle immediately |
A good habit is to replace the needle after roughly two or three garments, or sooner if you hit a pin, sew through something unusually dense, or hear the machine complaining. That is not overcautious; it is cheap insurance against damage. Once you start treating the needle as a consumable rather than a permanent part, the whole sewing experience becomes more predictable. From there, the choice becomes a repeatable process rather than guesswork.
A method I use when starting a new project
When I begin a project, I follow the same sequence every time. It keeps the decision small, fast, and practical instead of letting me overthink the entire needle drawer.
- Identify the fabric - woven, knit, coated, leather, or layered.
- Choose the point style first - universal, ballpoint, microtex, denim, leather, or quilting.
- Start with the middle of the range - for many everyday jobs, that means 80/12.
- Consider thread and seam bulk - heavier thread or thicker layers usually justify a larger size.
- Sew a scrap test - use the same fabric layers, interfacing, and thread you will use in the project.
- Inspect the result - look for holes, skipped stitches, puckering, or thread wear.
- Adjust one variable at a time - move up or down one size, or switch the needle type if the fabric is the real problem.
This is the approach I recommend because it respects how sewing actually behaves. The best answer is rarely a random size pulled from a packet; it is a matched combination of fabric, thread, and point style tested on the real material. That logic also helps you build a smaller, smarter needle kit instead of collecting duplicates.
What I keep in a small needle kit for most sewing jobs
A useful needle drawer does not need to be large. It needs to cover the fabrics you actually sew, not every theoretical possibility on the market. If I were building a compact home set in the UK, I would start with a handful of sizes and types that solve most everyday work.
- 70/10 microtex - for fine fabrics, crisp seams, and precise piecing.
- 80/12 universal - for everyday woven sewing and general garment work.
- 80/12 ballpoint - for standard knitwear and T-shirt fabrics.
- 90/14 universal or quilting - for heavier cottons, linen, and layered piecing.
- 90/14 denim - for jeans hems, thicker seams, and hard-wearing fabrics.
- 100/16 denim - for very bulky seams, canvas, and heavier layers.
- Topstitch needles in 80/12 or 90/14 - when decorative thread or visible stitching needs a larger eye.
If you only buy three packs, I would choose 70/10, 80/12, and 90/14, then add specialty needles when a project genuinely calls for them. That keeps the basics covered without turning needle selection into a chore. Start with the fabric, then refine by thread and seam bulk, and the machine usually rewards you with cleaner, quieter stitching.
