
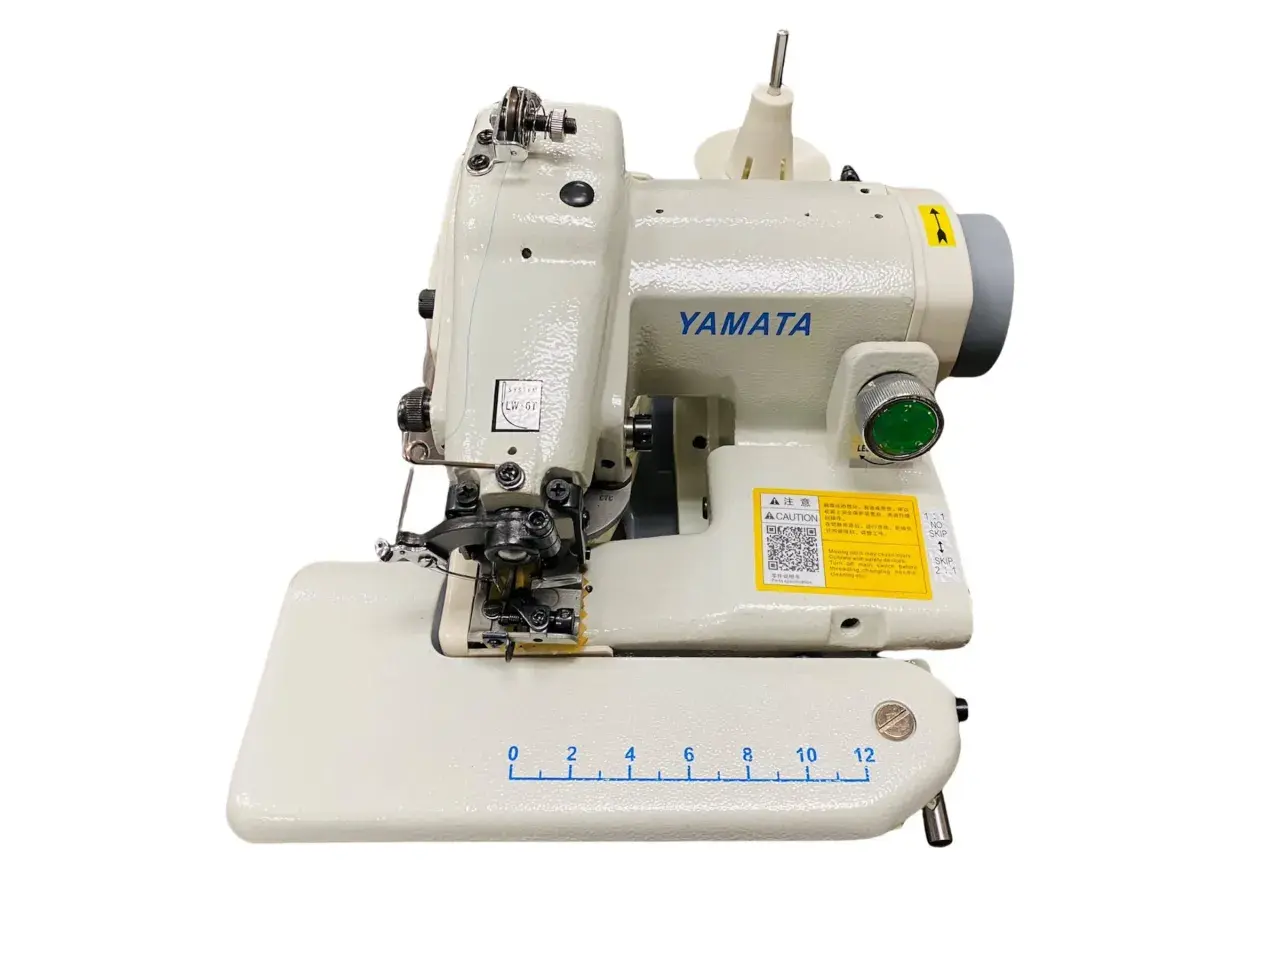
I use a blind hem foot whenever I want a hem that disappears on the right side but still holds up in real wear. Knowing how to use a blind stitch foot properly saves a lot of unpicking, especially on trousers, skirts, and curtains where a clean finish matters more than a decorative line of stitching. In this guide, I’ll show you how to prepare the fold, set the stitch, read the guide on the foot, and correct the settings when the hem starts showing.
The essentials at a glance
- The foot keeps the folded edge aligned so the needle only catches a tiny bite of the hem.
- Press and finish the fabric first; blind hemming works badly on a loose, uneven fold.
- Most machines need a dedicated blind hem stitch, but some use different versions for wovens and knits.
- Test on scrap fabric before sewing the actual garment, then adjust the stitch width or guide position.
- If the stitch shows on the right side, the bite is usually too deep; if it misses the fold, it is too shallow.
What the blind hem foot is actually doing
The foot is not magic; it is a guide. A centre blade or ridge keeps the folded edge riding in one place while the blind hem stitch swings in and out of the fold. The goal is simple: the needle should take just enough fabric to anchor the hem, but not so much that the stitches become visible from the outside.
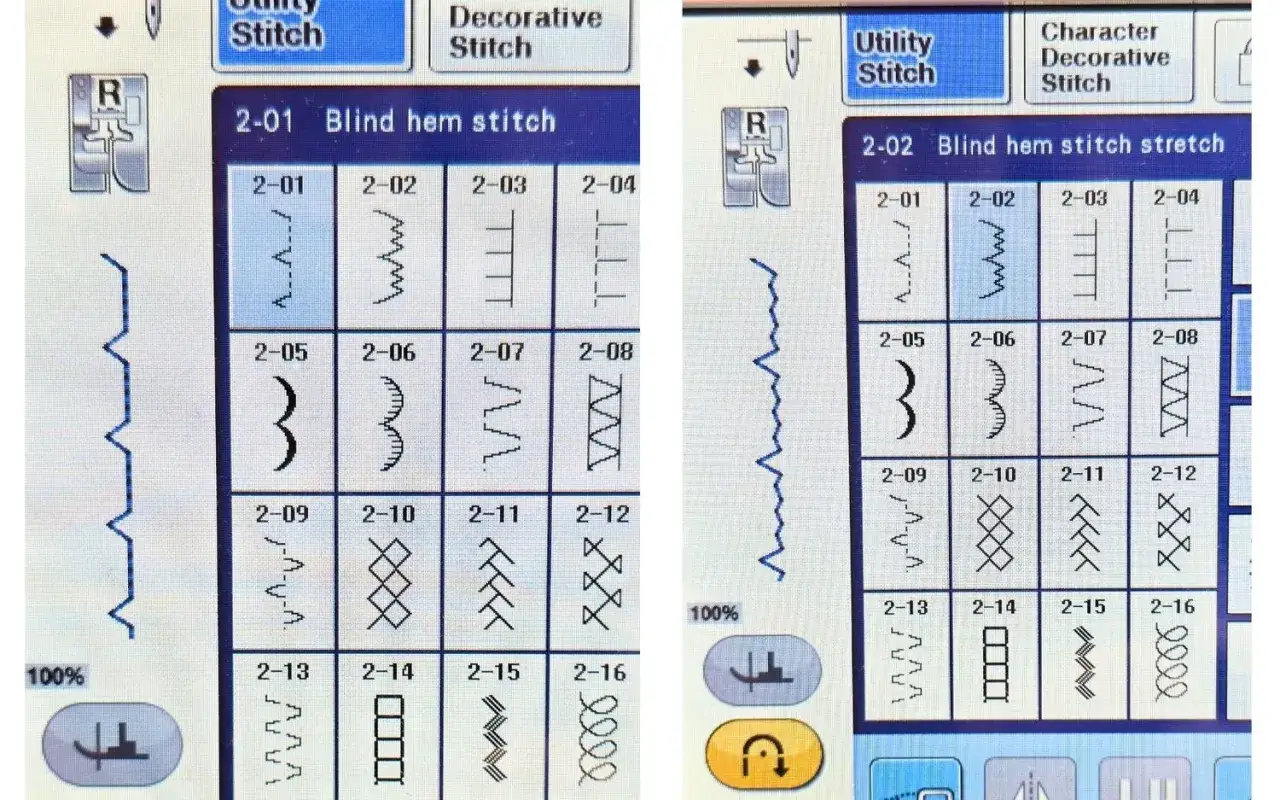
On many machines the stitch itself alternates between short bites and a wider swing. That wider movement is the part that nips into the fold, so the result stays almost invisible on the right side. Once you understand that, the rest of the process becomes less mysterious and much easier to control.
That also explains why the foot matters so much: if the fold drifts away from the guide, even a good stitch setting will look sloppy. From here, the job is preparation.
Prepare the hem so the guide can stay accurate
I always start with pressing, because a blind hem only looks good when the fold is flat and predictable. If the fabric frays, finish the raw edge first with an overlocker, zigzag, or another edge finish before you turn up the hem. A clean edge is not a luxury here; it stops the fold from opening up as you sew.
- Press the hem allowance firmly to the wrong side.
- Fold the hem back so a narrow strip, usually around 5 to 6 mm, is left for the stitch to catch.
- Baste or pin the fold if the fabric is soft, curved, or slippery.
- Use the free arm for trousers and sleeves when your machine allows it, because it keeps the tube of fabric from dragging.
If the project is a skirt or pair of trousers, I also check the final length before I sew. It sounds obvious, but once the hem is stitched, a missed length correction means unpicking the entire line.
Set up the machine and sew the first line
For the actual stitching, I treat the first run as a calibration pass. Most problems come from trying to sew the garment before the machine and foot are matched to the fabric.
Select the stitch
Choose the machine’s blind hem stitch rather than a plain zigzag if the model offers one. On some machines, there are separate versions for woven and stretch fabrics, and the difference is worth paying attention to. If your machine lets you adjust the needle position or stitch width, leave yourself room to fine-tune it after the test.
Place the fabric against the guide
Clip on the blind hem foot and lower the folded edge so it sits snugly against the guide without being forced under it. The raw edge should sit where the foot expects it, and the fold should stay straight. I want the guide to touch the fabric, not squeeze it.
Sew slowly and check the bite
Take a short test line on the same fabric first. The stitch should just catch the fold every few stitches; if it bites too much, the stitch will be visible on the outside, and if it misses, the hem will not secure properly. Small adjustments are better than big ones here. Move the guide or change the stitch width in tiny steps, then test again.
Read Also: Blind Stitch Foot - Master Invisible Hems for Pro Results
Finish the pass cleanly
When you reach the end, raise the needle and foot before pulling the fabric away. I always guide the work backwards, not sideways, so the foot stays intact and the stitch line stays neat. Then I remove the basting stitches, turn the garment right side out, and press lightly from the inside.
Match the stitch to woven, stretch, and bulky fabric
Different fabrics ask for different amounts of bite. That is why a blind hem that looks perfect on cotton trousers can fail on jersey or a heavy wool skirt. I adjust for fabric weight, drape, and stretch before I worry about the exact appearance of the stitches.
| Fabric type | What usually works best | What I watch closely |
|---|---|---|
| Wovens such as cotton, linen, and suiting | A standard blind hem stitch with a medium stitch length | The needle should just catch the fold, not chew into it |
| Stretch fabrics such as jersey or ponte | The stretch version of the blind hem stitch, or the setting your machine recommends for knits | Do not stretch the fabric as you sew, or the hem may ripple after washing |
| Thicker fabrics such as wool, denim, or lined hems | Slightly slower sewing, with the guide set for a smaller bite if the outside stitch would otherwise show | Bulk at seams and side seams can push the hem off line, so test across those areas |
For needles, I keep it practical: a sharp universal needle is often fine for wovens, while a stretch or ballpoint needle usually behaves better on jersey. If the machine starts skipping stitches, the needle choice is one of the first things I change.
Fix the mistakes that make the hem visible
Most blind hem problems are adjustment problems, not disaster problems. The good news is that the fix is usually small once you know what you are looking at.
| What you see | Likely cause | What I change first |
|---|---|---|
| Stitches visible on the right side | The needle is biting too deeply into the garment layer | Reduce the stitch width or move the guide slightly farther from the fold |
| The hem is barely caught or not caught at all | The bite is too shallow | Increase the stitch width or bring the guide closer to the fold |
| Puckering along the hem | The stitch is too tight, the fabric is being stretched, or the press was too aggressive | Lengthen the stitch a little, sew with less tension in your hands, and press again after sewing |
| Skipped stitches | Wrong needle type, dull needle, or fabric too thick for the current setup | Change to a fresh needle and match the needle type to the fabric |
| Frayed raw edge inside the hem | The edge was left unfinished on a fabric that sheds | Finish the raw edge before hemming, then re-stitch if needed |
If I had to pick one adjustment that solves the most complaints, it would be the stitch width. That single setting usually decides whether the hem disappears or announces itself.
When I choose a different finish instead
I do not force a blind hem foot onto every project. On very delicate silk, a sharply curved hem, or anything so bulky that the layers fight back, hand finishing can look cleaner and be less stressful. A facing or narrow topstitched hem may also be the better call if you actually want the stitching to be seen.
- Choose hand stitching when the fabric is slippery or you need absolute control over each bite.
- Choose a facing when the hem is too shallow for a reliable blind stitch.
- Choose a visible twin-needle or topstitched hem when the garment design calls for a more deliberate finish.
That is the real judgement call: the blind hem foot is excellent, but it is not the only neat finish in the room. The right method depends on fabric, shape, and how much time you want to spend.
What I check before I trim the threads
Before I call the hem finished, I look at the right side in good light and check for three things: the stitch should be invisible or nearly so, the hem should hang evenly, and the fabric should sit flat at seams and side seams. If any of those are off, I fix them before trimming long thread tails or pressing for the final time.
- Press from the wrong side first, then let the hem cool flat before wearing it.
- Trim stray threads only after you are happy with the stitch line.
- Let the garment hang for a while before a final press if the fabric is prone to stretching.
- On a test piece, wash or steam the sample if the garment will be laundered often.
Once you get the rhythm, this becomes one of the most useful sewing-machine skills to have: the fold stays against the guide, the needle only nips the hem, and the finish looks far more polished than the effort it takes.
