
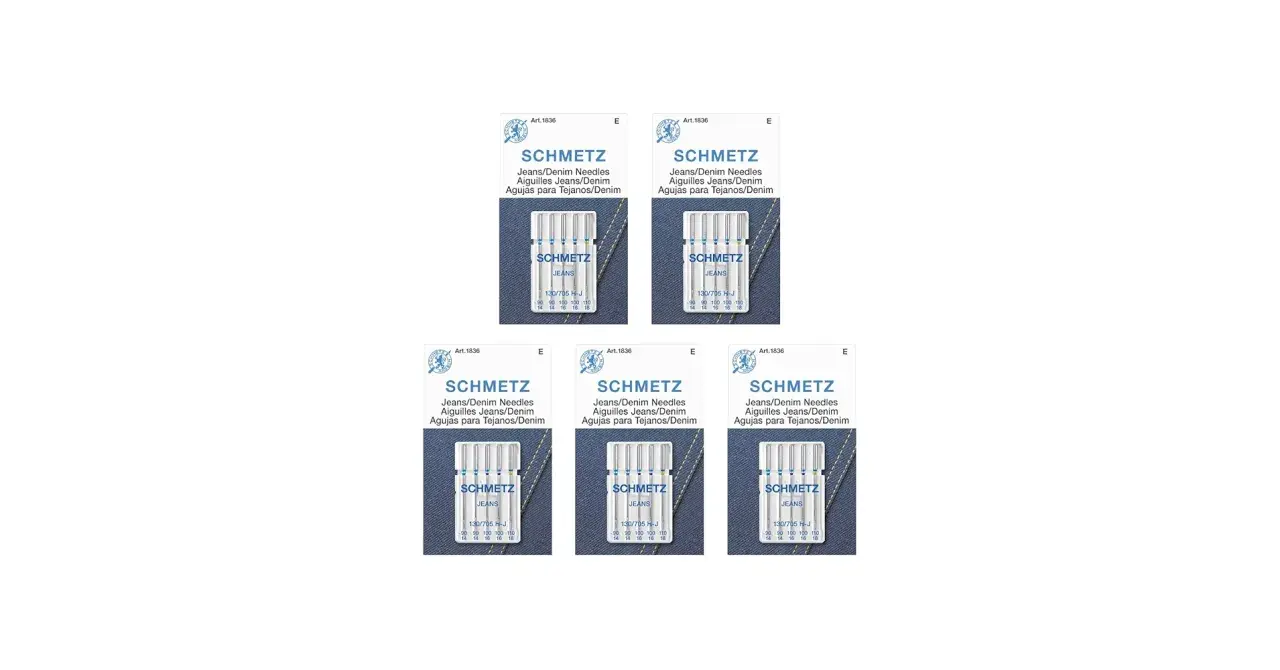
Quick answers that save time before you start sewing denim
- 90/14 is the safest all-round starting point for light to medium denim and many repairs.
- 100/16 is the size I reach for most often on jeans hems, seams and heavier fabrics.
- 110/18 is better for very thick layers, waistband crossings and dense workwear denim.
- Use a denim or jeans needle, not a universal needle, once the fabric becomes dense or layered.
- A 3.0-3.5 mm stitch length is a practical starting point for seams, while topstitching often looks cleaner at 3.5-4.0 mm.
- Test on a scrap that includes a seam intersection, because flat fabric alone does not tell the full story.
Start with the fabric weight, not the package label
When I choose a needle, I think about the denim weight first and the project second. A soft chambray-style denim shirt does not ask the same thing from a machine as a pair of rigid 14 oz jeans with a felled seam, and that difference matters more than the brand name on the packet. In the UK, you will usually see both numbers printed together, so 90/14 and 100/16 are simply two ways of naming the same needle size.
| Denim type | Typical thickness | Needle I would start with | Why that size works |
|---|---|---|---|
| Lightweight denim | About 8-10 oz | 80/12 or 90/14 | Strong enough to pierce the weave without leaving oversized holes |
| Medium denim | About 10-12 oz | 90/14 | The best balance for everyday jeans, trousers and simple alterations |
| Heavy denim | About 12-14 oz | 100/16 | More shaft strength and better resistance to deflection through bulk |
| Extra-heavy layers | 14 oz+ or multiple folded seams | 110/18 | Helps the machine clear thick seam crossings and waistband joins |
If I only have one needle to hand, I start at 90/14 for lighter denim and move up as soon as the project includes real bulk. That simple habit prevents a lot of broken needles later, and it leads naturally to the more important question: what makes a jeans needle different from the universal one already sitting in the machine?
What a jeans needle does differently on a sewing machine
A denim needle is built for resistance. It has a reinforced blade and a modified medium ball point, which means it can push through dense woven yarns with less wobble than a standard universal needle. That matters because denim does not fail gently: once the needle starts flexing, the stitch formation gets messy, the thread takes more strain, and skipped stitches show up fast.
I see three practical differences again and again:
- Less deflection, so the needle is less likely to bend away when it hits a dense seam.
- Fewer skipped stitches, especially on topstitching or when crossing multiple layers.
- Lower breakage risk, which is useful on home machines that do not love hard seam intersections.
A universal needle can sometimes manage soft denim, but it is a compromise. A leather needle is the wrong tool for woven denim because it cuts rather than parts the fibres, which can weaken the fabric and leave holes that look too aggressive. In practice, I only go below a denim needle when the fabric is truly light and behaves more like a shirt weight than a pair of jeans. Once that distinction is clear, the machine settings become much easier to tune.
Match the needle with thread and machine settings
The needle is only half the story. Denim puts pressure on the whole stitch system, so I always think about thread, stitch length and how the fabric feeds under the foot. A correct needle with a bad setup still gives a poor result, and a modest adjustment in the right place usually does more than forcing the machine to sew faster.
| Setting | Good starting point | Why it helps |
|---|---|---|
| Needle | 90/14, 100/16 or 110/18 depending on bulk | Gives the machine enough strength for dense woven fabric |
| Thread | Regular polyester for construction, heavier topstitching thread for visible seams | Keeps seams strong without overloading the needle eye |
| Stitch length | 3.0-3.5 mm for seams, 3.5-4.0 mm for topstitching | Longer stitches pass through thick layers more smoothly |
| Presser foot | Standard foot, walking foot or even-feed foot for bulk | Helps the layers move together instead of shifting or stalling |
| Speed | Slow to medium | Reduces needle flex when the machine climbs over seam steps |
Read Also: Serger Troubleshooting - Fix Overlocker Problems Fast!
If the denim has stretch
Stretch denim changes the seam behaviour more than the needle size itself. I still start with a denim needle, but I pay closer attention to stitch type because a straight seam on a high-stretch fabric can pop later even if it looks perfect on the table. On those projects, I test a stretch stitch or a narrow zigzag on scraps before committing, especially around knees, crotch seams and fitted waistbands.
My own rule is simple: if the machine sounds strained, I do not solve that by forcing speed. I solve it by slowing down, lengthening the stitch slightly and making the fabric easier to feed. That leads straight into the mistakes that create most denim problems in the first place.
The mistakes that cause skipped stitches and broken needles
Most denim frustrations come from small mismatches, not from the fabric itself. When I troubleshoot a problem seam, I usually find one of a few repeat offenders rather than a mysterious machine fault.
- Using a universal needle because it was already installed. On light denim that may pass, but on true jeans fabric it is often the first reason stitches go uneven.
- Choosing a size that is too small for the bulk. An 80/12 can work on soft denim, yet it is often too fine for hems, waistband joins and thick topstitching.
- Sewing with a dull needle. Denim wears a needle faster than light cotton, so I change mine after about 6-8 hours of real sewing, or sooner if I hit a pin or seam hard enough to feel it.
- Forcing thick thread through a small eye. If the thread is bulky, the eye needs to suit it; otherwise the machine starts shredding thread or skipping stitches.
- Testing only on flat scraps. A flat piece of denim does not reveal what happens when the needle meets a side seam, hem or pocket corner.
- Running the machine too fast over thick seams. Speed is where many broken needles happen, especially on domestic machines.
When a seam is already bulky, I also support it instead of pushing it through and hoping for the best. A scrap folded under the foot, a hump jumper or a walking foot can make more difference than another round of tension changes. Once those traps are out of the way, the actual sewing becomes much calmer.
The denim kit I keep beside the machine
For denim projects, I like to have a small set of tools and consumables ready before I start. It sounds basic, but it removes most of the stop-start frustration that makes jeans repairs feel bigger than they are.
- Denim needles in 90/14, 100/16 and 110/18 so I can move up when the seam demands it.
- Scrap strips from the same denim, including one or two seam intersections for testing.
- Regular polyester thread for construction and a heavier topstitching thread for visible seams.
- A walking foot or even-feed foot if the machine starts struggling with layer shifting.
- A hump jumper or folded scrap to level the foot when crossing bulky seam steps.
- A clapper or small hammer for compressing thick seams before they go under the needle.
If I had to reduce the whole decision to one line, it would be this: start with 90/14, move up as the fabric gets thicker, and do not ignore seam bulk. That is the practical path to cleaner stitches, fewer broken needles and a machine that feels cooperative instead of stubborn. Keep the right sizes close at hand, and denim stops being a guessing game.
