
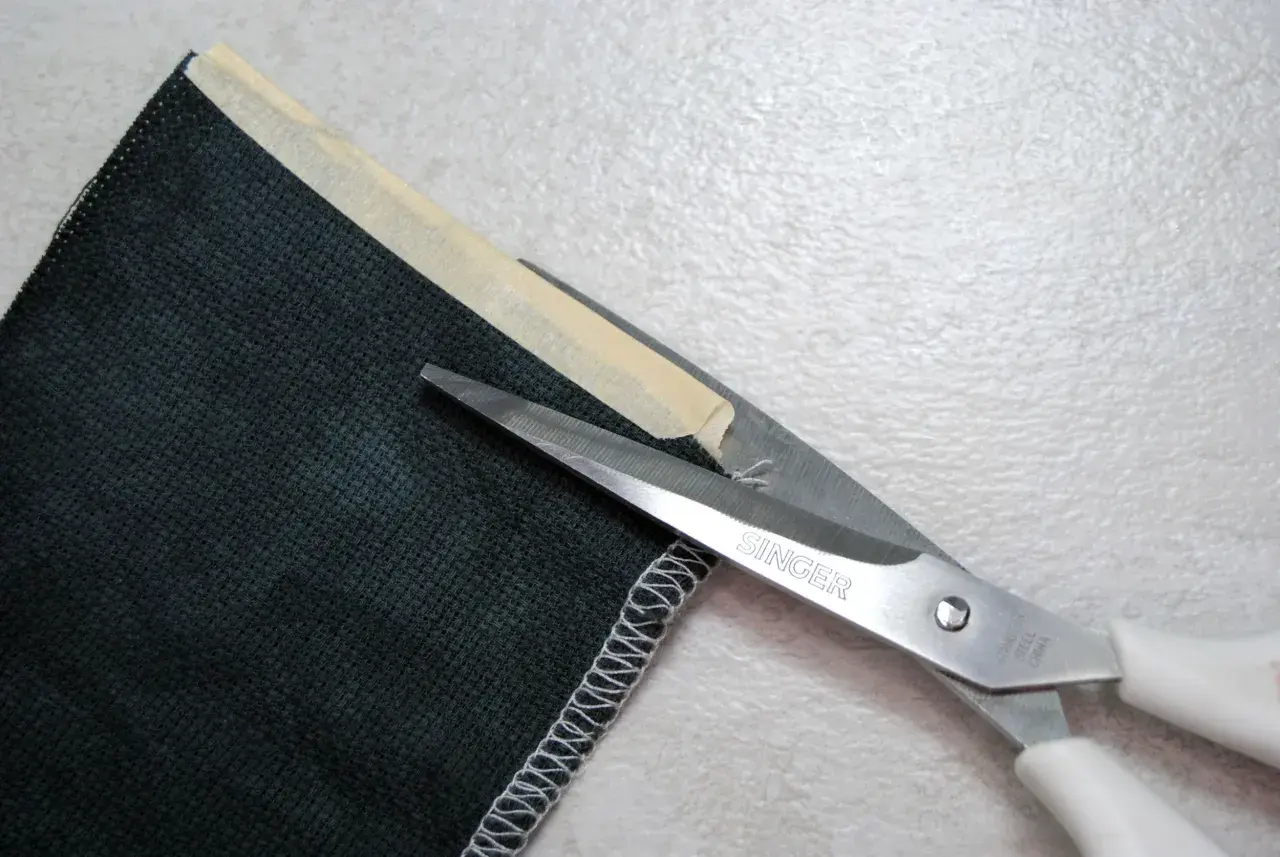
Does corduroy fray? Yes, the cut edge can ravel, and how much it sheds depends on the weave, the wale width, and the finish you choose. I usually treat corduroy as a fabric that behaves well when the seams are respected, but it is not one I would leave raw and hope for the best. In this guide, I’ll show when fraying is normal, which seam finishes work best, and how I handle corduroy so it stays neat after cutting and washing.
The practical answer at a glance
- Corduroy is a woven pile fabric, so raw edges can ravel just like other woven textiles.
- Denser corduroy usually frays less than loose, very soft, or heavily brushed versions.
- Unfinished seams are the main weak point, especially on garments that will be washed often.
- An overlocker, narrow zigzag, or bound seam usually gives the cleanest everyday result.
- Pinking shears help a little, but I would not rely on them alone for a finished garment.
- Cutting with the nap aligned and pressing gently makes a bigger difference than most beginners expect.
Why corduroy frays in the first place
Corduroy is not a knit, so the edge does not curl and stay stable the way jersey can. It is a pile fabric, which means the ridges, or wales, are created by cut yarns standing up from a woven base. Once you cut into that structure, you expose both the ground weave and the pile, and the loose fibres at the edge start to move.
The construction matters more than the label on the bolt. Chunky wide-wale corduroy and finer needlecord can behave very differently: one may have around 3 wales per inch, while pinwale or needlecord can be much tighter, closer to 16 wales per inch. In my experience, the tighter and denser the cloth, the more controlled the raw edge tends to be. A loose, soft corduroy can still be lovely to sew, but it will usually ask for more careful finishing.
That structure is why the edge finish matters more than people expect, which is where the choice of seam treatment becomes useful.
The finishes I trust most on corduroy
If I am finishing corduroy, I choose the seam treatment based on two things: how much bulk is already in the garment, and whether the inside will be visible. The point is not just to stop fraying once, but to choose a finish that stays neat through wear and washing.
| Finish | Best for | Why I like it | Watch out for |
|---|---|---|---|
| Overlocker or narrow zigzag | Most everyday seams | Fast, secure, and easy to use on casual garments | Can look bulky if you try to overfinish thick seam intersections |
| Hong Kong finish | Unlined jackets, skirts, and smarter pieces | Encases the seam allowance cleanly and looks refined inside | Needs bias binding or seam tape and adds a little extra time |
| Bound seam | Pocket bags, exposed interiors, and visible inside edges | Very tidy and strong, with a polished look | Can add bulk on heavy corduroy |
| Flat-felled seam | Lighter corduroy and utility-style garments | Enclosed, durable, and good where strength matters | Can become stiff on thick wide-wale cloth |
| Pinking shears plus fray retardant | Small projects or temporary control | Low bulk and quick to apply | Not enough on its own for a garment that will be worn and washed regularly |
If I had to pick one default, I would start with an overlocked seam on casual corduroy trousers or a skirt, then press the allowance open. For a more refined finish, especially on an unlined garment, I reach for a Hong Kong finish because it looks deliberate rather than simply sealed. That choice is often the difference between a project that feels handmade and one that feels unfinished.
Once the finish is decided, the next gains come from how you cut and handle the cloth before a single seam is sewn.
Cutting and sewing habits that keep fraying under control
The easiest way to reduce fraying is to avoid stressing the fabric before you have to. Corduroy sheds fluff while you cut it, so I like to work methodically and keep the fabric as calm as possible.
- Decide the nap direction first, then cut every pattern piece so the pile runs the same way.
- Keep the grainline parallel to the wales, not just the selvedge, so the garment hangs correctly.
- Cut with the right side facing up if that helps you see the ribs more clearly.
- Use sharp shears or a rotary cutter and avoid dragging the cloth across the table.
- Lower the presser-foot pressure a little if your machine allows it, especially on wider wale corduroy.
- Use a slightly longer stitch on bulkier cord, and test on a scrap first if the fabric is very thick.
- Press with a light touch and a pressing cloth; too much heat and pressure can crush the ribs.
- Trim loose threads as you go, because leftover fluff can work itself into the seam allowance.
Two habits matter more than most people realise: keeping the nap consistent and pressing gently. If the pile is crushed or the pieces are cut off-grain, the fabric looks tired before the garment is even finished. I also keep a lint roller nearby, because corduroy has a habit of shedding everywhere during cutting and stitching.
Even with careful handling, though, some fraying is harmless; what matters is knowing where the edge has started to fail.
When fraying is normal and when it is a warning sign
A little loose fibre at a freshly cut edge is normal. What I watch for is whether the edge settles once it has been finished, or whether it keeps opening up after sewing, pressing, or washing. That difference tells you whether the fabric itself is stable enough for the project you have in mind.
| What you see | What it usually means | What I would do |
|---|---|---|
| Small fuzzy fibres at the cut edge | Normal shedding from a woven pile fabric | Trim the loose threads and finish the seam allowance properly |
| Threads pulling back after one wash | The edge is not secure enough for the fabric’s level of wear | Use a stronger seam finish or enclose the edge entirely |
| Fraying at pocket mouths, hems, or belt loops | High-stress points are not being supported well enough | Reinforce with stitching, binding, or a small facing |
| Loose, open-looking weave at the cut edge | The corduroy is soft, aged, or loosely woven | Assume it will keep fraying and plan for a fully enclosed finish |
For visible wear points, I would never leave the edge to chance. Pocket corners, waistband seams, cuffs, and hems are the places where fraying becomes a design problem, not just a tidy-up issue. If the fabric is vintage or especially soft, I treat it as a sign to be stricter with finishing rather than more relaxed.
That judgment call leads naturally to the one rule I use before any corduroy project goes onto the cutting table.
The rule I use before I start a corduroy project
My rule is simple: the more the garment will be worn, washed, or seen inside out, the less I trust a raw edge. For lined jackets, skirts, and trousers, I choose a finish that encloses the seam allowance cleanly. For casual pieces, I still want a proper overlocked or zigzagged edge, because corduroy can look durable and still behave badly if the raw seam is ignored.
- Choose an enclosed finish for anything tailored or visible on the inside.
- Use an overlocker or zigzag for everyday garments that need speed and strength.
- Do not rely on pinking shears alone unless the project is low-stress and temporary.
- Be stricter with loose, soft, or vintage corduroy than with dense, compact cloth.
Used well, corduroy is dependable rather than difficult. Respect the nap, give the edges a proper finish, and it will reward you with a garment that feels solid, neat, and worth wearing for a long time.
