
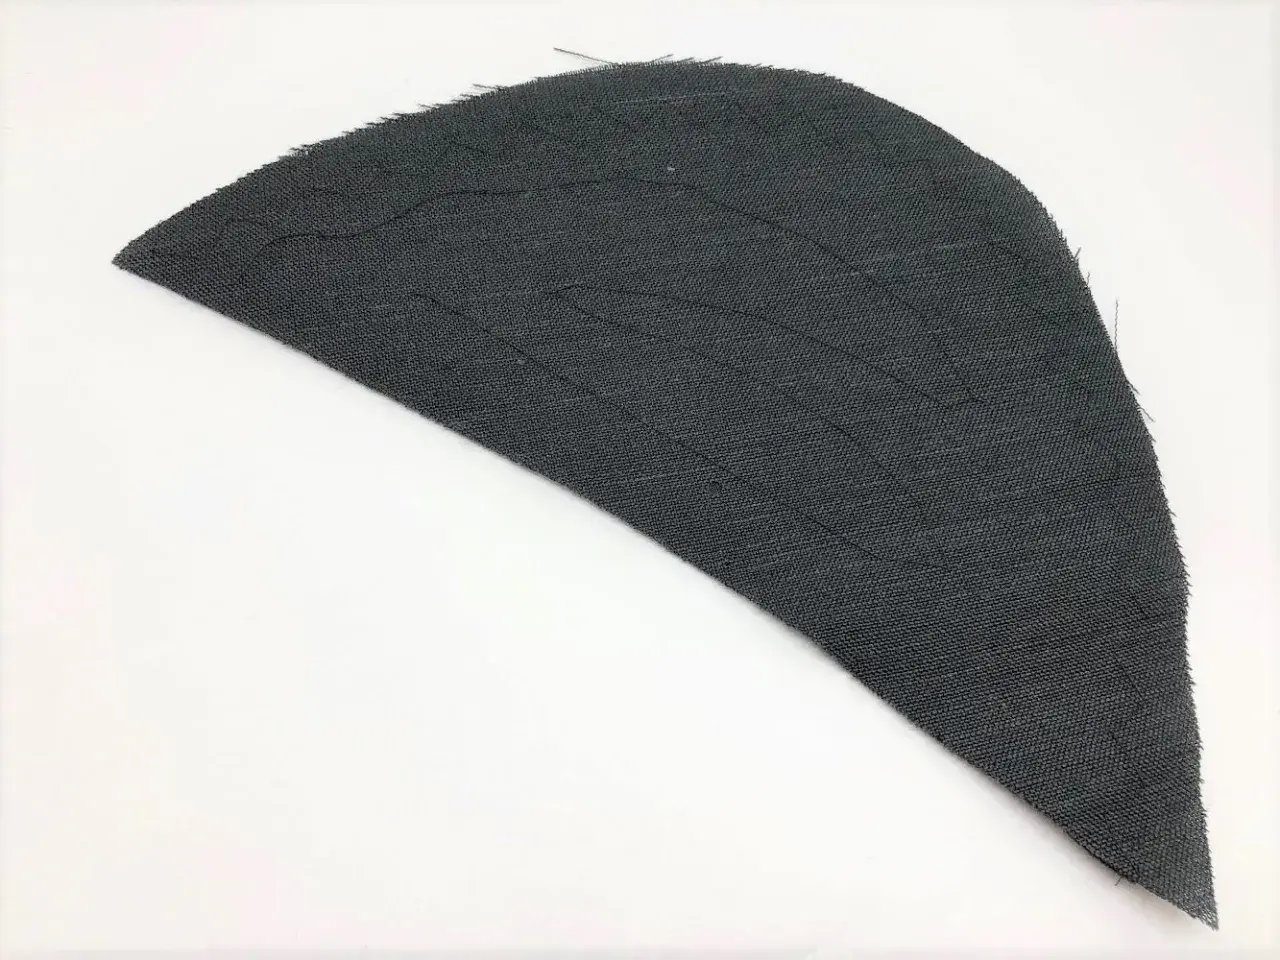
A well-shaped shoulder changes the whole line of a jacket, coat, or structured dress. This article shows how I design a shoulder insert template, choose the right materials, and attach it so the shaping looks clean rather than padded. I’ll also flag the mistakes that make shoulders look square, bulky, or lopsided, because most problems come from shape and placement rather than thickness alone.
The details that decide whether the shoulder looks tailored or bulky
- The insert should follow the shoulder line, not just sit as a lump under the seam.
- A good template usually reaches from the sleeve seam across most of the shoulder and tapers near the neckline.
- Felt, wadding, fleece, and canvas all behave differently, so the material changes the final silhouette.
- For many jackets, a modest build-up of about 3-6 mm is enough; stronger tailoring may need more.
- Attachment matters as much as the shape: if the pad is anchored badly, it will twist or show through the fabric.
- Matching the pad to the garment style is more important than chasing a single “standard” size.
What a shoulder pad pattern should actually achieve
A shoulder pad pattern is not really about adding bulk. Its job is to shape the shoulder line so the garment hangs cleanly, supports the sleeve cap, and keeps the outer edge of the shoulder from collapsing. In practice, that means the pad needs to follow the body’s slope, spread support across the shoulder, and taper enough that the neck area stays flat.
That is why I treat shoulder shaping as a silhouette decision first and a padding decision second. A blazer, coat, or sharply cut dress often needs a longer, more structured insert; a knit top or relaxed shirt usually needs only the lightest support, if any at all. The point is not to force every garment into the same strong outline, but to give each one the amount of lift it actually needs.
Once that shape is clear, the next step is to draft the pad to the garment rather than to a generic size chart, because the shoulder line is where fit issues become visible fastest.
How to draft the shape from the garment, not from guesswork
When I draft the template, I start with the garment itself. I look at where the sleeve seam sits, how far the shoulder extends, and how much natural slope the wearer has. A pad that works on a sharp blazer rarely behaves the same way in a softly cut coat, so I prefer to measure the actual shoulder line instead of relying on an old template.
Here is the method I use most often:
- Trace the shoulder area from the pattern or from a fitting sample, including the neckline edge, shoulder point, and sleeve seam.
- Mark the point where the pad should begin to flatten near the neck. For many tailored garments, this is roughly 1-2 cm from the neckline edge.
- Draw a shape that reaches across most of the shoulder and tapers gradually, rather than ending in a hard corner.
- Mirror the shape for the opposite side so left and right pads match exactly.
- Test the outline against the garment before cutting the final layers, because even a small change in slope alters the result.
I also keep the pad slightly longer than I think I need, then trim after a fitting. That extra margin is useful because shoulder shape is sensitive: a few millimetres can change the way a collar sits, and once the shoulder line is wrong, everything above it looks wrong too. With the shape established, material choice becomes the next decision, and that is where many home sewists either overbuild or underbuild the pad.
Materials that build the right kind of structure
The material matters because padding is not just thickness; it is behaviour. Some fabrics spring back, some compress, and some hold a crisp edge. In UK dressmaking, I usually think in terms of felt, wadding, fleece, and canvas-like support layers, because each one gives a different finish.
| Material | What it gives you | Best use | Main drawback |
|---|---|---|---|
| Wool felt or craft felt | Stable, tidy shape with modest body | Jackets, coats, structured dresses | Can feel too stiff if the felt is dense |
| Quilt wadding or batting | Soft build-up that can be layered gradually | Custom pads for different slopes and thicknesses | Needs another layer or covering to keep its shape |
| Blizzard fleece or similar soft fleece | Springy, easy-to-shape fullness | Gentler shoulder shaping, costume work | Can collapse more than felt over time |
| Canvas or sleeve-head support | Extra control at the front of the sleeve cap | Tailored jackets and coats | Does not replace padding on its own |
| Polyester stuffing or loose fill | Fast, cheap volume | Quick costume inserts | Shifts and can look lumpy inside a fine garment |
For a clean tailored result, I usually prefer a firmer outer layer with softer layers inside. That combination lets me build shape without creating a hard ridge at the edge of the shoulder. If I want a subtle, modern line, I keep the layers thin; if I want a stronger jacket shoulder, I add layers slowly and check the shape after each one.
That material choice sets the character of the insert, but the real test comes when the layers are assembled and stitched into the garment.
How I build and attach the pad so it disappears inside the garment
I build the insert in layers, then stitch it so the curve is stable and the edges stay flat. If the pad is meant for a lined garment, I prefer to work inside the lining or seam allowances so nothing shows on the outside. For an unlined piece, I finish the edges carefully and keep the attachment points as discreet as possible.
- Cut mirrored left and right pieces so the shaping matches on both sides.
- Stack the layers from firmer outside to softer inside, checking thickness as you go.
- Baste or hand-stitch through the layers with long, relaxed stitches so the pad keeps its curve.
- Keep the fullest part of the pad over the shoulder point, not drifting too far toward the neck.
- Anchor the pad to the shoulder seam allowance and the sleeve area so it cannot rotate during wear.
- Try the garment on before final stitching and check the line from the front, back, and side.
I am careful not to pull the stitches too tightly, because over-stitching compresses the padding and removes the very shaping I wanted. If I need more support in the front of the sleeve, I add a small sleeve head as well; that often does more for the finish than simply making the pad thicker. A good shoulder insert works with the sleeve, not against it, and the seam line should still look calm when the arm is at rest.
Once the pad is attached properly, the remaining problems are usually about proportion or symmetry, which are much easier to fix than a badly drafted shape.
Common mistakes that make the shoulder look heavy instead of tailored
Most shoulder-pad problems come from trying to solve the wrong issue with more padding. When the fit, slope, or sleeve balance is off, extra bulk only makes the mistake louder. These are the failures I see most often:
- The pad is too short. It supports only the point of the shoulder, so the garment still collapses near the neck.
- The pad is too thick for the fabric. Fine wool or silk can be overwhelmed by a shape that would suit a coat.
- Left and right pieces are not truly mirrored. Even a small mismatch creates visible asymmetry at the collar and sleeve.
- The pad sits too far in toward the neck. That usually makes the shoulder look cramped and the collar look forced.
- The edge is too abrupt. A hard edge reads as a lump, not a smooth tailored line.
- The sleeve head and pad are fighting each other. If both are overbuilt, the top of the sleeve becomes stiff and unnatural.
When I see a shoulder that looks bulky, I almost always check length and placement before thickness. In many cases, trimming a pad by a small amount or moving it a little outward solves the problem better than starting over. That kind of correction is especially useful in blazer making, where the eye reads the shoulder line immediately and judges the whole garment from it.
What I check before I call the shoulder finished
Before I close the lining, I stand the garment up, then look at the shoulder from three angles: front, side, and back. I want the collar to lie cleanly, the shoulder seam to stay level, and the sleeve cap to fall without a sharp corner. If one side looks stronger than the other, I adjust the pad rather than hoping the imbalance will disappear in wear.
I also look at the garment in motion. A shoulder that looks perfect on the hanger can still twist when the arm moves, which usually means the pad is too far inside the body or too rigid for the fabric. When that happens, I soften the insert rather than forcing the design to behave.
In the end, a good shoulder insert is quiet. It supports the garment, protects the line of the sleeve, and gives the fabric the shape it needs without announcing itself. If you start with the shoulder slope, match the material to the garment, and attach everything with restraint, the finish will look deliberate instead of padded.