
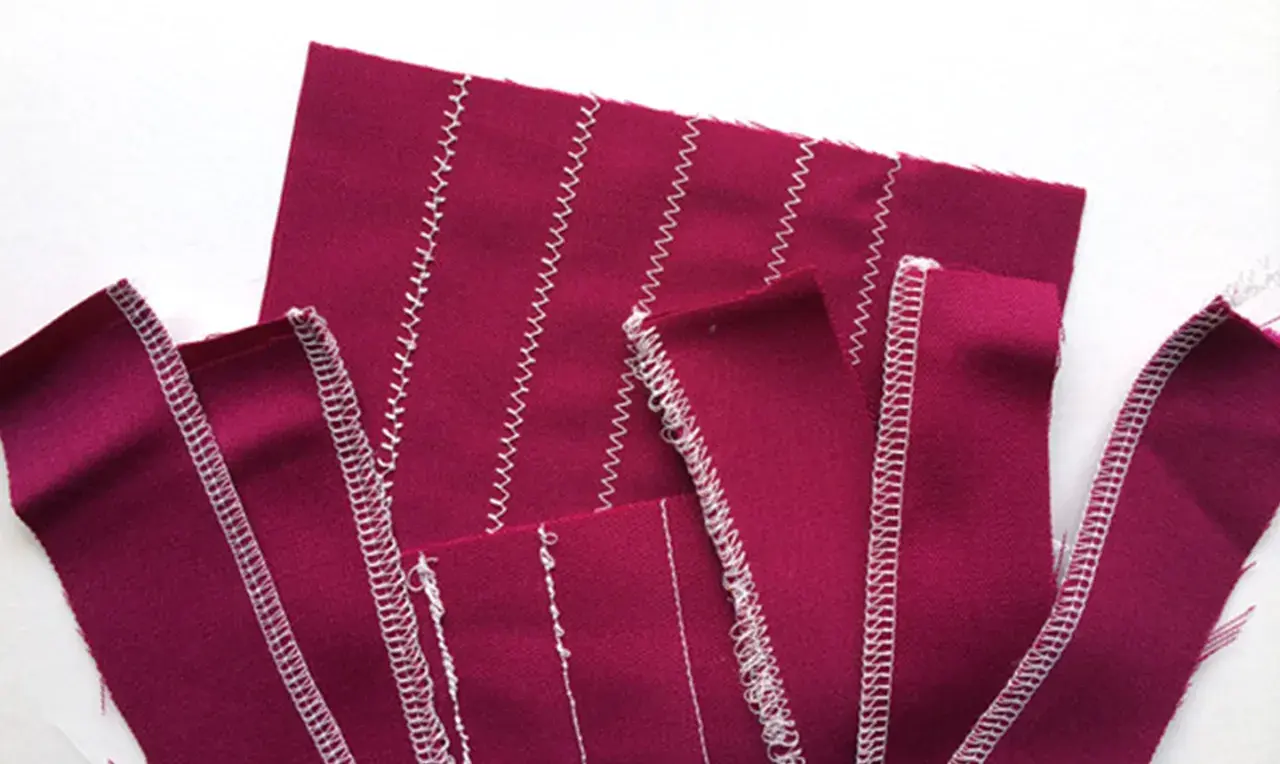
The quickest route to balanced stitches
- The upper thread tension dial is the main control on most domestic machines.
- Loops underneath usually mean the upper thread is not seated correctly or is too loose.
- Thread showing on top often points to tension that is too tight or to a bobbin issue.
- Change one setting at a time and test on the same fabric layers you plan to sew.
- A clean machine and the right needle matter as much as the dial position.
What thread tension actually changes in the stitch
Thread tension controls how firmly the machine holds the upper thread while the stitch forms. On a standard domestic machine, I treat the upper tension as the main adjustment and the bobbin as the background balance that should already be close to correct. A well-set stitch locks the threads in the middle of the fabric layers so the seam lies flat and neither side looks dragged or loose.
That is why the number on the dial matters less than the result on the cloth. A mid-range setting such as 4 or 5 is often a useful starting point, but it is not a universal target. The real question is whether the stitch is balanced on the fabric you are actually using, not whether the dial looks tidy. Once that is clear, the next step is to read the stitch before you touch anything.
How to read the stitch before you touch the dial
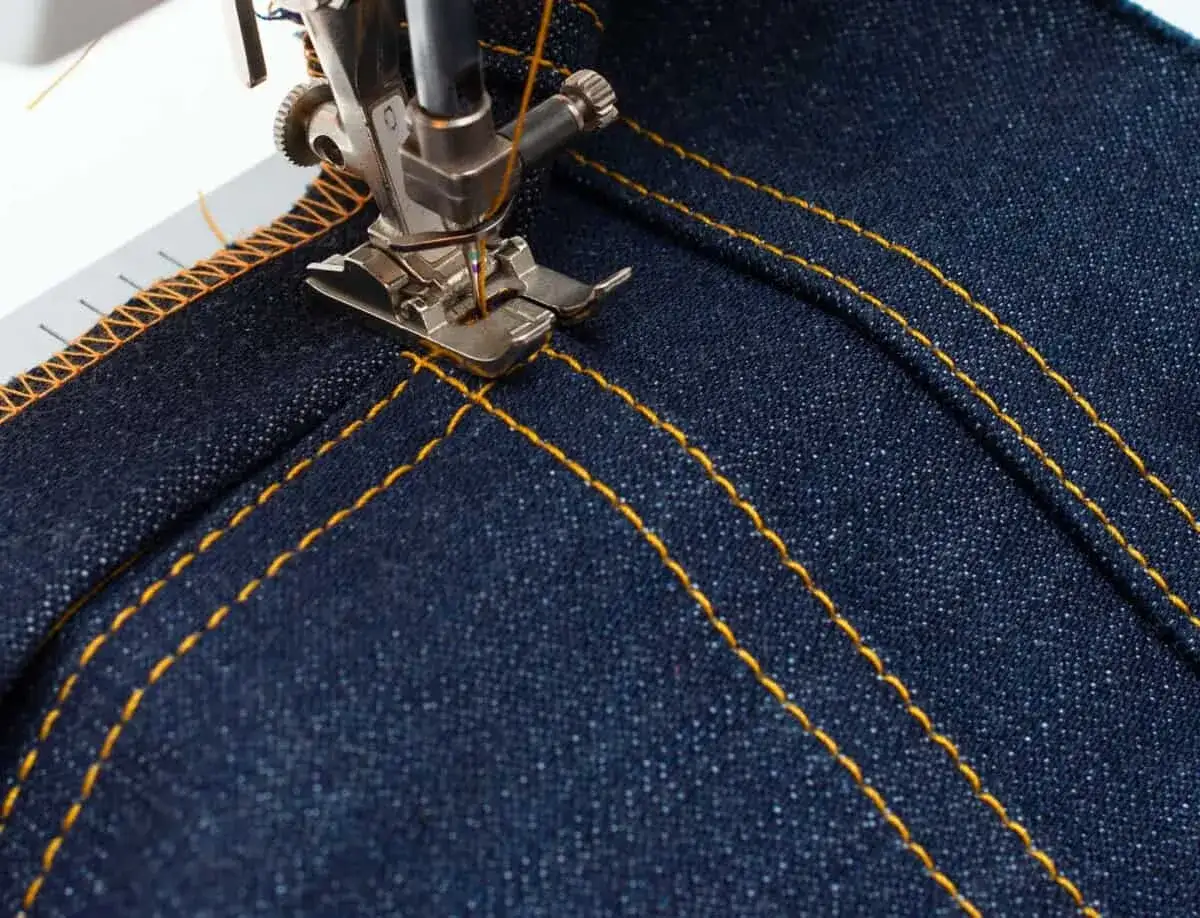
I always inspect both sides of a test seam before I change tension. A straight line of stitching about 10 cm long, sewn in the same fabric layers as the project, usually tells me enough to diagnose the problem. The pattern of loops, drag, and puckering is more reliable than guessing from the machine number alone.
| What you see | What it usually means | First move |
|---|---|---|
| Loops or slack on the underside | The upper thread is too loose or not seated correctly in the tension discs | Rethread with the presser foot up, then tighten the upper dial one mark |
| Bobbin thread showing on the top | The upper tension is too tight, or the bobbin is not seated correctly | Loosen the upper dial one mark and check the bobbin path |
| Puckering along the seam | The tension is too high for the fabric, the stitch length is too short, or both | Ease the upper tension and lengthen the stitch slightly |
| Thread breaks or feels dragged | The thread path, needle, or thread quality is the real problem | Stop adjusting the dial and inspect the needle, spool, and threading path |
If the stitch looks bad on both sides, I do not assume the dial is the only issue. That usually means I need to rethread, replace the needle, or clean out lint before I make any meaningful adjustment. With that diagnosis in hand, the actual tuning process becomes much faster.
How I adjust the upper thread tension step by step
My default approach is simple: remove as many variables as possible, then change only one thing at a time. On most machines, lower dial numbers loosen the upper tension and higher numbers tighten it, but I still judge the stitch rather than chasing a specific number. Some machines use a numbered dial, some use a digital menu, and some self-adjust for certain stitches, yet the workflow stays the same.
- Set the machine to a plain straight stitch, use a medium stitch length, and fit a fresh needle that suits the fabric.
- Raise the presser foot and rethread the upper path so the thread seats properly in the tension discs.
- Lower the presser foot, start from the default setting, and sew a test line of about 10 cm.
- Move the dial one mark at a time. Lower numbers usually loosen the upper tension, while higher numbers usually tighten it.
- Repeat the test on the same fabric and inspect both sides under good light.
- Stop when the threads meet in the middle of the layers and the seam lies flat without drag or puckering.
I keep the changes small because tension is easy to overshoot. A big turn can hide the real issue for one seam and create a different problem on the next. If I switch from straight stitch to zigzag or a decorative pattern, I test again immediately because stitch formation changes the balance. If the seam still refuses to behave after a careful reset, the problem is probably elsewhere.
When the bobbin, needle, or threading is the real issue
On many domestic machines, I leave bobbin tension alone unless the manual specifically expects adjustment. The bobbin screw usually needs only tiny movement, and it is easy to make the machine worse if you chase it too early. In practice, a lot of tension complaints are really threading complaints in disguise.
Start with the threading path
Re-thread with the presser foot up so the thread can drop properly between the tension discs. Then sew with the foot down. If you thread with the foot down, the thread may sit on top of the discs and the upper tension will seem wrong even though the dial has not moved. That one detail explains a surprising number of looping and bunching problems.
Check the needle and thread together
A dull needle, the wrong needle size, or thick thread forced through a tiny needle eye can imitate tension trouble very convincingly. If the thread is shredding, looping, or snapping, I always inspect the needle before I touch the tension dial again. Heavy thread with a fine needle, or a worn needle in dense fabric, will give you misleading symptoms every time.
Read Also: Coverstitch Explained - Is This Machine Right For You?
Treat bobbin tension as a last resort
If your machine allows bobbin tension adjustment, move in tiny increments and mark the starting position first. Use the correct small screwdriver so you do not chew up the screw head. I only go there after I have confirmed the threading, the needle, the thread quality, and the upper tension setting, because bobbin adjustments are easy to overdo and hard to judge without a proper test seam.Once those basics are sorted, fabric choice becomes the next variable, and that is where the setting that worked on one project can stop working on the next.
How fabric and stitch type change the answer
There is no single tension setting that works for every fabric. Thin cotton, jersey, denim, and topstitching thread all behave differently, so I expect to fine-tune the machine when the material changes. The safest habit is to test on the same layers, with the same needle and thread, before I sew the actual project.
| Fabric or stitch type | What usually happens | What I try first |
|---|---|---|
| Light cotton or poplin | Too much tension can pucker seams and pull the fabric inward | Keep the setting close to the middle and loosen slightly only if the seam draws up |
| Jersey or other knits | Stretch can expose loops or waviness if the stitch is too tight | Use a stretch or ballpoint needle and test a slightly softer upper tension |
| Denim or canvas | Thick layers may need a firmer upper thread to lock cleanly | Tighten in small steps and use a stronger needle |
| Zigzag or decorative stitches | The stitch swings side to side, so the balance looks different from a straight seam | Expect a little more trial sewing and adjust against the finished look, not a fixed number |
| Topstitching with heavier thread | Heavy thread needs room to move and can look harsh if the tension is too tight | Fit a larger needle and test again before changing the dial further |
For quilts, I never test on a single layer and assume the result will hold. I use a scrap that matches the real sandwich, including wadding and any interfacing, because layered thickness changes the way the stitch sits. That is usually the difference between a setting that looks right and one that actually behaves right.
Keep the machine clean before you chase numbers
Lint under the bobbin case, fluff in the tension discs, and tiny thread fragments can all make the stitch behave as though the tension is wrong. Before I keep turning the dial, I brush the bobbin area, clear the feed dogs, check the spool cap, and rethread from scratch. If the problem started after a thread break, this step matters even more.
I also inspect the needle for a bend or burr, because a damaged needle can create drag, skipped stitches, or fraying that looks like a tension fault. Old thread and poor-quality thread can do the same thing. When the machine starts acting differently in the middle of a project, I clean first, then test again, because that saves more time than endless tiny adjustments.Once the machine is clean and threaded correctly, the final adjustment is mostly about matching the seam to the real material in front of you.
What a good final setting looks like on real fabric
When the tension is right, I want three things at the same time: the seam lies flat, the stitches look even on both sides, and the fabric does not need to be tugged into shape as it leaves the machine. I do not worry about making the dial look elegant; I worry about whether the stitch holds the layers together without strain. That is the practical standard I use on clothing, soft furnishings, and anything else that needs to last.
If you remember one rule, make it this: adjust only after correct threading, test on the actual fabric, and move one step at a time. That approach works far better than trying to force one number to fit every project. For slippery viscose, coated cotton, quilt sandwiches, or heavy dress fabrics, the real test is always the project layers themselves, not a random scrap from the sewing table.
That is the habit that keeps tension changes predictable: read the stitch, fix the basics first, and let the fabric tell you when you are done.
