
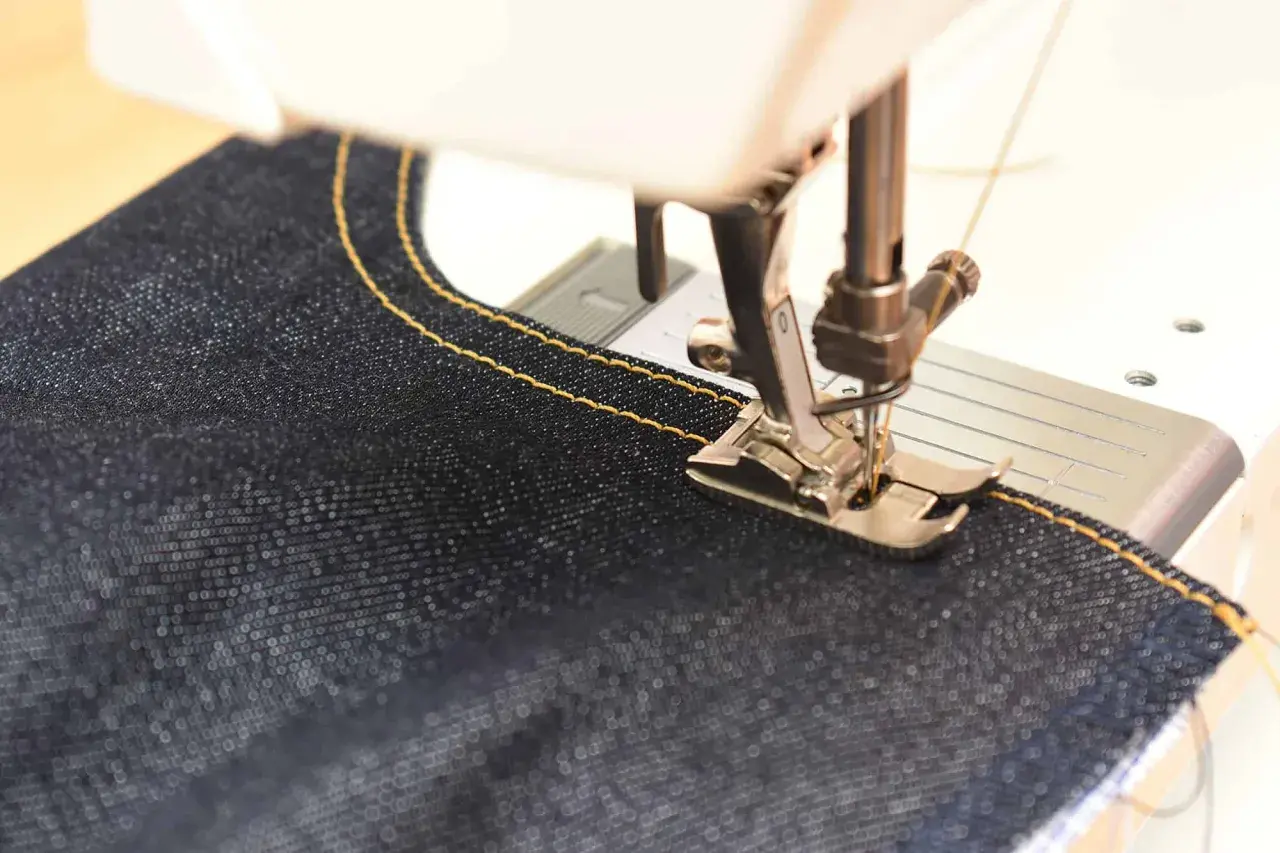
What matters most before you sew denim
- Start with a new denim needle: usually 90/14 for medium denim and 100/16 for heavier fabric.
- Use a straight stitch with a length around 3.0-3.5 mm for seams and 3.5-4.0 mm for topstitching.
- Keep thread tension close to normal, then adjust only if you see loops, puckering, or bobbin thread on top.
- Lower presser foot pressure slightly for bulky seams if your machine allows it; otherwise rely on a walking foot or a seam leveller.
- Test every change on a scrap with the same number of layers as the real seam.
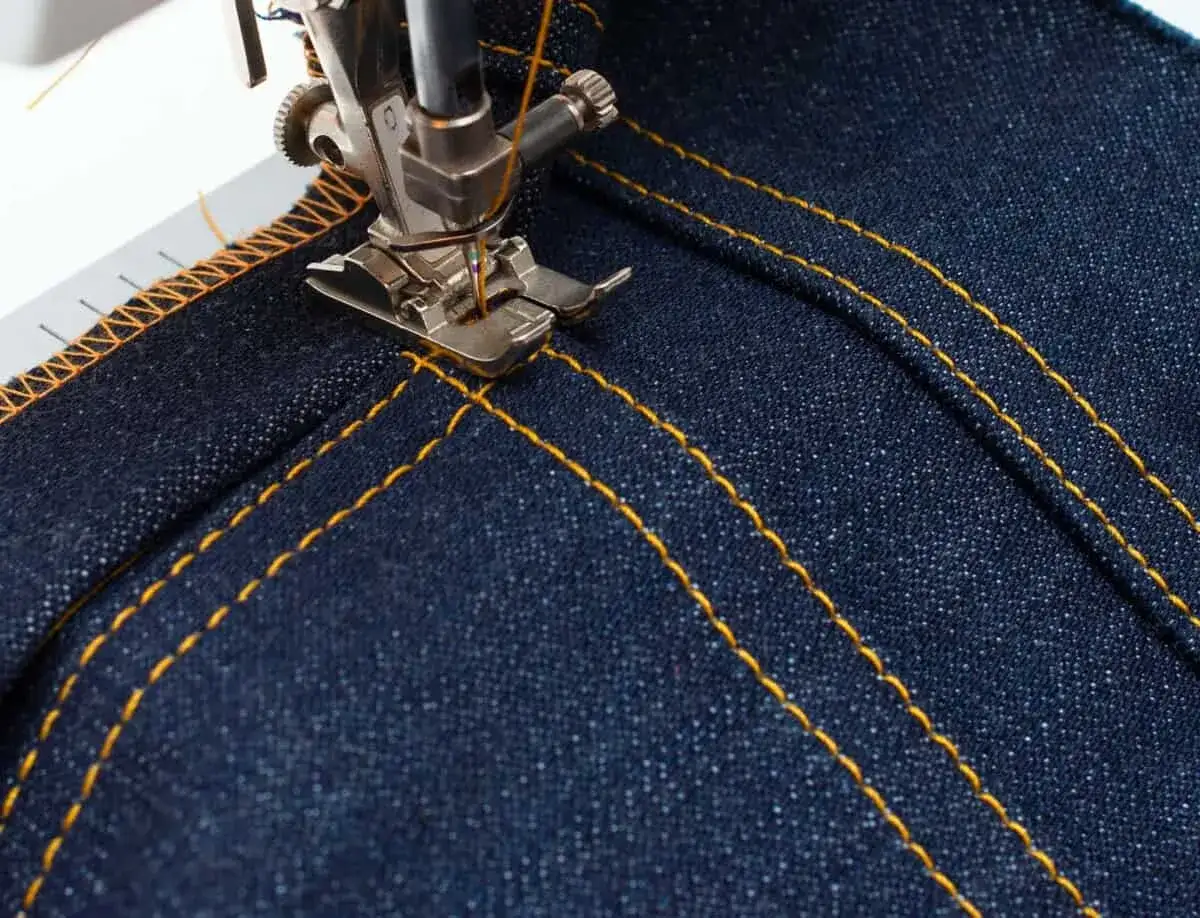
My starting settings for most denim seams
When I start a denim project, I keep the setup simple. I use a straight stitch, set the length a little longer than I would for cotton shirting, and choose a needle that matches the fabric weight rather than hoping a universal needle will cope. On most domestic machines, that means thinking in millimetres first and brand-specific dial numbers second.
| Denim type | Needle | Stitch | Tension | Foot | Best use |
|---|---|---|---|---|---|
| Lightweight denim or chambray | 80/12 or 90/14 denim needle | Straight stitch, width 0, 2.5-3.0 mm | Normal starting point | Standard or straight-stitch foot | Shirts, skirts, lighter trousers, clean topstitching |
| Medium-weight denim | 90/14 denim needle | Straight stitch, width 0, 3.0-3.5 mm | Normal, then adjust in tiny steps if needed | Standard foot or walking foot | Jeans, jackets, everyday seams |
| Heavy denim or multi-layer seams | 100/16, or 110/18 if your machine manual allows it | Straight stitch, width 0, 3.5-4.0 mm | Check on a scrap before changing much | Walking foot, straight-stitch plate, or seam leveller | Waistbands, hems, side seams, belt loops |
| Stretch denim | 90/14 stretch or denim needle | Straight stitch on stable seams; narrow zigzag or triple stitch where stretch is needed | Normal, not overly tight | Standard or walking foot | Jeans with elastane, fitted garments, stress points |
These are starting points, not commandments. The real goal is to get a seam that feeds smoothly, sits flat, and does not look overworked. Those numbers are useful, but the reason they work becomes clearer once you look at how denim is built.
Why denim needs a different setup than lighter fabrics
Denim is a twill weave, which means the yarns cross in a dense diagonal structure rather than forming a loose plain weave. That gives the fabric its strength, but it also means the needle has to do more work to penetrate it cleanly, especially where seams overlap. A short, dense stitch can make that problem worse by punching too many holes into the same area and leaving the seam stiff.
Bulk is the other issue. On a flat piece of denim, one setting may look fine; on a waistband crossover or a hem with several folded layers, the same setting can suddenly cause skipped stitches, a strained motor, or a needle that bends just enough to start missing the hook. If the denim has elastane, the fabric also wants to move a little after stitching, which is why a plain straight seam can sometimes pop even when it looks neat on the table.That is why stitch length and tension matter so much in the next step.
How to tune stitch length and tension without overcorrecting
I usually start by changing the stitch length before I touch tension. On denim, a longer stitch gives the seam room to sit naturally in the fabric and reduces the perforated, almost paper-like look that a short stitch can create. If the stitch length is too short, the seam can pucker or feel brittle; if it is too long, the seam can look sloppy and may not hold topstitching cleanly.
- Start around 3.0 mm for general seams.
- Move to 3.5-4.0 mm for visible topstitching or very thick areas.
- Adjust tension in small steps, usually one notch or one click at a time.
- Test again after every change on a scrap with the same number of layers.
- Change only one thing at once so you can see what actually helped.
| What you see | What it usually means | What I change first |
|---|---|---|
| Fabric puckers along the seam | Stitch is too short, or upper tension is too tight | Lengthen the stitch by 0.5 mm and retest before touching tension |
| Bobbin thread shows on the top | Upper tension is too loose, or the machine is not threaded correctly | Rethread the machine and raise upper tension one step |
| Loops appear on the underside | Upper tension is too loose, or the thread path has slipped | Check threading first, then tighten tension slightly |
| Needle breaks at cross seams | Needle is too small, speed is too high, or the fabric is being pulled | Switch to a fresh 100/16, slow down, and use a seam leveller |
| Stitches tunnel into the surface | Thread is too heavy for the seam, or pressure is too high | Lower presser foot pressure if possible and keep the bobbin thread standard |
Needles, thread and feet that make denim behave
For denim, the needle does more than make a hole. It has to pass through dense fibres without deflecting, and that is why I reach for a jeans or denim needle rather than a universal needle. The sharp point helps it cut through the weave cleanly, while the heavier shaft keeps it from flexing too much in bulky seams.
| Component | What I use | Why it helps |
|---|---|---|
| Needle | 90/14 for most denim, 100/16 for heavier layers | Reduces skipped stitches, needle flex, and breakage |
| Thread | Good-quality polyester for seams; topstitch thread only where you want the visible finish | Polyester gives strength with a little give, which is useful on jeans seams |
| Bobbin thread | Standard sewing thread, unless your machine and pattern call for something else | Keeps bulk under control and avoids overloading the bobbin area |
| Foot | Standard foot, straight-stitch foot, or walking foot | Helps the fabric feed evenly, especially over seam intersections |
| Plate | Single-hole or straight-stitch plate, if your machine has one | Supports the fabric better and reduces the chance of the needle swallowing the seam |
| Seam helper | Hump jumper or folded scrap of fabric | Levels the foot when you climb over thick crossings |
I would rather replace a dull needle early than spend half an afternoon chasing a problem it created. A fresh denim needle is cheap; a mangled seam or a bent needle plate is not. The real test, though, comes when the fabric piles up at seams, hems, and crossovers.
How to handle bulky seams, hems and crossovers
Bulk is where denim exposes weak preparation. A waistband crossing a side seam, a turned-up hem, or a pocket edge can create a ridge that is much harder than the rest of the garment, and that ridge is what usually causes the machine to complain. I solve most of those problems by reducing the height difference before the fabric ever reaches the needle.
- Grade seam allowances, which means trimming the layers to different widths so they do not stack into one hard block.
- Press seams open or to one side as the pattern allows, because a flat seam is easier for the machine to feed.
- Use a hump jumper or a folded scrap when the presser foot reaches a thick step.
- Slow down and use the handwheel through the thickest spots if the needle starts to sound strained.
- Do not pull the fabric; let the feed dogs move it through at their own pace.
- Topstitch from the right side when you want an even, controlled finish on hems and pocket edges.
A seam that looks perfect on paper can still fail if the machine has to climb a wall of fabric. I think that is why denim sewing frustrates people more than it should: they blame the settings when the real issue is often bulk management. If the fabric itself changes, for example when elastane is added, the setup has to change with it.
How I adjust the setup for stretch denim and lighter weights
Stretch denim is not just denim with a bit of give. It behaves differently under stress, which means a perfectly tidy straight seam can still pop later if the garment needs movement. For those fabrics, I prefer to think about recovery and flexibility as much as I think about stitch quality.
For stretch denim, I use a stitch that allows movement where the seam needs it. On stable structural seams, a straight stitch at around 3.0-3.5 mm can still work, but on areas that need more give, a narrow zigzag or triple stitch is safer. I do not compensate for stretch by tightening tension aggressively; that usually makes the seam look harsh and can reduce the fabric’s natural recovery.
For lightweight denim or chambray, I move down in needle size if the fabric is fine enough, and I keep the stitch a little shorter, around 2.5-3.0 mm. That stops the seam looking too heavy and helps the stitches sit neatly without feeling oversized. This is the point where using a heavy topstitch thread everywhere starts to look unnecessary, so I reserve it for the places the garment really needs it.
In practice, the better question is not “what is the denim setting?” but “what does this specific denim want at this seam, with this thread, on this machine?” That mindset leads naturally to the last check I make before I trust the garment.
The checks I run before I sew the real seam
- I test on a scrap with the same number of layers, not just a flat offcut.
- I confirm the needle is fresh and correctly sized for the weight of the denim.
- I check that the stitches sit balanced on both sides before I touch the garment.
- I make sure the presser foot choice matches the bulk, especially on long seams and hems.
- I sew the first few centimetres slowly, then stop and inspect the back side.
- I keep a seam leveller or folded scrap within reach for every thick crossover.
Denim becomes much easier once you stop treating it like ordinary cotton. My default is simple: a fresh 90/14 or 100/16 denim needle, a straight stitch around 3.0-3.5 mm, normal thread tension, and a slower pace over bulk. If the fabric has stretch, I change the stitch type before I start turning dials. That small bit of discipline usually gives cleaner seams than any single magic setting.
