
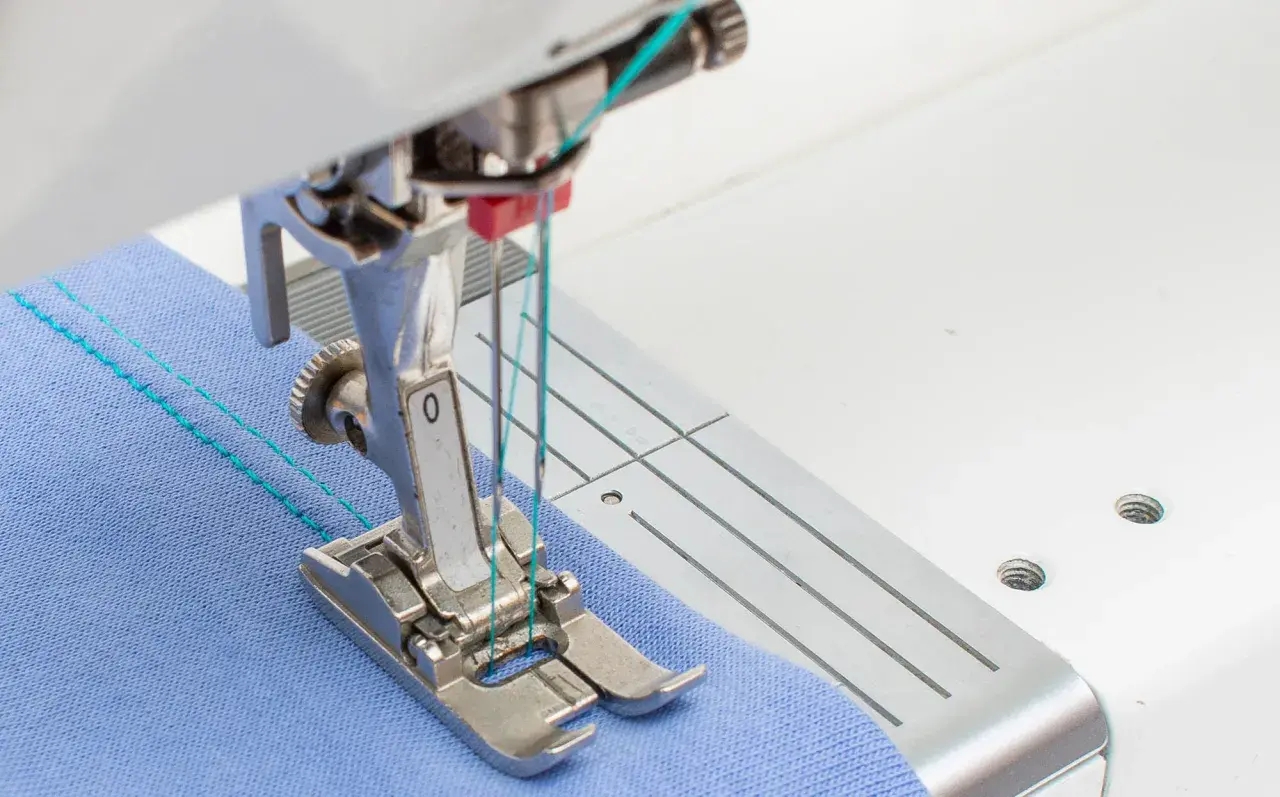
The essentials before you start sewing with a twin needle
- A twin needle uses two upper threads and one bobbin thread to create two parallel rows of stitching.
- Most machines need the standard zigzag foot or the foot recommended in the manual, plus an extra spool pin.
- Start with a 3 mm stitch length and test on scraps before sewing the real hem.
- Use the same thread weight and quality in both needles to avoid uneven stitching.
- For knits, a stretch twin needle is usually the safer choice; for wovens, a universal twin needle often works well.
What a twin needle actually does
A twin needle, sometimes called a double needle, is two needles fixed to one shank. The machine stitches two rows at the same time, while the bobbin thread zigzags underneath to connect them. That creates a finish that looks tidy from the outside and still has a little give, which is why it is so useful for hems on stretch fabrics.
I reach for it when I want the look of neat topstitching without switching to a coverstitch machine. It is not a magic replacement for every finish, though. Very bulky seams, very narrow needle openings, or highly unstable fabrics can still cause skipped stitches or tunnelling, which is when the fabric lifts into a ridge between the two rows of stitching. Once that basic behaviour is clear, choosing the right needle becomes much easier.Choose the right needle, thread, and fabric combination
The spacing between the two needles matters more than most beginners expect. Narrower twin needles are usually better for fine hems and lighter fabrics, while wider ones are better for decorative topstitching and sturdier cloth. I also prefer to match the needle type to the fabric rather than treating every twin needle the same.
| Project | Good starting needle | Best use | My note |
|---|---|---|---|
| Light wovens | 2.0 mm to 2.5 mm universal twin | Neat hems and subtle parallel topstitching | Use fine thread and keep the stitch length moderate. |
| Jersey and rib knits | 2.5 mm to 4.0 mm stretch twin | Hems that need stretch and recovery | This is the safest choice for most everyday knit garments. |
| Denim, canvas, and heavier cottons | 4.0 mm jeans twin | Visible topstitching and stronger visual lines | Check that the needle plate and presser foot give enough clearance. |
| Decorative detailing | Wider twin needle, often 6.0 mm or more | Bold parallel rows on stable fabrics | Only use this if your machine and foot can safely clear the spacing. |
Thread the machine without tangles
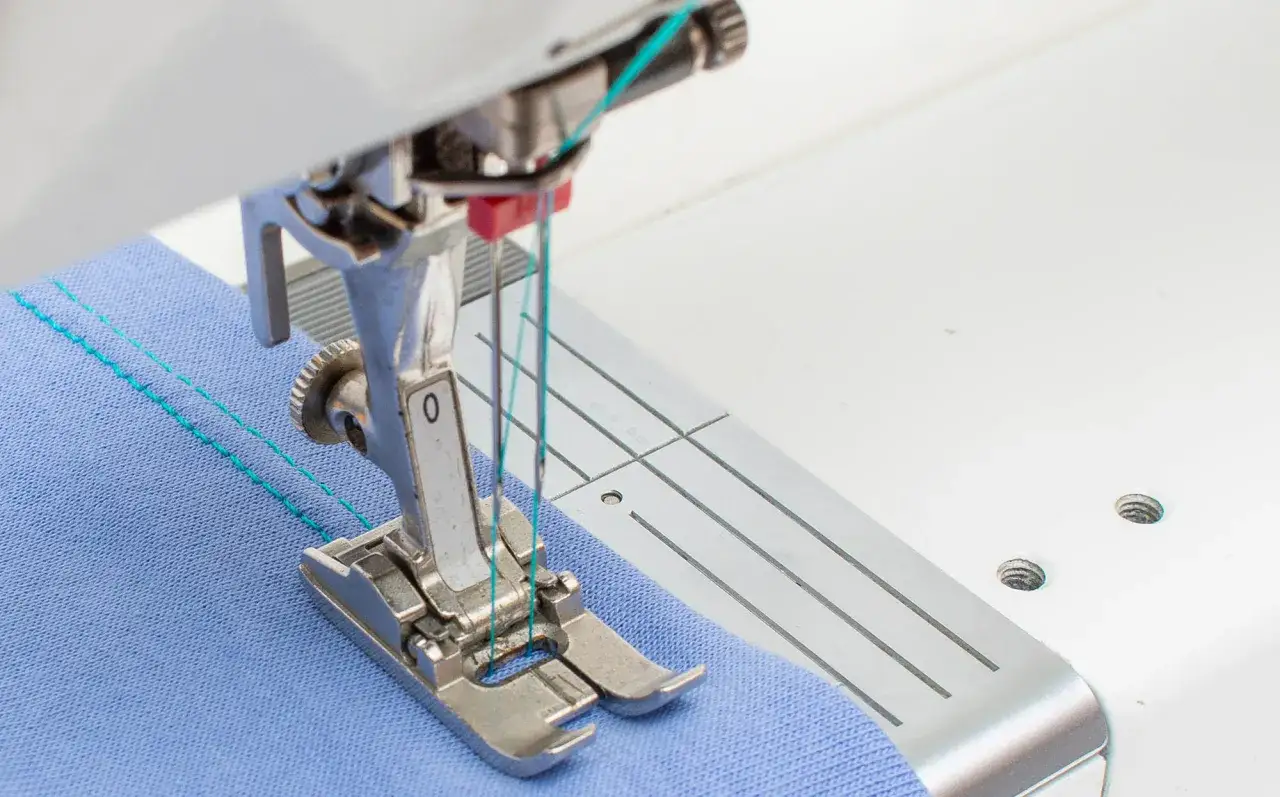
Threading a twin needle is not hard, but it does reward patience. I always raise the presser foot first, because that opens the tension discs and helps the thread seat properly. After that, I thread each line separately and keep the two strands from twisting around each other.
- Turn the machine off and install the twin needle with the flat side facing the back, unless your manual says otherwise.
- Fit the first spool on the main spool pin and thread it through the normal upper path to the left needle.
- Add the second spool on the extra spool pin or thread stand and guide it through the upper path for the right needle.
- Thread both needle eyes from the front to the back by hand.
- Leave the needle threader out unless your machine specifically allows twin-needle use with it.
I also keep one thread on the left side of the path and the other on the right side where the machine allows that separation. It reduces friction and makes the stitch more stable. The bobbin stays the same as usual, so you are not loading a second bobbin or doing anything unusual below the needle plate. Once everything is threaded, I always run a test seam before I touch the actual garment.
Sew a test seam before touching the garment
A scrap test is not optional if you want reliable results. Different fabrics react differently to the same needle, thread, and stitch settings, and a twin needle magnifies those differences. I fold the scrap the same way the real hem will be folded, then stitch along it exactly as I plan to sew the project.
Start with the machine in its twin-needle mode if it has one. If it does not, use a straight stitch with the narrowest safe width your manual allows. For stitch length, 3 mm is a strong starting point. On thicker topstitching, I sometimes move it toward 3.5 mm; on finer hems, I may bring it a little shorter.
The first test tells you three things at once: whether the needles clear the foot, whether the fabric is tunnelling, and whether the stitches look balanced on the wrong side. If the seam looks wrong, the machine is usually asking for a small adjustment rather than a completely different approach. That is where tension and support come in.
Adjust tension, stitch length, and support when the stitches misbehave
Tunnelling is the raised ridge that forms between the two rows of stitching. It is common on lightweight knits and fine woven fabrics, especially if the stitch is too tight or the fabric is not supported enough. Skipped stitches usually point to the needle type, the needle width, or the machine not liking the way the fabric is feeding through.| What you see | Likely cause | What I try first |
|---|---|---|
| Loose loops underneath | Top tension is too loose for the twin needle setup | Increase top tension slightly and test again |
| Fabric ridge between the rows | Tunnelling from too much tension or too much stitch density | Lengthen the stitch and use a stabiliser on the wrong side |
| Skipped stitches | Wrong needle type, dull needle, or width too wide for the machine | Try a new stretch or ballpoint twin needle and check clearance |
| Needles strike the foot or plate | The spacing is too wide for the machine setup | Stop immediately and switch to a narrower twin needle |
| Stitching looks bumpy over a thick seam | The presser foot is losing balance | Use a hump jumper, folded scrap, or a small support under the back of the foot |
For knits, I often add a strip of wash-away or tear-away stabiliser under the hem. It gives the feed dogs something steadier to work against and helps prevent wobble and tunnelling. If your machine has adjustable presser foot pressure, a slight reduction can also help delicate fabrics move more smoothly. After that, it is easier to decide when twin-needle stitching is the best finish and when another method will do a better job.
Where twin-needle stitching works best
The finish is most useful when you want parallel lines that look tidy and purposeful. I use it for hems on jersey dresses, T-shirts, cuff edges, and the neckline of casual garments. It also works well for topstitching on cotton skirts, children’s clothes, and light denim details.
- Best for stretchy hems when you want the stitch to move with the fabric.
- Best for visible topstitching when you want a cleaner, more deliberate look than a single line.
- Best for lightweight to medium fabrics that can feed evenly under the foot.
- Less suitable for bulky seams unless the needle spacing and machine clearance are generous.
- Less suitable for very curved edges if the fabric tends to distort under pressure.
For a lot of home sewing, a twin needle gives you a convincing coverstitch-style finish without another machine on the table. It is not identical, because the underside still behaves like a zigzag and the stretch is different, but in practice it is often more than enough. The last check is the one that keeps the result neat and prevents avoidable damage to the machine.
The finishing checks I never skip after twin-needle stitching
When the seam looks right, I do not stop at the garment itself. I remove the twin needle, switch back to a single needle if I am done with the project, and reset the stitch mode so I do not forget later. If the machine has a saved twin-needle setting, I still run a quick handwheel check before the next project.
- Save the needle width that worked so you can repeat it on the next garment.
- Keep a note of the stitch length and tension that gave you the cleanest underside.
- Replace the twin needle if it starts making dull holes, skipping stitches, or bending.
- Keep an extra spool pin or thread stand close to the machine so threading stays quick.
That is the practical core of how to use a double needle on a sewing machine: pick the right needle, thread both spools carefully, test on scraps, and fine-tune the stitch before you sew the actual hem. Do that, and the finish looks deliberate rather than improvised.
