
The essentials before the first stitch
- Finish and press the raw edge first, or the foot will follow an uneven fold.
- Keep the fold snug against the guide and aim for only a tiny bite into the main fabric.
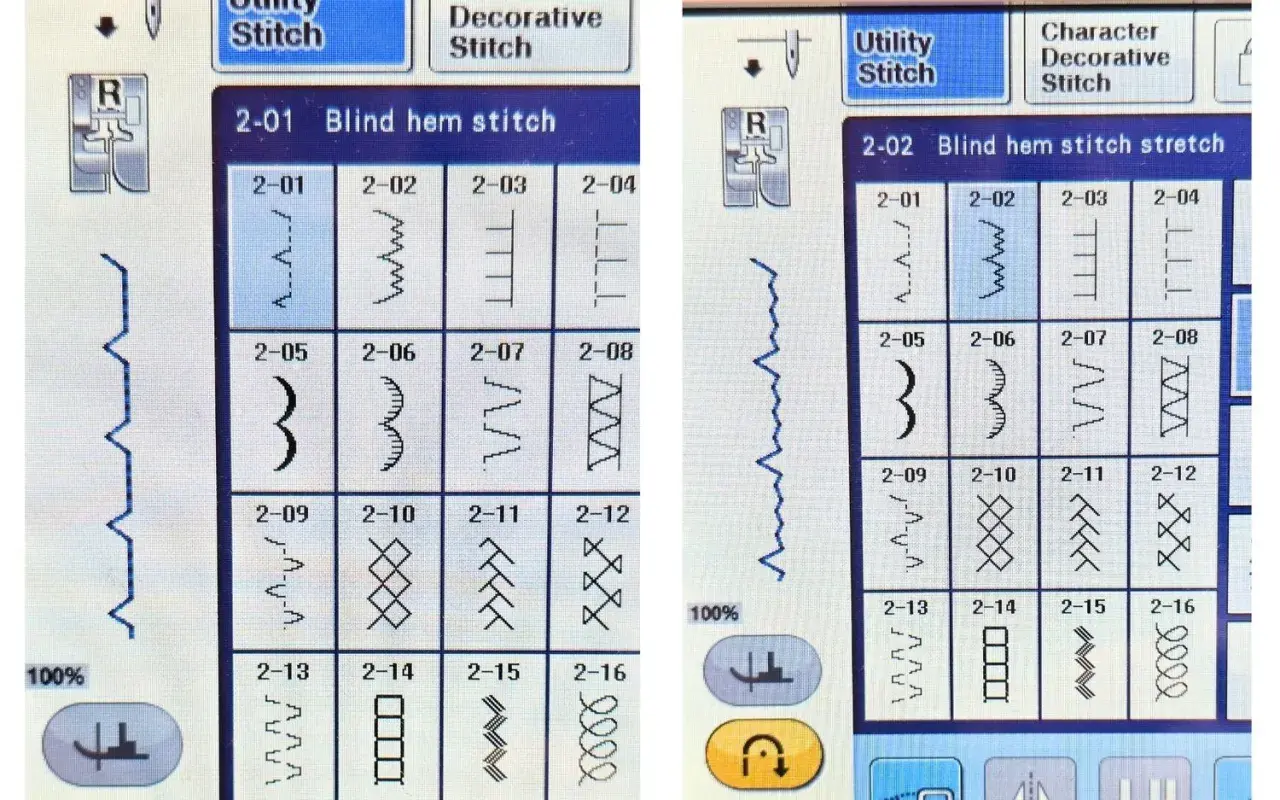
- Use the machine’s blind hem stitch or stretch blind hem stitch, not just the foot alone.
- Start with a test scrap and fine-tune stitch width, needle position, or guide placement.
- Woven fabrics and knits behave differently, so the same setting rarely works perfectly for both.
What the blind hem foot is doing for you
I treat the blind hem foot as a guide, not a shortcut. The foot keeps the folded edge running in a straight line while the needle makes a mostly hidden stitch that grabs only a tiny bite of the main fabric. That is why the finish looks clean from the outside but still holds firmly on the inside.
This works best on hems that need to disappear on a garment such as trousers, skirts, dresses, and many curtains. It is less forgiving on very thin, sheer, or slippery fabrics because the stitch can show through or drift off the fold if the fabric is not pressed and controlled. Once you understand that relationship, the next job is preparing the hem so the guide has something clean to follow.
Prepare the hem so the foot can stay accurate
Start by finishing the raw edge. I usually use an overlocker on stable fabrics, or a narrow zigzag if that is all the machine allows. Then press the hem allowance to the wrong side, and fold it back on itself so a small section of the folded edge is exposed for stitching. About 5 mm (3/16 in) of fabric extending beyond the fold is a practical starting point on many garments.
- Trim bulky seam allowances where the hem crosses side seams.
- Clip curves and corners so the fold lies flat.
- Use pins or clips close to the fold, not through the path of the foot.
- Press the fold firmly; the guide works best when the edge is crisp.
If the fold is soft or uneven, the foot will only copy the problem. Once the hem is prepared properly, setting the machine becomes much easier.
Set the machine and foot before you sew
Different machines handle the blind hem slightly differently, so I always check the manual first. Some machines want a dedicated blind hem stitch, others use a stretch blind hem for knits, and some ask you to adjust the stitch width, needle position, or the guide on the foot itself.
| Setting | What I start with | Why it matters |
|---|---|---|
| Stitch type | Blind hem stitch for woven fabrics; stretch blind hem stitch for knits | The stitch shape decides whether the hem stays hidden and flexible |
| Stitch length | Around 2 to 2.5 mm | Long enough to move smoothly, short enough to hold the fold neatly |
| Stitch width | Around 3 mm as a starting point | Controls how far the needle swings into the fold |
| Tension | Normal, unless the fabric tunnels or puckers | Too much tension can distort the hem and make the stitch show |
| Guide position | Adjusted so the needle just catches the fold | The guide is what keeps the stitch repeatable and nearly invisible |
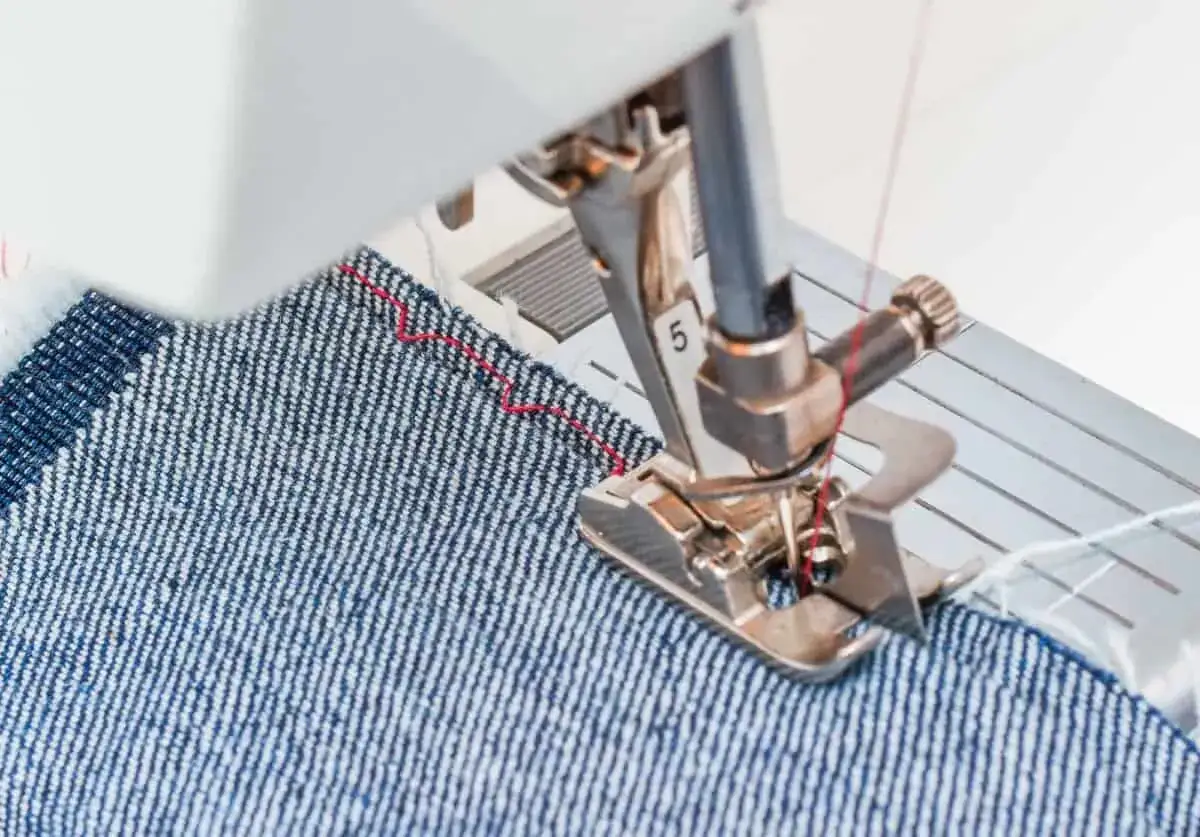
If your foot has a thumb wheel or screw, move the guide so the needle just catches the fold without showing on the right side. I also like to turn the handwheel through the first stitch by hand before I commit to sewing. That tiny check saves a lot of unpicking later.
Sew the hem in a controlled rhythm
Now the actual sewing is simple, but only if you refuse to rush it. Place the hem under the foot so the guide rides along the fold, lower the presser foot, and turn the handwheel until the first few stitches are exactly where you want them. The goal is a tiny bite into the fold, not a deep zigzag into the body of the fabric.
- Start a few stitches before the seam join or at a side seam on tubular items.
- Keep the fold snug against the guide without pushing it sideways.
- Sew slowly for the first 5 to 10 cm so you can check the bite.
- Stop and inspect after the first section; adjust before continuing if the stitch is showing.
- Use the free arm for trouser legs, sleeves, and other circular hems if your machine has one.
That first check matters more than most people expect. If the stitch is barely missing the fold, a tiny adjustment now saves a lot of unpicking later. The next step is learning how fabric type changes those adjustments.
Match the method to woven and knit fabrics
Woven fabrics usually want a firmer fold and a slightly narrower bite. Knit fabrics are more forgiving in one sense and less forgiving in another: they hide a stitch well, but they also stretch and distort more easily if you pull them through the foot. That is why I prefer to treat wovens and knits as two different jobs, not just two versions of the same stitch.
| Fabric type | Best starting point | What usually changes |
|---|---|---|
| Light to medium woven | Standard blind hem stitch | Narrow the bite if the stitch shows on the right side |
| Knits and jersey | Stretch blind hem stitch, if available | Use a little more give and avoid stretching the hem as it feeds |
| Heavy wool or denim | Take a smaller hem allowance where possible | Grade bulk at seams so the foot does not climb over the thickness |
| Very sheer or slippery fabric | Test carefully on scraps first | Hand basting may control the fold better than pins alone |
On knits, I am cautious about over-tightening the stitch. If the hem stretches while sewing, it can wave after pressing. Once you know which fabric family you are dealing with, the usual mistakes become easier to recognise and fix.
Fix the mistakes before they become a whole hem
Most blind-hem problems are not mysterious. They usually come from either the fold, the guide, or the stitch width being a touch off. I would rather correct those three things than keep turning the dial and hoping the machine will compensate.
| Problem | Likely cause | Quick fix |
|---|---|---|
| Stitch shows on the right side | Too much fabric is being caught | Narrow the stitch or move the guide slightly closer to the fold |
| The hem does not catch the fold | The needle is not reaching far enough left | Widen the stitch a little or move the guide away from the fold |
| Puckering along the hem | Fabric is being pulled or tension is too firm | Relax your hands, lower the tension if needed, and press again |
| Skipped stitches over seams | Too much bulk | Trim and grade seam allowances, then sew more slowly |
| Wobbly line | Fold is not staying snug against the guide | Re-press, use more clips, and slow down at the start |
If you only remember one troubleshooting habit, make it this: test on a scrap before touching the garment. A 20 cm sample tells you more than a guess ever will. That also tells you whether you are better off with the foot, a hand blind stitch, or a different finish altogether.
The habits that make the next blind hem easier
A blind hem foot is useful, but it is not the best answer for every project. For very delicate couture fabrics, a hand blind hem can give you more control. For extremely bulky hems, a machine blind hem may leave marks or struggle over seams. And if the garment is supposed to look deliberately topstitched, there is no reason to hide the stitching at all.
My practical rule is simple: use the blind hem foot when you want speed, consistency, and a clean right side. Use another method when the fabric is too fragile, too thick, or too fussy to stay obedient under the foot. If you keep a note of the stitch setting, fabric type, and guide position that worked, the next hem becomes far less trial-and-error. That is the part people often skip, and it is where the real time savings are.
Once you have that habit, the foot stops feeling finicky and starts behaving like a reliable finishing tool.
