
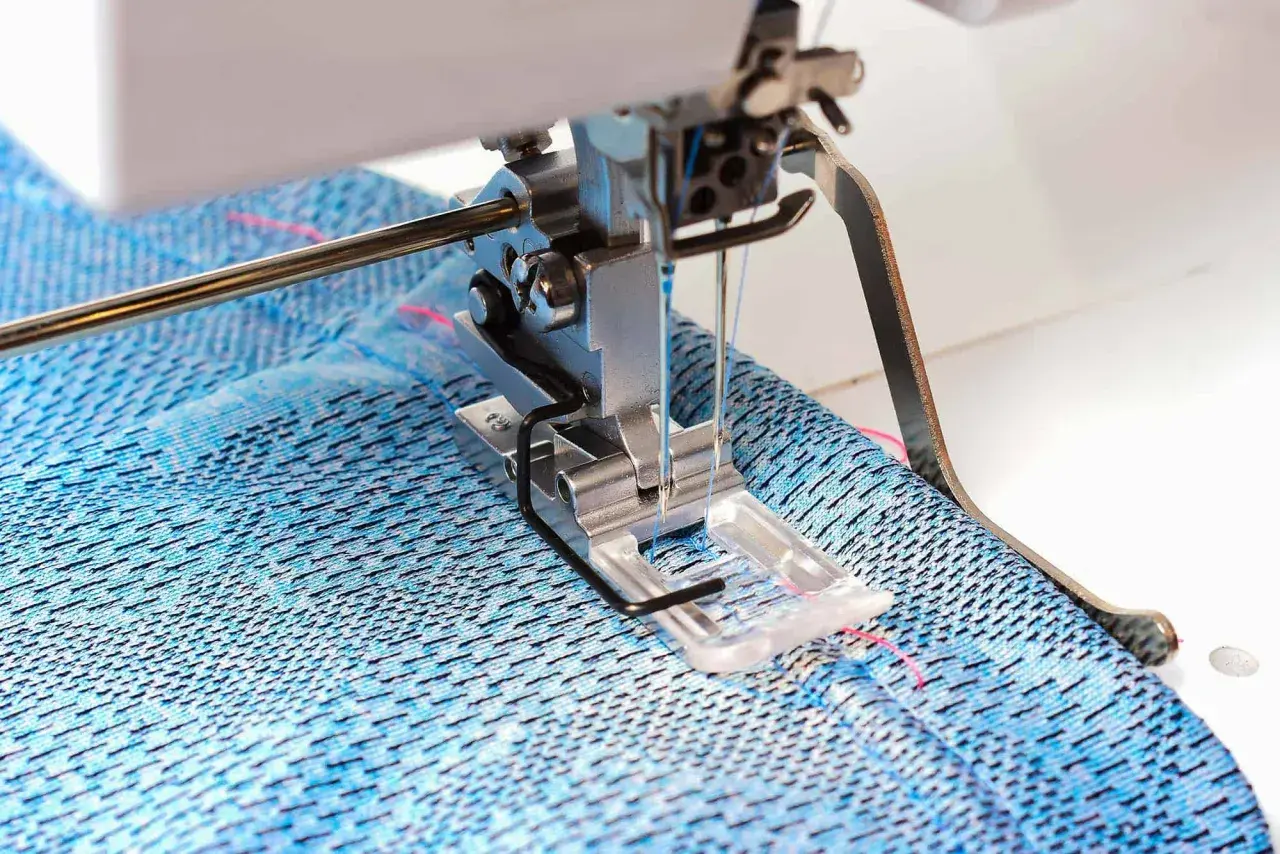
A well-made coverstitch hem gives knit garments the clean, store-bought finish that a plain straight stitch rarely matches. It keeps the fabric stretchy, sits flat at the side seams, and makes tees, leggings, dresses and childrenswear look deliberate rather than homemade. In this article I cover what the stitch is doing, how I set the machine up, and the fixes I use when hems go wavy or start skipping stitches.
Key points to know before you start
- It works best on stretch fabrics that need the hem to move with the garment.
- A 25 mm / 1 in hem allowance is a practical starting point for many knits, but the exact fold depth depends on fabric bulk and stitch width.
- Needle choice, thread quality and differential feed affect the finish more than most people expect.
- Always test on scraps cut from the same fabric before hemming the actual garment.
- If you do not have a coverstitch machine, a twin needle is the closest domestic alternative.
Why this finish works so well on knits
I like this stitch because it solves a specific problem: knits need stretch at the edge, but hems also need to look neat from the outside. The machine lays down parallel rows on the right side and locks the fabric underneath with looper threads, which means the hem can flex instead of snapping the way a fixed straight stitch can.
That is why I reach for it on T-shirts, jersey dresses, leggings, sleepwear and activewear. The finish is strong enough for repeated washing, but it still feels soft and wearable. On woven fabrics, I usually choose another method because the stretch advantage is the real reason this technique works so well.In practice, I think of it as a balance between structure and give. Once you understand that balance, the sewing process becomes much easier to control.
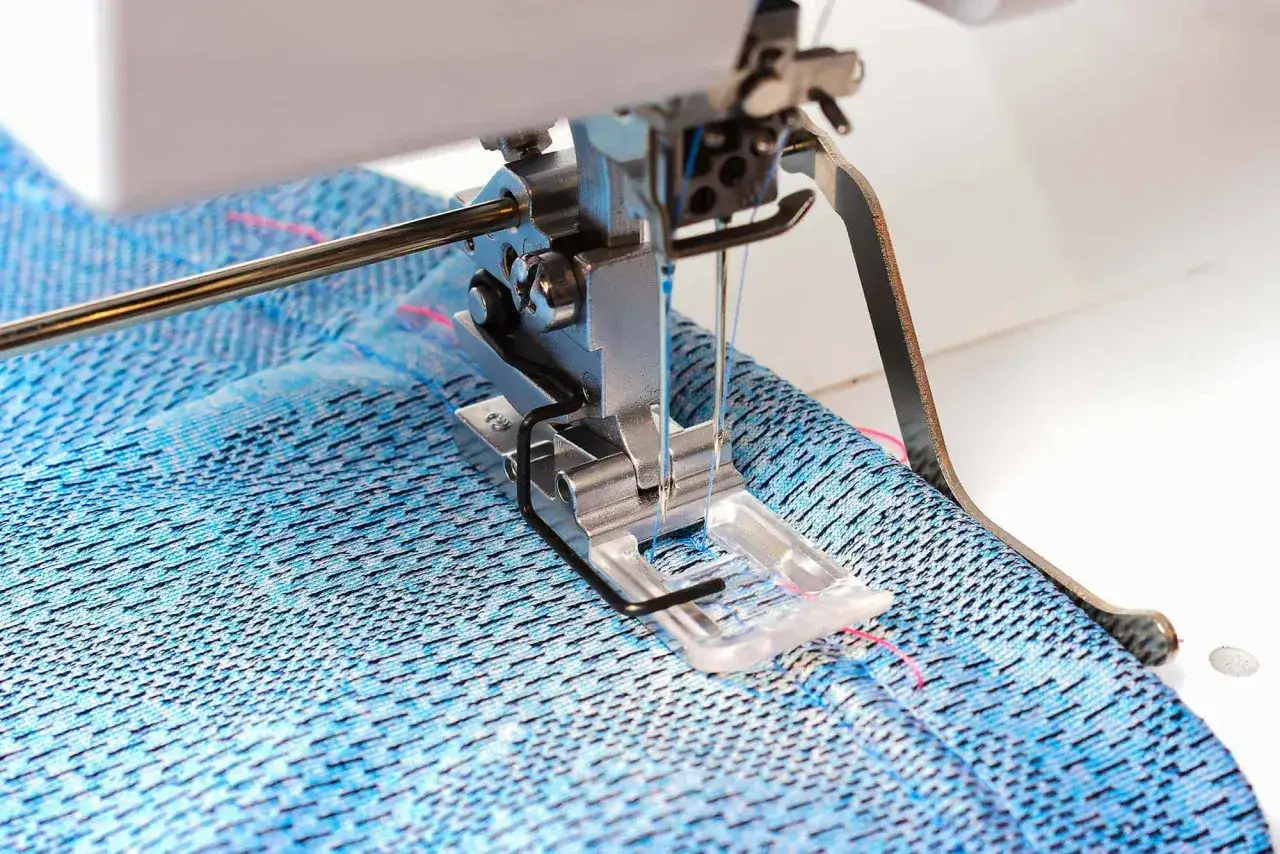
How I sew the hem step by step
When I want a clean result, I slow the process down at the beginning and let the machine do the work once the fold is set. The key is to make the fabric behave before the first stitch is sewn.
- Press the fold first. I set the hem allowance, usually around 25 mm / 1 in on a first pass, then press it firmly so the edge is predictable.
- Trim and tame bulk. If the side seam is thick, I grade or clip the allowance at the fold. On very unstable knits, a narrow strip of wash-away stabiliser or knit stay tape can stop the edge from wandering.
- Thread the machine and test on scraps. I always test with the same fabric, the same fold depth and, ideally, a seam crossing. That is where problems usually show up.
- Line up the guide. I place the folded edge where the needles will straddle it and use the bed markings or hemming guide to keep the line straight.
- Sew without pulling. I steer the fabric, but I do not stretch or push it. Letting the feed dogs move the cloth evenly makes a bigger difference than sewing faster.
- Overlap the start and finish. I sew 2-3 cm, about 1 in, over the beginning of the seam before chaining off, then secure the tail in a way that suits the garment.
If I am hemming a sleeve or skirt in the round, I also support the garment on the table so the weight of the fabric does not drag the edge out of shape. Once the fold and stitching path are stable, the machine settings become much easier to tune.
Machine settings that change the result the most
This is the part many people rush, but it is also the part that usually decides whether the hem looks polished or temperamental. I treat the manual as the starting point, not the finish line, because small adjustments make a noticeable difference on different knits.
| Setting | What I start with | Why it matters |
|---|---|---|
| Needles | The needle system the manual specifies, often a stretch type such as ELx705 in 80/12 or 90/14 | Wrong needles are one of the fastest ways to get skipped stitches |
| Thread | Quality polyester thread, ideally on cones if the machine feeds them well | Polyester keeps a little give and stands up to regular washing |
| Stitch length | Around 2.5-3.5 mm | Too short can create tunnelling, which is the ridge that forms between the rows on the right side |
| Differential feed | Neutral first, then moved in small steps during testing | The differential feed is the ratio that lets the feed dogs move fabric at different rates, which helps control waviness or stretching |
| Tension | Balanced so the loops sit neatly at the edge without puckering | Too much tension can pull the layers into a ridge; too little leaves loose loops underneath |
| Foot pressure | Light enough that the knit still moves freely | Too much pressure flattens and distorts soft jerseys |
I usually sew a short sample after each adjustment rather than changing several dials at once. If the stitch starts tunnelling, I loosen the looper tension first. If the fabric waves, I recheck the feed and how hard I am handling the cloth before blaming the machine. For a narrower everyday hem, two needles are usually enough; for a broader, sportier look, three needles can be worth using on heavier knits.
Fabrics and hems that behave best
Some fabrics are forgiving, and some need more patience. I treat this finish as a knit specialist rather than a universal hem solution, because the fabric structure matters just as much as the machine.
| Fabric | What I expect | How I approach it |
|---|---|---|
| Cotton jersey | Medium stretch and fairly stable | A good starting point for tees and everyday tops |
| Viscose jersey | Very drapey and easy to distort | Support the fabric well, sew a little slower, and keep the fold exact |
| Rib knit | Very stretchy with strong recovery | Great for cuffs and hems, but I watch the edge so it does not get stretched out |
| French terry | Medium weight with bulk at seams | Trim and grade the seam allowances before stitching across the hem |
| Ponte | Stable and dense | Works well, but I keep an eye on tunnelling because the fabric is firmer |
| Woven fabric | Little or no stretch | I usually choose another hemming method unless I want the look for a specific reason |
On very lightweight knits, I sometimes use a narrow strip of water-soluble stabiliser so the edge stops twisting while I sew. On thicker fabric, I care more about reducing bulk and keeping the fold crisp. The fabric decides which problem matters more.
When a twin needle or overlocker is the smarter choice
The best method depends on how often you sew knits and what machine you already own. I would rather choose the right tool than force one technique to do a job it was never designed for.| Method | Best for | Strengths | Limitations |
|---|---|---|---|
| Coverstitch machine | T-shirts, leggings, sportswear and repeated knit garment sewing | Professional look, strong stretch, fast once set up | Needs a dedicated machine and a little more setup time |
| Twin needle on a sewing machine | Occasional knit hems on a standard machine | Affordable, accessible and good for many everyday projects | The underside has a zigzag effect and the finish is less refined over thick seams |
| Overlocker edge finish | Lightweight decorative edges or raw-edge finishing | Fast and tidy for some projects | Not a true hem and not the same look as a proper cover finish |
The faults I see most often and how I correct them
- Wavy hem. This usually means the fabric is being stretched as it feeds. I support the garment better, ease off my hands, and adjust the differential feed in small steps until the edge lies flat.
- Skipped stitches. This often points to the wrong needle type, a dull needle, or imperfect threading. I change to fresh needles, rethread with the presser foot raised, and test again before changing tension.
- Tunnelling. This is the little ridge that forms between the parallel rows on the right side. I loosen the looper tension first, then lengthen the stitch slightly if the ridge is still obvious.
- Loose loops underneath. I check that every thread is in its path and that no cone is catching on a rough edge. One missed guide can make the whole hem look slack.
- Broken needles at side seams. Bulky seams are the usual culprit. I trim and grade the allowances, or use a hump jumper, which is a small clearance aid that keeps the foot level as it crosses the bulk.
If I spend more than one test strip chasing the same fault, I stop and rethread from scratch. That reset fixes more problems than most people expect, and it keeps me from making three adjustments when only one was necessary.
The finishing habits that keep the result looking ready to wear
- I press the hem before sewing, not halfway through.
- I test on the exact fabric and seam thickness I will use on the garment.
- I keep the garment supported so gravity does not pull the edge off line.
- I check the underside chain and press the finished hem lightly afterwards.
When those habits become automatic, the machine feels much less temperamental. That is the real advantage of this technique: once the setup is right, it gives you a strong, stretchy hem that looks clean from both sides and holds up well after repeated washing.
