
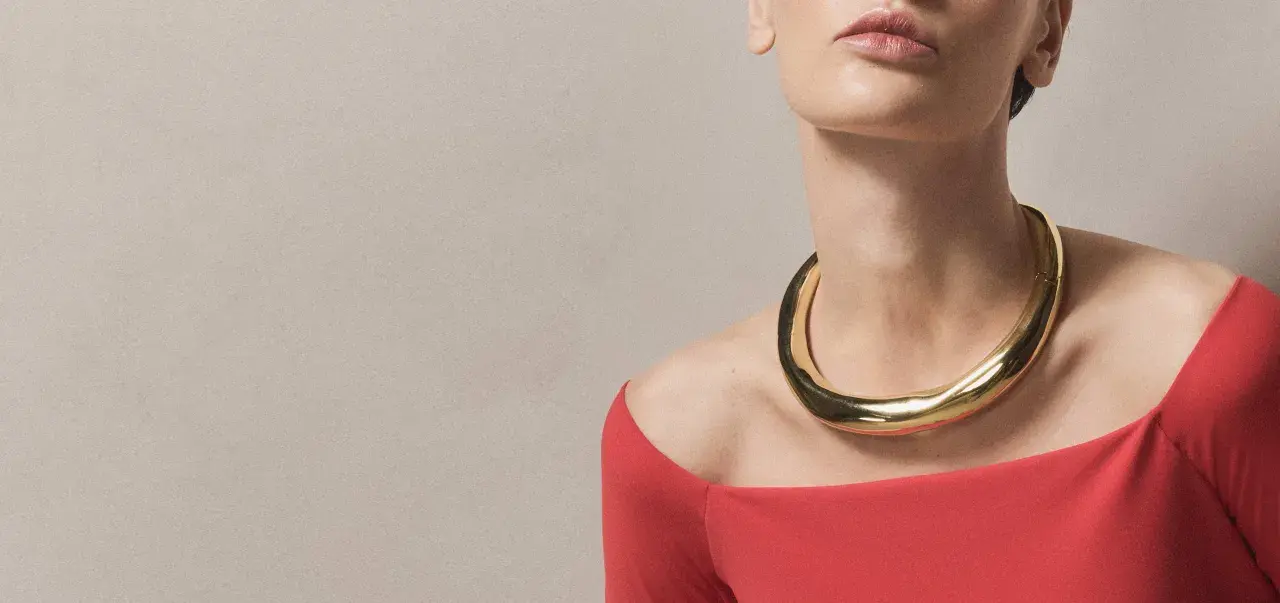
A curved neckline is one of those garment details that looks simple on the outside, but it changes the whole balance of a top or dress. The edge wants to stretch, the facing wants to roll, and a few millimetres of handling can make the finish look either crisp or uneven. This guide explains how the shape behaves, which finish suits which fabric, and the small sewing steps that keep the edge flat, neat, and comfortable.
The practical takeaways for a cleaner neckline finish
- Rounded neck openings stretch easily, so stabilising the edge first matters more than sewing quickly.
- Facing works well on structured woven fabrics, bias binding suits lighter garments, and bands are usually better for knits.
- Staystitching, clipping, grading, and understitching are the steps that stop the neckline from waving or rolling.
- Many neckline problems are fit issues rather than sewing mistakes, especially if the front gap is already visible in the pattern.
- For jersey and rib knits, a neckband is often cut about 10-15% shorter than the opening so it can recover properly.
Why a rounded neck opening behaves differently
The neck edge is not just another seam. Because it sits on a curve, part of it works against the grain of the fabric, which means it can grow, ripple, or twist if you handle it roughly. That is why I treat neckline sewing as a control job first and a finishing job second.
On woven fabrics, the most useful habit is staystitching, which means sewing a line of stitches just inside the seam allowance to stop the curve from stretching out. On a standard 1.5 cm seam allowance, I usually staystitch about 6 mm from the raw edge with a normal stitch length of 2.5 mm, working from shoulder toward centre front and centre back on each side. If your pattern gives a different seam allowance, follow that instead, but keep the principle the same: stabilise before the fabric gets a chance to grow.Once you understand that behaviour, the next decision is not how to force the curve flat, but how to finish it in a way that suits the fabric.
Choosing the finish that matches the fabric
There is no single correct finish for every neckline. The best choice depends on the fabric weight, how much structure the garment needs, and how visible the inside will be when you wear it.
| Finish | Best for | Strengths | Trade-offs |
|---|---|---|---|
| Shaped facing | Blouses, dresses, jackets, firmer wovens | Clean inside finish, good shape retention, easy to line or interface | Can add bulk if the fabric is heavy; needs careful understitching |
| Bias binding | Lightweight woven fabrics, soft neck edges, unlined garments | Lies smoothly around curves, less bulky than a full facing, neat on the inside | Needs accurate pressing; a poor strip length can pull or ripple |
| Neckband or rib band | Jersey tops, T-shirts, sweatshirting, stretch garments | Comfortable, flexible, supports the edge while allowing stretch | Wrong stretch recovery can make the edge wave or stand away from the body |
| Self-fabric binding | Light knits, simple casual pieces, decorative finishes | Soft against the skin, matches the garment visually | Can distort if the knit is too stretchy or too thin |
If I want a polished result on a structured blouse, I usually reach for a shaped facing. For a lighter summer top, I often prefer bias binding because it reduces bulk and sits more softly. For stretch garments, the neckband does the real work, so the edge can move with the body instead of fighting it. With that choice made, the sewing itself becomes much more predictable.
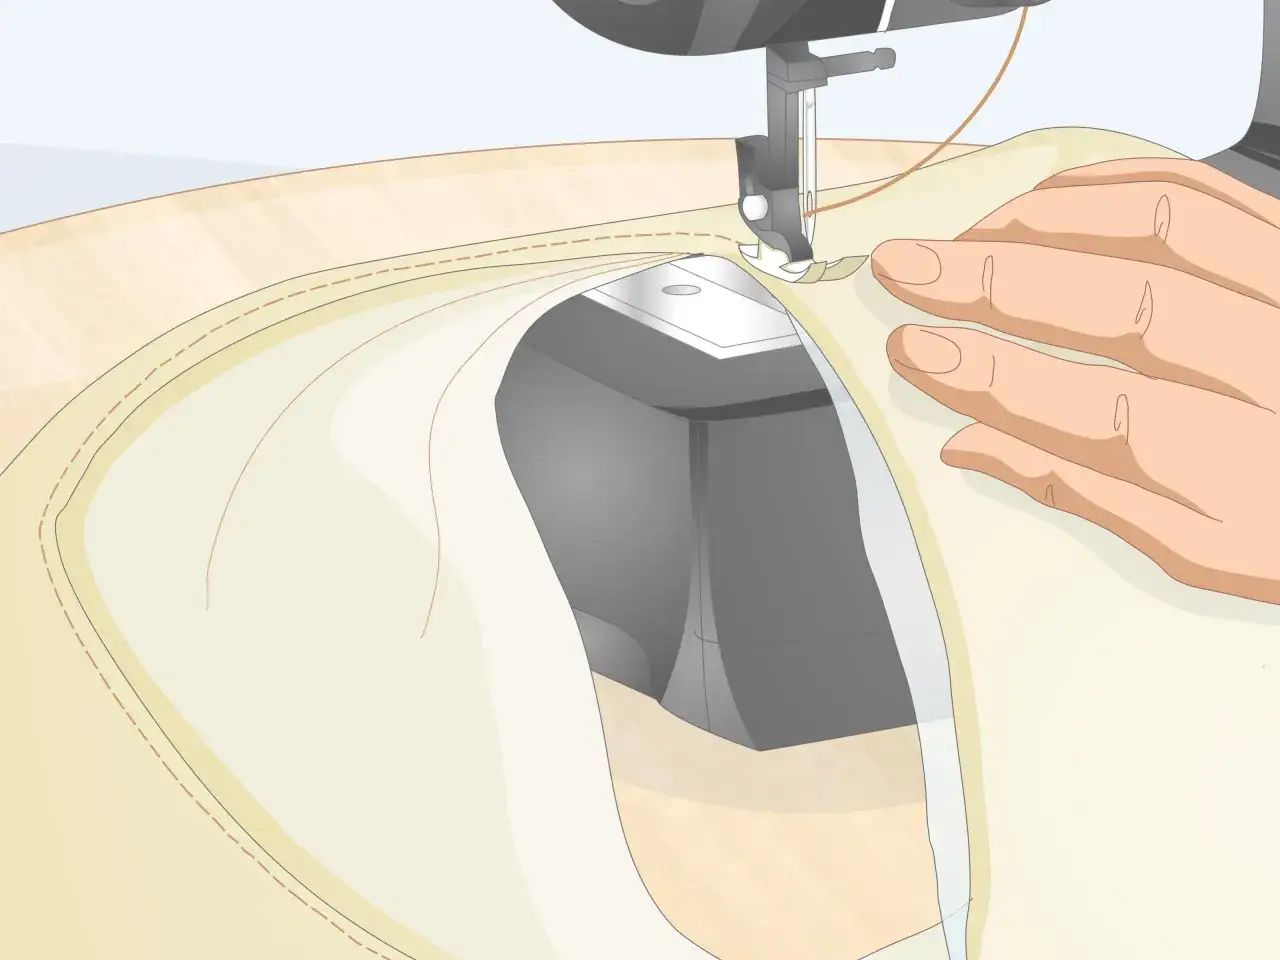
The cleanest way to sew a woven neckline
- Staystitch the neckline first. This keeps the curve from relaxing before it is finished.
- Sew the shoulder seams and press them open if the pattern allows it. A neckline is easier to handle when the garment is already shaped.
- Interface the facing with a lightweight fusible if the main fabric is soft, loosely woven, or prone to drooping.
- Join the facing to the neckline, matching notches and shoulder points carefully. Accuracy here matters more than speed.
- Trim and grade the seam allowance. Grading means cutting each layer slightly narrower than the one below it, so the edge does not become a thick ridge.
- Clip the curve on an inside curve every 1-2 cm, stopping 1-2 mm before the stitching line. This lets the allowance spread when turned.
- Understitch by sewing the facing to the seam allowance 2-3 mm from the original seam line. That helps the facing stay inside instead of rolling out.
- Press, then cool the seam flat before moving the garment. Pressing sets the shape; dragging it around before it cools can undo the work.
That sequence sounds fussy until you do it once or twice, and then it becomes the normal way to get a neat edge. The real benefit is not just appearance: a well-finished neckline feels better because it sits smoothly against the body instead of flipping, digging, or twisting. The next step is knowing what can still go wrong after the seam is sewn, because most neckline problems appear during pressing and turning.
What usually goes wrong and how to fix it
Most bad necklines come from a small number of avoidable mistakes. Once you can recognise the symptom, the fix is usually straightforward.
| Problem | Likely cause | What to do instead |
|---|---|---|
| Wavy edge | The neckline was stretched while stitching, clipping, or pressing | Staystitch earlier, handle the fabric flat, and press without pushing the iron across the curve |
| Facing rolls to the outside | Understitching was skipped or the facing is too heavy | Understitch, trim the allowance more carefully, and choose lighter interfacing next time |
| Front gaping | The pattern neckline is too wide or too deep for the body shape | Adjust the pattern first; sewing alone cannot fully correct a poor neckline shape |
| Bulky shoulder area | Too much seam allowance was left at the join | Grade the shoulder and neckline seams so the layers taper smoothly |
| Uneven curve | Notches were missed or the seam wandered off the line | Mark the stitching line clearly and sew slowly around the tightest part of the curve |
Knits need a different approach
With jersey and other stretch fabrics, I stop thinking like I am making a stable woven edge and start thinking about recovery. A knit neckline should stretch when you pull it on, then return to shape without sagging, so the band or binding has to be cut and attached with that in mind.
For most medium-stretch jersey garments, a neckband is a good starting point when it is about 10-15% shorter than the neckline opening. That shortfall gives the band enough tension to sit neatly without forcing the fabric to pucker. Very stretchy ribbing may need a slightly different ratio, so I still test on scraps whenever the fabric is unusually soft, heavy, or slippery.
Clear elastic or stay tape can also help at the shoulder seams if the garment wants to grow while being worn. I usually use a narrow zigzag or another stretch stitch when sewing knits, because a straight stitch can pop when the neckline is pulled over the head. The main rule is simple: do not stretch the neckline while attaching the band. Let the band do the shaping work, not your hands.Once the fabric type changes, the final details matter again, and that is where a few small habits can make the neckline look far more intentional.
The final checks that make the finish look intentional
Before I call a neckline done, I check three things: the curve lies flat, the facing or band stays inside, and both shoulder seams sit evenly. If any one of those is off, I fix it before moving on to the rest of the garment.
On lighter fabrics, a narrow line of topstitching can look crisp, but I only use it when the fabric and style can support it. On very soft or delicate cloth, topstitching may show every tiny wobble, so understitching and a strong press are often the better choice. In other words, the cleanest neckline is not always the most visible one; it is the one that suits the garment and does not fight the fabric.
If you want a reliable result, keep the order consistent: stabilise, sew, trim, clip, understitch, press, and only then decide whether the edge needs any decorative stitching. That sequence gives you the best chance of a smooth, comfortable neckline that looks deliberate from both sides.
