
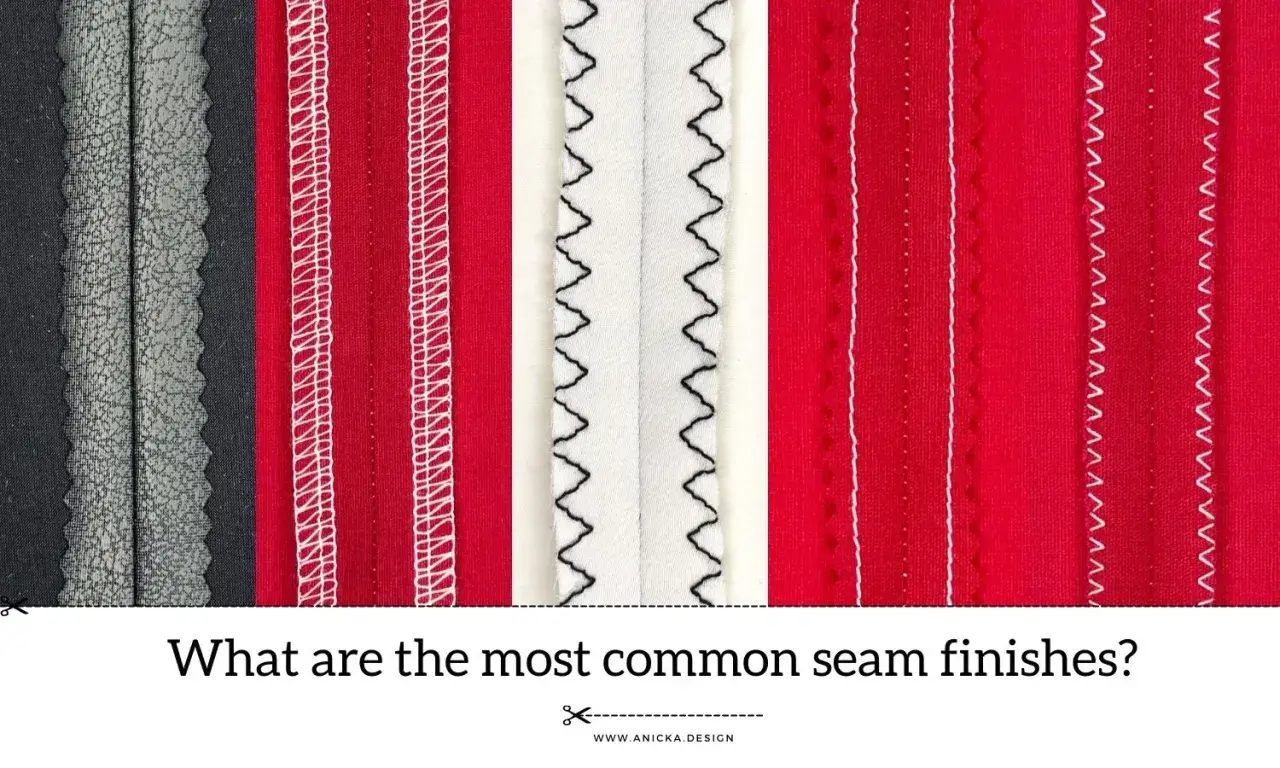
Joining fabric by hand is slower than using a machine, but it gives you control where it matters: small repairs, delicate fabrics, costume work, and places where a machine cannot reach. If you are learning how to hand sew a seam, the real skill is not fancy equipment; it is choosing the right stitch, keeping the seam allowance consistent, and finishing the raw edges properly. The goal is a seam that lies flat, holds its shape, and survives wear instead of fraying apart.
The essentials you need before the first stitch
- Backstitch is the safest default for a durable hand-sewn seam.
- Running stitch is faster, but I mainly use it for temporary seams or low-stress joins.
- Keep the seam allowance consistent, usually around 1 cm to 1.5 cm unless the pattern says otherwise.
- Press, pin, and mark the stitch line before sewing if you want the seam to stay straight.
- Finish raw edges with overcasting or a French seam when the fabric frays easily.
- Small, even stitches and controlled tension matter more than speed.
Choose the right hand stitch for the seam
For most seams, I start by asking one question: does this seam need strength, or just temporary holding power? That answer determines the stitch. A seam that has to survive regular wear needs a stitch that locks itself in place, while a fitting seam, toile, or quick repair can be stitched more quickly.
| Stitch | Best for | Strength | My take |
|---|---|---|---|
| Running stitch | Temporary joins, basting, very light use | Low to medium | Fast and easy, but not my first choice for a seam that will be pulled or washed often. |
| Backstitch | Structural seams, repairs, durable joins | High | The closest hand stitch to a machine seam and the one I rely on most. |
| Running backstitch | Longer seams that need a balance of speed and strength | Medium to high | A practical compromise when you want a seam to move faster than pure backstitching. |
If I am sewing a shoulder, side seam, or any area that will take tension, I choose backstitch without hesitation. If I am only tacking pieces together before a final fitting, a running stitch is enough. That choice matters because the stitch itself decides whether the seam behaves like a real join or just a temporary hold, and the next step is preparing the fabric so that whichever stitch you pick actually lands where it should.
Prepare the fabric so the seam stays straight
A neat hand-sewn seam starts before the needle even touches the cloth. I always press the fabric first if it has creases, because a wrinkled edge changes the line you are trying to sew. Then I mark the seam allowance, align the pieces right sides together, and pin or tack them so they do not drift.
- Mark the seam line with tailor’s chalk or a fabric pencil if you want accuracy.
- Use the pattern’s seam allowance if one is provided; if not, 1 cm to 1.5 cm is a practical starting point for many woven fabrics.
- Match notches, corners, and grain lines before stitching, especially on garments.
- Pin every 5 cm to 7 cm on straight seams, and pin more closely on slippery or curved fabric.
- Thread only 40 cm to 50 cm at a time so the thread does not twist and knot itself halfway through the seam.
I also use a needle that feels comfortable in the fabric, not just one that happens to be nearby. A fine needle suits lightweight cotton or lawn, while a sturdier needle handles denim or canvas better. Once the pieces are lined up and the stitch line is clear, the seam becomes much easier to control, which is exactly what the next step depends on.
Sew the seam step by step
When I sew by hand, I work methodically rather than trying to copy machine speed. The seam improves when each stitch is consistent, slightly tensioned, and placed in the same relationship to the edge every time. For beginners, I would treat the backstitch as the default method and only switch to a running stitch when the seam is temporary.
- Start on the wrong side or inside the seam allowance so the knot does not show on the right side.
- Take the first small anchor stitch, then come back through the same area to lock the thread in place.
- For a backstitch, bring the needle up a short distance ahead, then go back into the end of the previous stitch and out again further along the line.
- Keep each stitch small and even, roughly 3 mm to 4 mm long for a secure seam.
- Pull the thread snug, not tight. The fabric should lie flat without puckering.
- Check the alignment every few stitches, especially on curves or at points where the fabric wants to stretch.
- Finish with two or three tiny locking stitches, then hide the thread tail inside the seam allowance.
If you use a running stitch, the motion is simpler: up, down, up, down, with short even passes through both layers. It is quicker, but the seam is less secure unless the stitches are close together. That is why I reserve it for basting or for seams that will not be under much strain, and then I move on to the part that many beginners skip altogether: the edge finish.
Finish the raw edge so the seam survives wear
A seam is only half done if the raw edges are left to fray. That is especially true with loosely woven cottons, linens, and fabrics that unravel as soon as they are cut. If the inside edge is not protected, the seam may still hold today but start looking tired after a few washes.
| Finish | Best for | Why I use it |
|---|---|---|
| Overcast or whip stitch | Most woven fabrics, quick edge neatening | Fast, simple, and good when you only have needle and thread. |
| French seam | Lightweight or fray-prone fabric | Encloses the raw edge and gives a clean inside finish. |
| Turned-under and slip stitched edge | Openings, hems, visible hand-finishing | Useful when you want the seam finish to disappear. |
For a quick finish, I overcast the raw edge with small diagonal stitches so the thread wraps over the cut edge without tightening it into a ridge. For delicate fabric, I prefer a French seam because it hides the raw edge completely and looks more deliberate inside and out. The important point is not the name of the finish; it is choosing one that matches the fabric and the amount of wear the seam will see, which leads directly to reinforcement at the points that fail first.
Reinforce the places that fail first
The weakest parts of a hand-sewn seam are usually the beginning, the end, corners, and any section that is stretched repeatedly. I reinforce those places before I worry about perfect appearance. A seam can look neat and still fail early if the thread path is too short or the stress is concentrated in one spot.
- Backstitch at the start and end of the seam so the thread locks into itself.
- Add a few extra stitches near corners, pocket openings, armholes, and side seams.
- Use smaller stitches on curved or stressed areas, because long stitches tend to gap.
- Do not rely on a single knot in a high-stress seam if you can avoid it.
- Keep the grain aligned; a seam on the bias will stretch more and needs more care.
When I am repairing clothing, I pay the most attention to shoulders, crotch seams, underarms, and places that rub. Those are the areas where a hand seam either proves itself or fails quickly. Once you know where the strain sits, the remaining mistakes become easier to spot and avoid, which is usually the difference between a tidy repair and one that needs redoing.
Avoid the mistakes that make hand seams fail
Most bad hand-sewn seams are not caused by lack of skill. They happen because the thread is too long, the stitches are uneven, or the fabric was not prepared properly. I see the same mistakes repeatedly, and they are all fixable.
- Using thread that is too long, which causes tangling and weakens control.
- Pulling too tightly, which puckers the fabric and distorts the seam line.
- Making stitches that are too large, which leaves gaps and makes the seam easier to split.
- Skipping pressing or marking, which usually leads to a wavy seam.
- Choosing the wrong stitch for the job, especially using running stitch on a seam that needs strength.
- Ignoring the fabric type, because fine silk, woven cotton, denim, and knits all behave differently.
- Leaving raw edges unfinished, which shortens the life of the seam even when the stitching itself is sound.
My rule is simple: if the seam looks acceptable but feels unreliable, it is not finished yet. I would rather spend an extra five minutes making the stitch line cleaner than spend an hour repairing a seam that has already started to give way. That practical mindset matters most when hand sewing is not the default choice but the better one.
When a hand-sewn seam is the better choice
There are times when hand sewing is not a compromise at all. It is the better method. I reach for it when the fabric is delicate, the project is small, the shape is awkward, or the repair has to be controlled stitch by stitch. It is also useful when you need quiet work, portable work, or a seam that can be adjusted as you go.
Hand-sewn seams make the most sense for lightweight garments, fine repairs, costume pieces, hidden alterations, and fabric that would be damaged by a machine foot or feed dogs. They are less ideal for long structural seams on heavy-use clothing, and they are not a substitute for a proper stretch stitch on knitwear. If you keep that boundary in mind, the method becomes very reliable: choose the right stitch, prepare the fabric properly, keep the tension even, and finish the raw edge with purpose rather than hope.
That is the practical core of hand-sewn seams in 2026: not speed, but control. Once you can keep a seam straight, secure, and neatly finished, you can repair more, alter more, and work confidently on fabrics that do not leave much room for error.
