
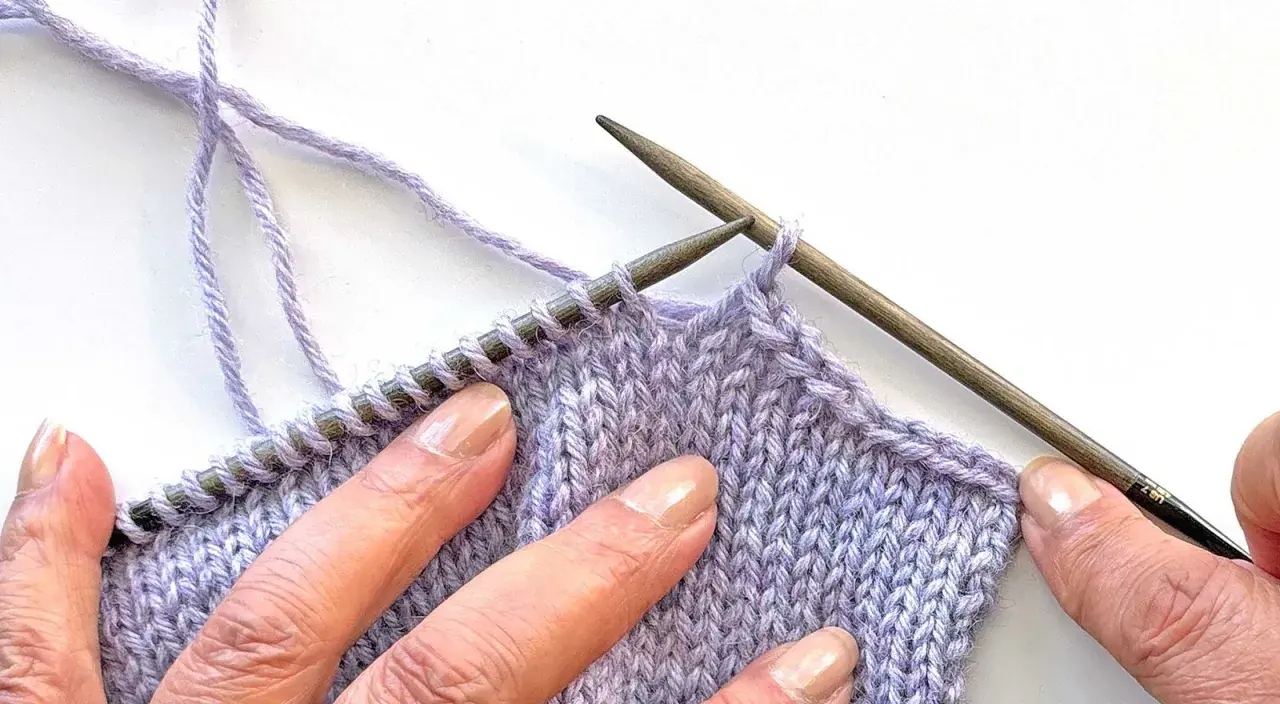
Joining the shoulders is where a knitted garment starts to behave like real clothing rather than two separate panels. The right seam keeps the neckline stable, supports the weight of the sleeves, and stops the top edge from stretching out of shape. In practice, sewing shoulder seams in knitting is less about one perfect trick and more about matching the join to the fabric, the stitch count, and the amount of structure the sweater needs.
Key decisions before you close the shoulders
- Use a horizontal invisible seam for cast-on and cast-off edges when you want a tidy, low-profile finish.
- Choose a three-needle cast-off when the shoulders need extra stability and the pattern leaves live stitches on the needles.
- Grafting is the most invisible option for live stitches, but it is usually better for softness than for strong shoulder structure.
- Match the method to the edge shape first, then worry about appearance.
- Keep the seam firm enough to hold the garment, but never so tight that the shoulder puckers.
What a good shoulder seam has to do
I treat a shoulder seam as a structural join, not just a finishing detail. It has to do three jobs at once: hold the front and back panels together, sit comfortably on the body, and keep the neckline from collapsing or stretching over time. If the seam is too loose, the sweater droops. If it is too tight, the top edge pulls in and the fabric loses its natural movement.
Shoulder shape matters as well. A straight shoulder edge is simple to join, but a sloped or shaped shoulder needs more care because the row and stitch counts may not match perfectly. That is why the method matters so much. The wrong technique can make even beautiful knitting look clumsy, while the right one disappears into the fabric and supports it at the same time. Once that is clear, the next step is choosing the seam that suits the edge in front of you.
Choose the joining method that suits the edge
When I decide how to join the shoulders, I start with one simple question: are the edges live stitches, cast-off edges, or a mix of both? That answer usually tells me which technique will give the cleanest result with the least fuss. For shoulder seams, I usually narrow it down to three methods, each with a different balance of visibility, structure, and flexibility.
| Method | Best for | Look and feel | Why I use it | Main watch-out |
|---|---|---|---|---|
| Horizontal invisible seam | Cast-on and cast-off shoulder edges | Flat, discreet, and close to the look of knit stitches | Neat finish with a bit of give | Easy to pull too tight if you rush it |
| Three-needle cast-off | Live stitches on both shoulders | Clean and more visibly structured | Strong shoulder that helps heavier garments keep their shape | Less invisible than grafting |
| Grafting | Live stitches when you want the join to vanish | Very subtle, especially in stockinette | Excellent for a seamless look | Usually softer and less supportive than a firm cast-off seam |
| Mattress stitch | Vertical seams, or unusual shaping that needs a hybrid join | Strong and neat, but not my first choice for plain shoulder edges | Good when the shoulder is not a simple horizontal join | Can look bulky if used where a horizontal seam would sit better |
How I sew cast-off shoulder edges neatly
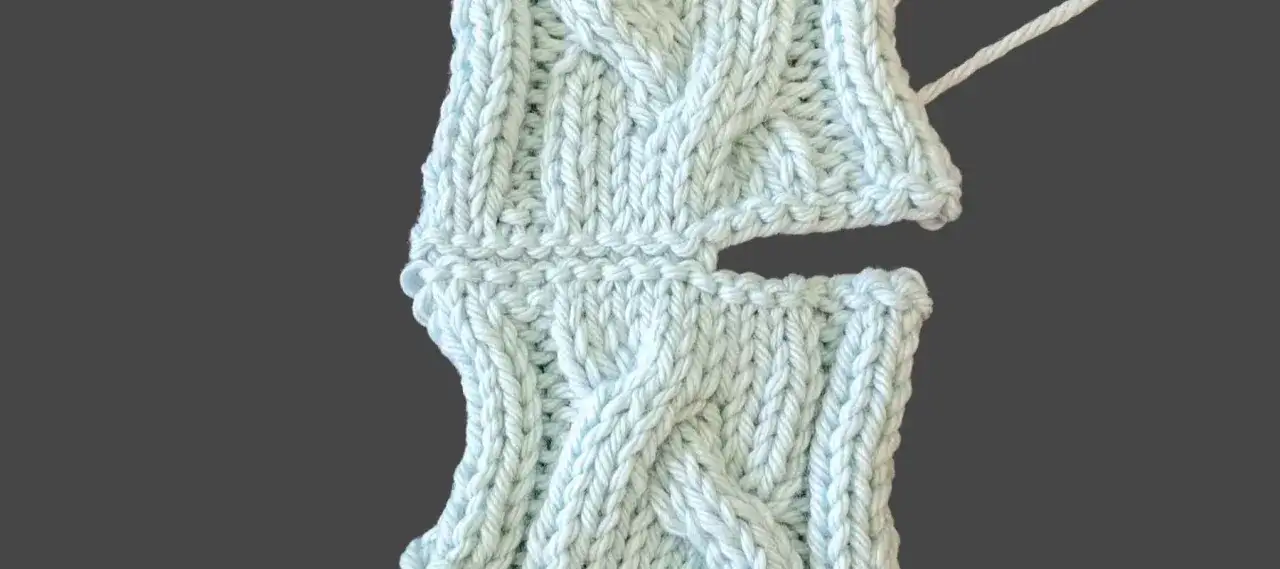
For cast-off edges, I usually reach for a horizontal invisible seam. It works especially well on stockinette or stocking stitch, because the finished line reads like a row of stitches instead of a visible sewing line. This is the method I would use when the pattern has already shaped and cast off the shoulders, and I want the join to blend into the fabric rather than sit on top of it.
- Lay the front and back pieces flat with the right side facing up, one above the other, and line up the shoulder edges stitch by stitch.
- If the fabric keeps shifting, pin or clip the edges every 5 to 7 cm so nothing drifts while you sew.
- Thread a blunt tapestry needle with yarn from the project, or with a matching yarn that has the same weight and drape.
- Bring the needle through the centre of the first edge stitch on one panel, then take it through the corresponding stitch on the other panel.
- Continue in a steady rhythm, always catching the same part of each stitch so the seam stays even.
- Every few stitches, open the work flat and check that the shoulder still lies smooth instead of gathering inwards.
- When the seam is complete, ease the yarn gently so the join settles, then secure the end and weave it in along the seam line.
The tension is the part that most knitters get wrong on the first attempt. I do not pull the yarn hard to make the seam disappear. I let the stitches sit naturally, then tighten only until the join closes cleanly. If the shoulder is shaped, I distribute any extra ease gradually rather than forcing it into one stubborn spot. That small habit makes the seam look intentional instead of improvised.
When a three-needle cast-off is the cleaner answer
If the shoulder stitches are still live, I often prefer a three-needle cast-off. It joins both sides at the same time and binds them off in one pass, which gives the shoulder more structure than a purely decorative join. On sweaters that need to carry real weight, especially denser knits or designs with heavier sleeves, that extra firmness is useful.
The basic idea is straightforward: hold the two sets of live stitches together, use a third needle to knit through one stitch from each side at the same time, and then cast off as you go. The seam can be worked with the wrong sides together for a visible ridge on the outside, or with the right sides together if the pattern wants the join hidden inside. I always check the pattern instructions first, because the placement changes the final look more than many people expect.
I reach for this method when I want the shoulder to stay put. It is less subtle than grafting, but it usually gives a neater and more dependable finish for garment shoulders. If the sweater is lightweight and the pattern wants a softer line, grafting may be better. If the garment needs to stay upright through wear, the three-needle cast-off is hard to beat. That trade-off is exactly why the next section matters: even a good method can fail if the details are sloppy.
The mistakes that make shoulder joins look bulky or uneven
Most shoulder seam problems come from tension, alignment, or choosing the wrong join for the edge. The good news is that all three are fixable. I see the same issues repeatedly, and they are usually obvious once you know what to look for.
| What you see | Likely cause | What to do instead |
|---|---|---|
| Puckering along the shoulder line | The seam has been pulled too tight | Loosen the tension, then rework the join with a softer hand |
| A ridge that feels hard or bulky | The method is too rigid for the yarn or the seam has too many passes | Use a flatter join, or switch to a technique better suited to the shoulder edge |
| One shoulder looks longer than the other | The stitches were not matched evenly before sewing | Count and pin the edges before sewing, not after |
| Gaping at the neck edge | The seam starts or ends at the wrong point, leaving the neckline under-supported | Place the join carefully and distribute shaping evenly across the shoulder |
| Twisting or rolling at the edge | The pieces were not laid flat in the same direction | Reset both panels on a flat surface and check right and wrong sides before you begin |
Blocking also changes the result more than many knitters expect. If the yarn tolerates it, I block the pieces before seaming so the edges behave predictably and the measurements are real, not hopeful. That single step often prevents the unevenness people blame on the seam itself. With the common mistakes out of the way, the final checks are simple but worth doing every time.
The final checks that keep the shoulder comfortable after wear
Before I call a shoulder seam finished, I run through a quick set of checks. The seam should lie flat, the neckline should sit evenly, and the inside of the garment should feel smooth rather than scratchy or rope-like against the skin. If any of those fail, I go back and adjust the join before weaving in the ends completely.
I also think about how the garment will be worn and washed. A neat shoulder seam on the table is not enough if it stretches out after the first wear. For that reason, I like the seam to have just enough give to move with the body, but not so much that it loses support. If you remember only one thing, remember this: a good shoulder join supports the knitting quietly. It should help the sweater keep its shape, not announce itself every time the garment is put on.
