
A well-made belt loop does more than keep a belt from sliding around. It stabilises the waistline, keeps the garment looking intentional, and stops you from fighting with a belt that twists every time you move. This guide shows how I approach a belt loop pattern, from sizing and cutting to reinforcing and attaching the loops so they sit flat and last.
The practical basics that stop belt loops from twisting or sagging
- Make the inside opening slightly wider than the belt, usually by 2-4 mm, so the belt can move without strain.
- For most woven garments, a straight-grain strip is more stable than a bias-cut one.
- Use interfacing on lightweight or loose-weave fabric so the loop does not collapse or fray.
- Anchor the lower end into the waistband seam when you can, then secure the top with a bartack or dense zigzag.
- Five loops is a common starting point for trousers and skirts; dresses and coats often need fewer.
- A long strip is easier to sew and more consistent than cutting and making every loop separately.
What a belt loop needs to do on a garment
The job sounds simple, but there are three things a good loop has to manage at once: hold the belt in place, survive repeated wear, and sit neatly against the garment without bulk. If any one of those fails, the whole finish looks off. A loop that is too loose twists and droops; one that is too tight makes threading the belt irritating and can distort the waistband or facing.
I also separate function from decoration at the design stage. On trousers or skirts, the loops are load-bearing details and need proper reinforcement. On dresses, coats, or blouses with a tie belt, they are often lighter carriers, so the construction can be slimmer and less rigid. That difference matters, because the right shape for denim is not always the right shape for a wool dress or a linen coat. Once you know the loop's job, sizing becomes much easier.
How I size the loop before cutting
The cleanest starting point is to size the loop around the belt you will actually use, not around a guess. A belt should slide through easily, but it should not wobble enough to flip on its own. In practice, I leave a little ease inside the loop and build in enough length for the ends to be stitched securely to the garment.
| Project type | Finished inside opening | Finished visible width | Typical number of loops | Best fabric choices |
|---|---|---|---|---|
| Trousers or jeans | Belt width + 2-4 mm | 10-12 mm | 5-7 | Denim, twill, drill, firm cotton |
| Skirts | Belt width + 2-4 mm | 8-10 mm | 4-5 | Medium-weight woven fabrics |
| Dresses or coats | Belt width + 3-5 mm | 10-15 mm | 2-4 | Wool blends, coating, linen, poplin |
For example, if the belt is 30 mm wide, I would aim for an inside opening of about 32-34 mm. If my seam allowance is 10 mm at each end, the full cut length for one loop becomes roughly 52-54 mm before any turning or folding. For the width, a folded strip usually starts at about four times the finished width, so a 10 mm loop would begin as a 40 mm strip. That is not a rigid law, but it is a reliable place to start.
When you have those numbers, the rest of the construction becomes a matter of controlling grain, folds, and bulk rather than guessing the size from scratch.
How to draft and cut the strip
For most garments, I prefer a straight-grain strip because it keeps the loop crisp and resists stretching. Bias-cut loops have their uses, especially if you want a softer finish or need a little give around a curved waistband, but they are easier to distort. If the garment fabric is lightweight, loose woven, or slippery, I fuse a narrow interfacing strip to the wrong side before I do anything else.
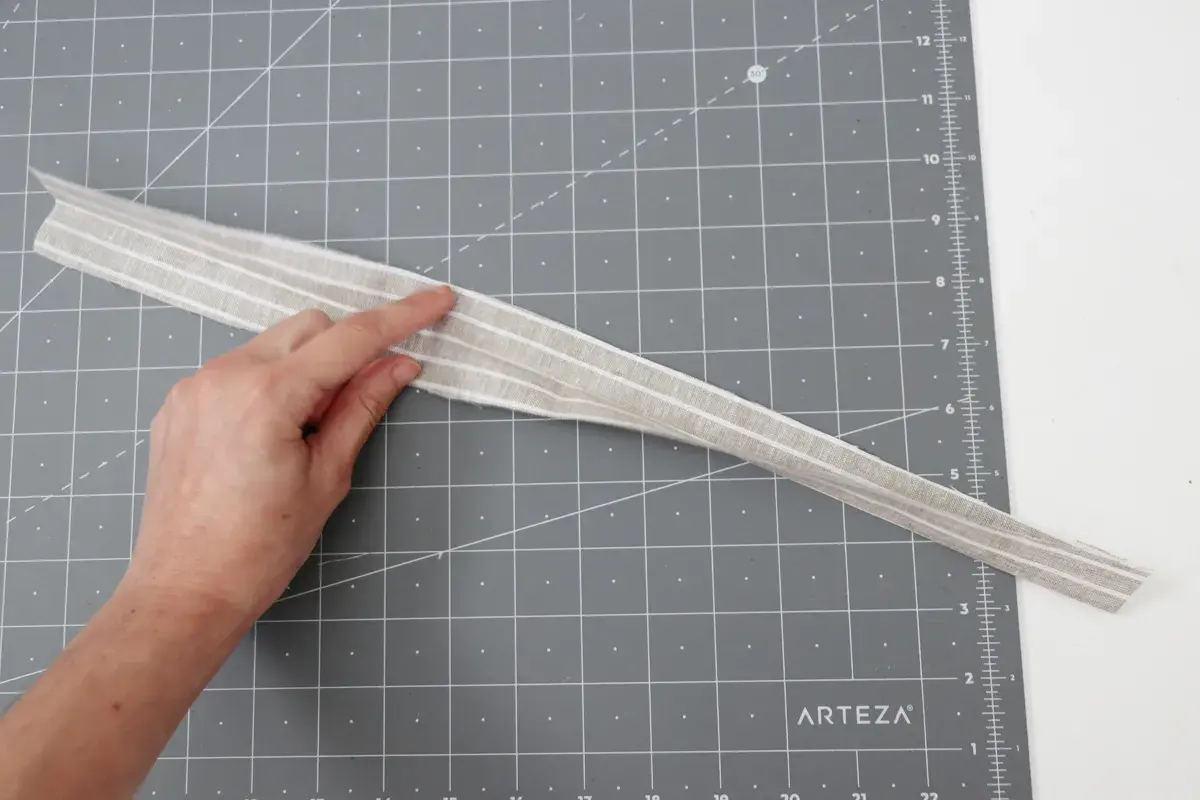
The most efficient method is to cut one long strip and divide it into individual loops after stitching. That gives you even widths and saves time on measuring tiny pieces. I usually fold the strip in half lengthwise, press, open it out, press each long edge to the centre fold, then fold it in half again and topstitch along both long edges. This creates a neat, stable carrier that reads cleanly from the outside.
- Cut the strip on the straight grain unless you need extra drape.
- Fuse interfacing first if the fabric frays, stretches, or feels too soft.
- Press every fold before stitching; heat and pressure do more than forcing the fabric flat with the iron tip.
- Topstitch along both long edges to lock the folds and add strength.
- Cut the finished strip into equal loop lengths only after the stitching is complete.
If you are making several loops from the same fabric, keep the strip slightly longer than your final calculation and trim the ends after you test the first one. That small allowance is often the difference between a loop that feels tailored and one that is awkward the first time the belt goes through it.
How to attach the loops so they stay put
The attachment method matters as much as the strip itself. A loop can look perfect on the worktable and still fail if the ends are not anchored properly. I usually choose between two approaches: inserting the lower end into the waistband seam during construction, or attaching the finished loops to an already completed garment. The first is cleaner and stronger; the second is practical when you are altering ready-to-wear or adding loops to a finished piece.
During construction
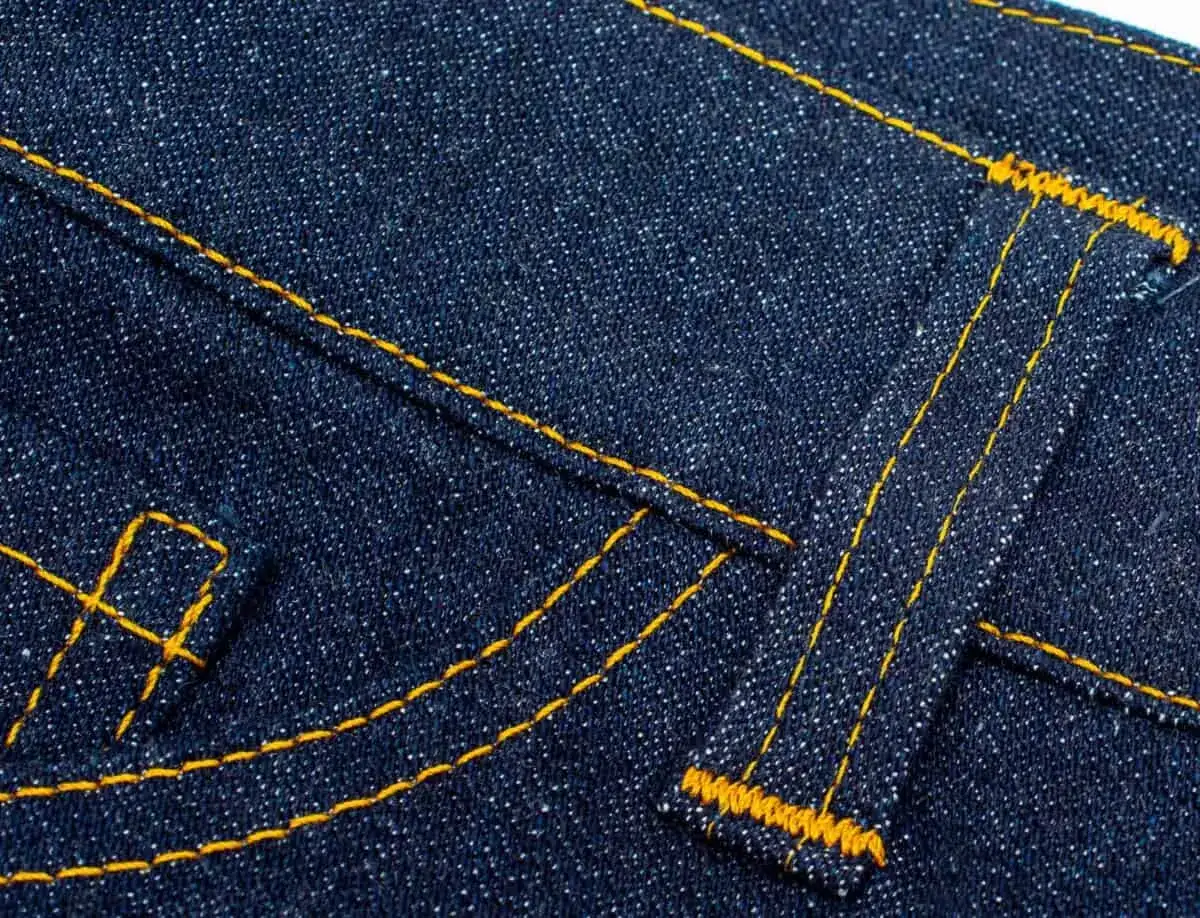
If I am sewing the garment from scratch, I position the lower ends of the loops at the waist edge before the waistband is attached. The waistband then locks those ends into the seam, which removes a lot of stress from the visible stitching. Once the waistband is finished and turned, I flip the loop upward and secure the top with a bartack. A bartack is a short, dense zigzag used to reinforce stress points, and it is the same kind of finish you often see on jeans.
This method is especially useful on trousers and skirts because it keeps the loop anchored without adding extra bulk on the outside. If your pattern includes loop notches, use them. If it does not, I place loops at the side seams, centre back, and intermediate points, then check the balance visually before I commit to the final stitching.
Read Also: Essential Sewing Tools - Start Smart, Sew Better
On a finished garment
When the garment is already complete, I mark the loop positions first, then fold the ends under by the seam allowance and pin them in place. After that, I stitch across each end with a reinforced straight stitch, a narrow zigzag, or a bartack if the machine can handle it cleanly. Leave a little ease under the loop so the belt can pass through without scraping the fabric flat.
This method is slower because you are working on a finished waistband, but it is still reliable if you reinforce well and keep the positioning even. On a dress or coat, two side loops may be enough; on trousers, five loops is still the most practical starting point, and larger waist sizes often benefit from one extra loop for balance.
Once the attachment method is clear, the next thing to control is failure points, because most bad finishes come from the same few avoidable mistakes.
The mistakes that make loops fail early
Most weak belt loops are not caused by bad sewing skill. They are usually caused by poor choices made before the first stitch. I see the same problems again and again:
- The loop opening is too tight, so the belt rubs and the loop twists.
- The fabric is too soft or stretchy, so the loop loses its shape.
- There is no interfacing on lightweight cloth, which lets the ends fray or collapse.
- The loop is cut on the bias when the garment needs structure, not drape.
- The ends are stitched without enough reinforcement, so they start pulling away after a few wears.
- The loop is placed where darts, zips, or seams create unnecessary bulk.
The fix is usually simple: widen the opening slightly, stabilise the fabric, and reduce bulk at the ends by grading seam allowances before turning. If the garment is thick already, such as denim or coating, keep the loop design slimmer rather than adding extra layers for the sake of neatness. In my experience, a clean, controlled finish beats a heavily built-up one almost every time.
Once you know what can go wrong, it becomes much easier to choose the version of the loop that suits the project instead of forcing one construction method onto everything.
Which loop style suits which project
Not every garment needs the same kind of loop. The best choice depends on how much strain the belt will carry, how much bulk the fabric can handle, and whether you want the loop to disappear or stand out as a design detail. I usually think in terms of four practical options.
| Loop style | Best for | Why I use it | Limitations |
|---|---|---|---|
| Standard folded fabric loop | Trousers, jeans, skirts | Strong, neat, and familiar | Can feel bulky on very heavy fabrics |
| Narrow carrier | Dresses, blouses, lighter waist ties | Slim finish with less visual weight | Not ideal for a thick or heavy belt |
| Thread or crocheted loop | Very light dresses or decorative belts | Almost invisible and elegant | Too delicate for anything load-bearing |
| Contrast loop | Projects where the loop is part of the design | Adds interest and can echo topstitching or trim | Draws attention, so it needs to look intentional |
If I want the loop to vanish into the garment, I match the fabric and topstitching closely. If I want it to read as part of the design, I use a contrast fabric that still belongs to the palette, not something that fights the rest of the piece. That distinction is useful on coats and wrap dresses, where the belt can either feel like an afterthought or like the detail that holds the whole look together.
The details that make a small finish look tailored
The last refinements are the ones that move a loop from acceptable to genuinely polished. I press after each stage, align the loops symmetrically, and test the belt in the loop before I close the final stitching. If the belt drags, the opening is too tight. If the loop stands away from the garment, the ends need a firmer tack or a neater fold under.
For a clean result, I also pay attention to the visual rhythm around the waistline. On trousers, that usually means balancing the loop positions between the side seams and centre back so the garment feels deliberate rather than improvised. On dresses and coats, it means keeping the loops quiet enough that the belt remains the focus. In other words, the best loop is often the one you stop noticing because it works so well.
When you draft with the belt width in mind, reinforce the strip early, and choose the attachment method that matches the garment, the finish becomes straightforward. A simple loop done well will outlast a flashy one that was never sized or secured properly, and that is the version I would trust on any everyday garment.
