
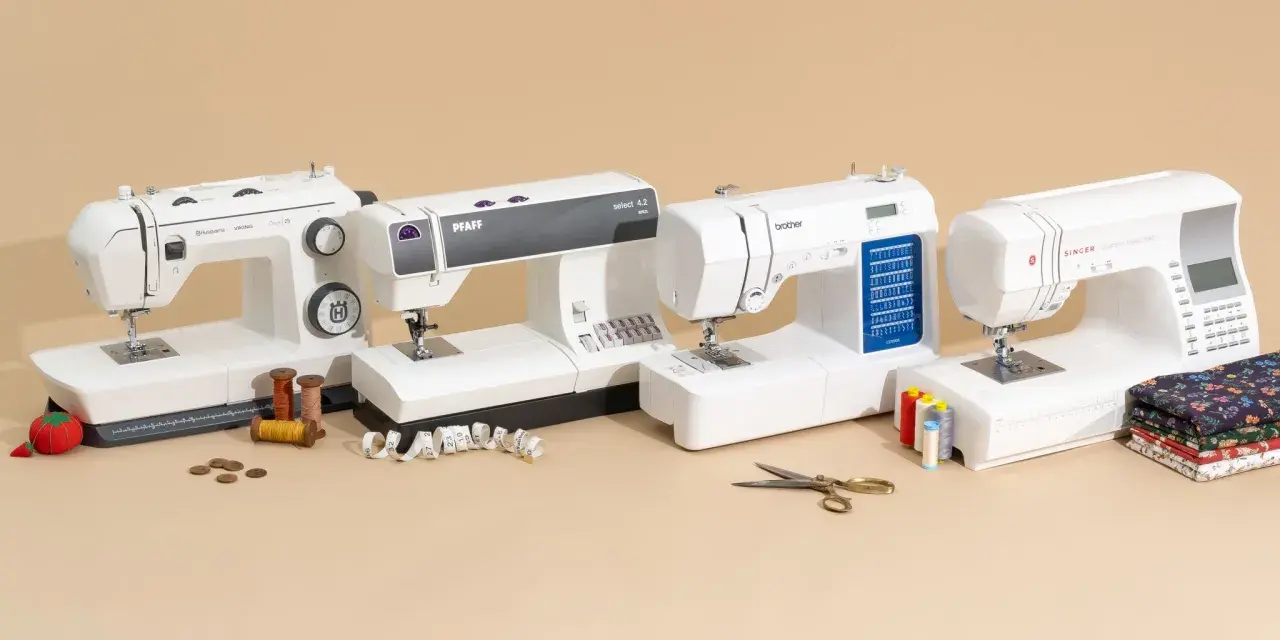
A sewing professional is not defined by a single machine or a perfect Instagram feed; the real marker is repeatable quality. This article breaks down what that looks like in practice, from the basics of seam control and pressing to the tools, fabrics and routines that produce clean, reliable results. I am focusing on the details that matter whether you sew for clients, make alterations or simply want your own garments to look and wear better.
What matters most is consistency, not fancy kit
- Clean sewing comes from control, pressing and fit, not speed alone.
- A dependable domestic machine, sharp needles and good thread solve more problems than most upgrades.
- Standard garment work often starts with a 15 mm (5/8 in) seam allowance unless the pattern says otherwise.
- Pressing after each seam is one of the fastest ways to improve the finish.
- Fabric behaviour and fit decisions matter just as much as stitch settings.
- Commercial-quality work depends on repeatable routines and notes, not guesswork.
What professional sewing really looks like
For a sewing professional, the difference is not the stitch itself but the standard behind it. The work should look deliberate on the outside and be controlled on the inside: seams that sit flat, corners that turn sharply, hems that hang evenly and finishes that hold up after wear and washing.
In practice, that usually means:
- Stitch lines that stay at a consistent distance from the edge.
- Tension that is balanced, so the fabric does not pucker or tunnel.
- Seam allowances that are trimmed, graded or finished only when needed.
- Pressing that shapes the garment instead of flattening it randomly.
- Fit adjustments that are made before the final fabric is cut.
- Inside finishing that is neat enough to support the garment, even if no one sees it first.
I also think it helps to define the work by context. A skilled sewer may be making tailored trousers, repairing a zip, constructing a sample, altering a school uniform or producing small-batch garments for sale. The common thread is the same: the result needs to be accurate, dependable and presentable, not just technically finished. Once you can recognise that standard, the next step is building the setup that makes it easier to hit it repeatedly.
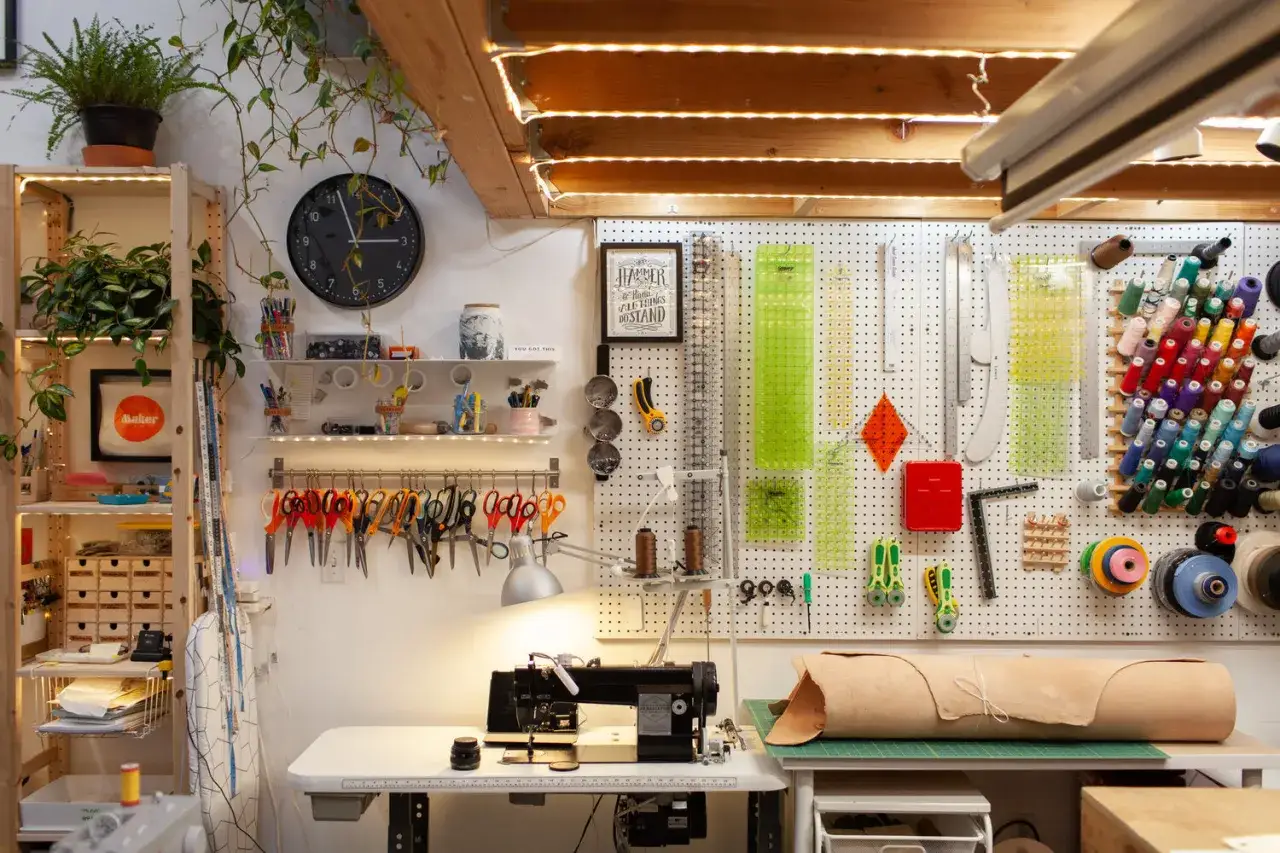
The tools and setup that support accurate work
Good tools do not make the sewer, but they remove friction. If I were building a serious sewing space from scratch, I would start with a solid machine, proper cutting tools and pressing equipment before I spent money on anything decorative.
| Tool | Why it matters | Practical guidance |
|---|---|---|
| Sewing machine | Creates the core stitch quality and control | Choose one that feeds fabric evenly and lets you adjust stitch length and tension |
| Needles | Match the fabric and reduce skipped stitches | Use the right size and type for the job, such as a finer needle for lightweight fabrics and a stronger one for denim or canvas |
| Thread | Affects strength, appearance and seam behaviour | All-purpose polyester is a sensible default for most garment work |
| Scissors or rotary cutter | Clean cutting gives cleaner seams later | Keep blades sharp and use fabric-only cutting tools |
| Measuring tools | Keep seam allowances, hems and markings accurate | Use a clear ruler, tape measure and seam gauge rather than guessing |
| Pressing tools | Shape seams and remove bulk | An iron, pressing cloth, tailor’s ham and sleeve roll are more useful than many people expect |
| Specialist attachments | Improve control on tricky fabrics and finishes | A walking foot helps with slippery layers; an overlocker is useful for neat seam finishing and knits |
A domestic machine is enough for most home dressmaking and alteration work. You only need to move beyond that if your output, fabrics or deadlines start demanding it. An overlocker is helpful, but it does not replace a regular machine for construction; it finishes edges well, while the main machine still does the assembly. Once the setup is in place, the biggest jump in quality usually comes from technique rather than equipment.
The techniques that change the finish most
The fastest way to improve sewing is to focus on the handful of techniques that affect almost every garment. I would rather see a maker do these well than collect ten decorative stitches they barely use.
| Technique | What it does | Where beginners often slip up |
|---|---|---|
| Staystitching | Stabilises curved or bias edges before assembly | Skipping it on necklines and armholes, which lets the fabric stretch out of shape |
| Understitching | Keeps facings and linings rolling to the inside | Leaving the edge loose, which makes it sit badly on the outside |
| Grading seam allowances | Reduces bulk by trimming layers to different widths | Trimming everything evenly and creating a lump |
| Clipping and notching | Helps curves spread or contract smoothly | Cutting too deeply and weakening the seam |
| Topstitching | Adds strength and a crisp, visible finish | Using uneven spacing or thread that is too light to show cleanly |
| Edge-stitching | Secures an edge very close to the fold or seam | Rushing and wandering away from the edge |
As a working starting point, I usually sew ordinary seams at about 2.5 mm, move to around 3 mm for topstitching and use a slightly shorter stitch for curves or fine fabric if control is more important than speed. For most garment work, 15 mm (5/8 in) is a common seam allowance, but the pattern should always tell you when to use something different. Just as important is pressing: sew, then press, then trim or grade if needed. That rhythm does more for the final look than almost any fancy machine setting. Once those habits are automatic, fabric and fit become the next source of quality.
Fit and fabric decisions that prevent most problems
A good finish can still look wrong if the fabric is unsuitable or the fit is off. This is where a more experienced sewer starts thinking like a maker and not just someone following steps.
Choose fabric for the result you actually want
Lightweight viscose behaves very differently from denim, and a knit behaves differently again. Wovens usually need stable seams and accurate grainline placement; knits need stitches that stretch with the cloth. If you force the wrong technique onto the wrong fabric, the garment will fight you from the first seam. For that reason, I always test on scraps before committing to the main project, especially when the fabric is slippery, textured or expensive.
Read Also: Perfect Centered Zippers - Your Step-by-Step Guide
Do not cut before you understand fit
Fit issues often come from the pattern, not the sewing. Measure the body, compare it with the pattern measurements and decide whether you need a toile, also called a muslin, which is a test garment made in cheaper fabric. You do not need one for every project, but it is worth making when the garment is fitted, the fabric is costly or the pattern is unfamiliar. The usual adjustment points are shoulders, bust, waist, hip and hem length. If you sew for other people or for sale, keep written notes on every alteration so you can repeat the result later.
When you get fabric choice and fit under control, the remaining problems are usually simple workflow mistakes rather than mysterious sewing failures. That leads straight to the habits that cause the most avoidable frustration.
Common mistakes that make work look homemade
Most rough-looking sewing does not come from one dramatic error. It comes from small habits repeated across the project.
- Changing seam width halfway through a seam and losing consistency.
- Using the wrong needle or thread for the fabric weight.
- Skipping pressing because the seam looks “good enough” off the machine.
- Ignoring the grainline, which makes garments twist or hang oddly.
- Over-trimming seam allowances before checking that the fit is correct.
- Rushing corners, curves and closures instead of slowing down for the final centimetres.
- Not testing stitch settings on scraps before sewing the actual piece.
The pattern is predictable: if control drops, the finish drops with it. I see that most often on necklines, armholes, zips and hems, because those are the places where impatience shows up first. The fix is not more effort in one burst; it is a calmer order of operations. Once you know which mistakes to watch for, the next step is building a repeatable process that makes those mistakes less likely in the first place.
A practical workflow for repeatable results
Commercial-quality sewing becomes much easier when every project follows the same basic sequence. I think of it as reducing decisions. The less you have to improvise at the machine, the more consistent your work becomes.
- Read the pattern or brief all the way through before cutting.
- Press and prepare the fabric, including prewashing where appropriate.
- Mark the grainline, notches and all reference points clearly.
- Cut carefully and check mirrored pieces before moving on.
- Test stitch length, tension and thread on scraps of the same fabric.
- Construct in the correct order, pressing after each major seam.
- Finish raw edges only when the seam structure is settled.
- Do a final review for loose threads, uneven hems, missed stitches and weak fastening points.
| Setup | Best for | Strength | Limit |
|---|---|---|---|
| Domestic machine | Home dressmaking, repairs, alterations | Flexible and usually enough for most fabric weights | Slower on heavy volume or very dense layers |
| Semi-professional setup | Frequent garment making or small paid orders | Better speed and smoother handling with specialist attachments | Higher cost and more maintenance |
| Industrial setup | High-volume commercial production | Fast, durable and highly specialised | Less flexible and not always necessary for a small workspace |
You do not need industrial equipment to do excellent sewing, and I would resist that upgrade until your current work genuinely demands it. For most makers, the bigger gains come from consistency, notes and testing, not from buying another machine. When that workflow is stable, the final improvement comes from practising the same core skills until they stop needing much thought.
What I would practise next to make the work look more refined
If I were narrowing the gap between beginner work and polished results, I would practise a small number of drills over and over rather than chasing variety. The aim is to make the essentials automatic.
- Sew ten straight seams at a constant 15 mm (5/8 in) allowance.
- Practise turning sharp corners and trimming them cleanly without cutting into the stitching.
- Work on curved seams with clipping and pressing until they lie flat.
- Repeat topstitching on scrap until the spacing looks even from end to end.
- Insert one invisible zip or neat regular zip with a full press at the end.
- Make one toile for a fitted garment and record every alteration you need.
That short practice list is enough to build real confidence because it covers control, finish and fit at the same time. If you can sew a straight seam, shape a curve, press properly and document your adjustments, your work will start to look far more deliberate. The shortest route to better sewing is to slow down enough to measure, test and press every stage that matters, because those are the habits that turn good intention into a professional result.
