
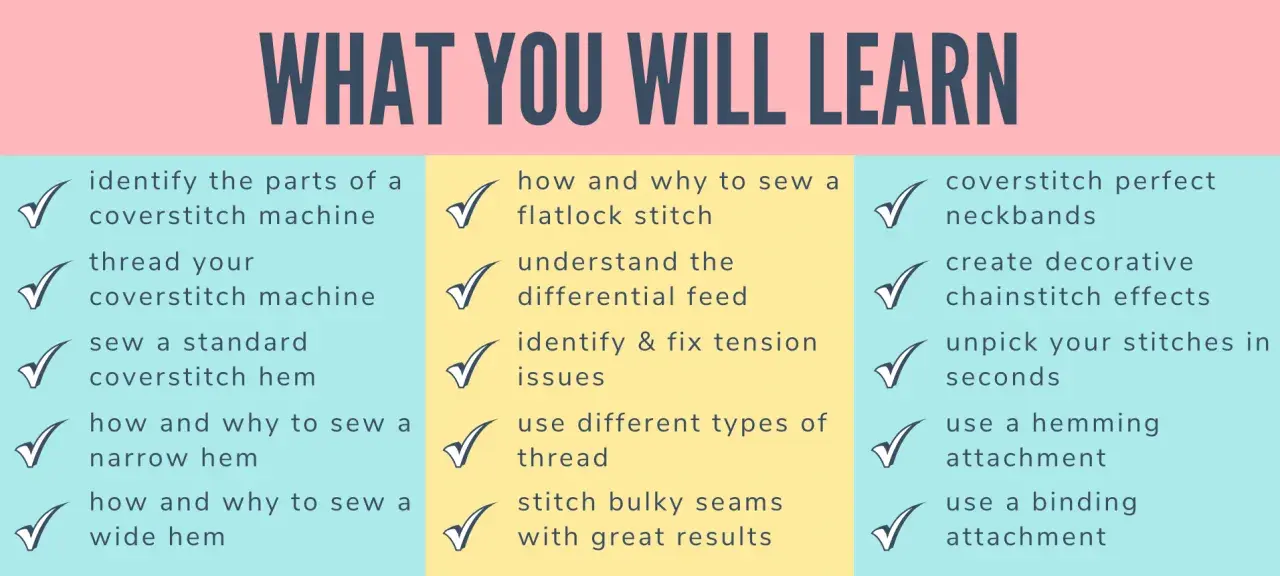
A coverstitch is the finish that gives knit hems their clean, ready-to-wear look: parallel lines on the top side, a flexible looper chain underneath, and enough stretch to move with the garment instead of fighting it. I reach for it when I want a hem that looks sharper than a zigzag or a quick twin-needle finish, especially on T-shirts, leggings, cuffs, and sportswear. This article breaks down what the stitch does, how the machine works, where it outperforms other options, and when it is genuinely worth adding to your sewing setup.
The short version of how a coverstitch works
- It is a finishing stitch, not a seam-building stitch. It secures hems and gives a professional edge to garment details.
- The top looks tidy and structured. You usually see two or three parallel rows of stitching.
- The underside is what makes it flexible. The looper thread forms a chain that stretches with the fabric.
- It is especially useful on stretch fabrics. Jersey, rib knit, activewear, swimwear, and dancewear all benefit from it.
- It does not replace an overlocker. A coverstitch finishes hems; an overlocker trims and encloses raw edges.
- In the UK, you may also see it called a coverhem machine. The name changes, but the job is the same.
What a coverstitch actually does on a garment
When I look at a good coverstitched hem, I see two things at once: a neat, professional top side and a flexible underside that keeps the fabric from snapping threads as it stretches. That is why it is so common on T-shirts, sports tops, cuffs, and hems that need to survive real wear rather than just sit flat on a hanger.
The stitch is designed for finishing edges, not for assembling the whole garment. On the right side, you normally see straight, parallel lines. On the wrong side, the machine locks those rows with a looper thread that catches the folded edge. The result is a hem that moves with the fabric instead of becoming rigid.
This is also why the stitch is such a strong match for modern knitwear. Ready-to-wear clothes often use some version of it because it balances appearance and stretch better than a standard straight stitch. Once you understand that, the rest of the machine’s behaviour starts to make sense.
That leads naturally to the next question: how the machine builds that finish in the first place.
How the machine builds the stitch
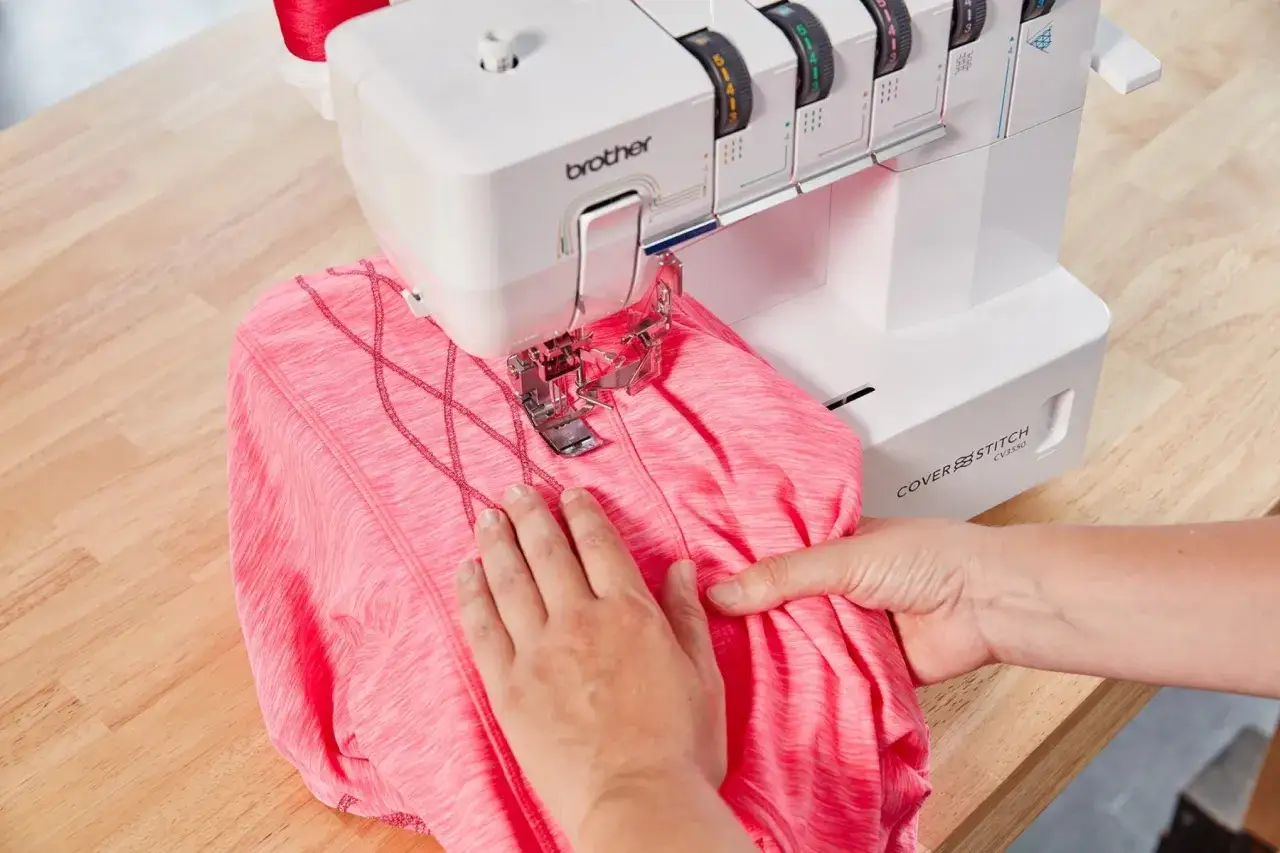
A coverstitch machine uses needles plus a looper, but unlike an overlocker it does not cut the fabric as it sews. That difference matters. The machine is built to stitch over a folded hem or edge and leave the fabric intact, which is why it is so good at controlled, visible finishing work.
Most home machines offer a few useful stitch options. The exact setup varies by model, but the logic stays the same:
| Stitch option | What it gives you | Best use |
|---|---|---|
| 2-needle coverstitch | Narrower rows with a clean, understated look | Neckbands, lighter hems, subtle finishing |
| 3-needle coverstitch | Wider rows and a more decorative finish | Sportswear, visible hems, topstitch-style detail |
| Chain stitch | A single line that can be practical or decorative | Construction details, belt loops, visible lines |
| Top cover stitch | Extra visible stitching on the top side on some machines | Fashion detailing, bindings, stronger decorative edges |
Another useful feature is differential feed, which simply means the front and rear feed dogs can move at different speeds. I consider that essential when sewing stretchy jersey, because it helps prevent wavy hems, tunnelled stitching, or unwanted stretching. On a good machine, that control is what keeps a tricky knit looking calm instead of distorted.
In other words, the machine is not just making a stitch; it is managing fabric behaviour while it stitches. That distinction becomes clearer when you compare it with the other tools sewists often confuse it with.
How it differs from an overlocker and a twin needle
This is the comparison I always give first, because it clears up most of the confusion. A coverstitch, an overlocker, and a twin needle can all finish knit garments, but they do not do the same job.
| Tool | Main job | Does it trim fabric? | Typical result |
|---|---|---|---|
| Coverstitch | Hemming and visible finishing | No | Parallel rows on top, flexible looper chain underneath |
| Overlocker | Seam construction and raw-edge finishing | Yes | Neatened edge with a wrapped seam allowance |
| Twin needle | Imitating a coverstitch on a regular sewing machine | No | Two top rows with a zigzag-style underside |
The overlocker is the machine I use when I want to build a seam and tidy the edge at the same time. The coverstitch comes after that, when the hem needs a polished finish. A twin needle is the budget-friendly fallback, and it can look good, but it is not as consistent on every fabric and it can tunnel or pop on some stretches.
So the real choice is not which one is “best” in general. It is which one solves the specific problem on the table. That becomes much easier to judge once you know which fabrics reward the stitch most.
Which fabrics and projects benefit most
If I had to reduce the whole subject to one rule, it would be this: the more the garment needs to stretch and recover, the more useful a coverstitch becomes. It shines on jersey, rib knit, French terry, fleece, swimwear, dancewear, leggings, children’s clothes, and anything else that has to move without warping at the hem.
It is also excellent for details that need to look intentional rather than improvised. I use it for:
- T-shirt hems
- Neckbands
- Sleeve cuffs
- Sportswear topstitching
- Decorative seam accents on stable knits
- Bindings and edge finishes on some garments
It can work on woven fabrics too, but that is where judgment matters. On a crisp woven blouse, a conventional hem or topstitch may be more appropriate. On a soft, stretchy woven or a mixed-fibre garment that needs movement, a coverstitch can still make sense. I would not buy the machine for woven fabric alone, though. Its real value is in stretch work and visible finishing.
Once you know where it belongs, the next step is getting clean results instead of fighting the machine.
How I get cleaner results the first time
The best coverstitch hems come from preparation, not luck. I always test on the same fabric before touching the garment, because a stitch that looks perfect on one jersey can behave very differently on another. Weight, stretch recovery, and fibre content all change the result.
- Press the hem first. A clear fold line gives the machine a stable path and makes the finish much easier to control.
- Test on scraps cut in the same direction as the garment. Cross-grain and lengthwise stretch often behave differently.
- Check needle choice and thread quality. A blunt needle or poor thread is a fast way to get skipped stitches or uneven tension.
- Use differential feed if the hem waves. This is usually the first adjustment I make on very stretchy knit fabrics.
- Do not pull the fabric from the back. Let the machine feed it. Tugging distorts the stitch and can throw off the edge.
- Finish the chain properly. Leave a sensible tail and secure it the way your machine manual recommends, rather than trimming it too close.
A light press after stitching can help the hem settle, but heavy ironing can flatten stretch fabric and spoil the hand of the cloth. I treat pressing as a finishing step, not a way to force the stitch into shape. That brings us to the limits of the technique, because a clean result depends on using it for the right job.
Common mistakes and when it is the wrong tool
The biggest mistake is expecting a coverstitch to behave like a regular sewing machine. It will not join most garment seams on its own, and it will not trim away excess seam allowance the way an overlocker does. If you try to make it do the wrong job, you usually end up with frustration rather than a better finish.Other mistakes show up quickly on knitwear:
- Stretching the fabric as it feeds, which creates wavy hems
- Using too much tension on fine jersey, which can cause tunnelling between the rows
- Skipping the test scrap and going straight to the garment
- Choosing it for a project that really only needs a simple hem
- Assuming every machine setup works across every fabric weight
There are also cases where I would choose something else entirely. If you mostly sew curtains, cushions, or stable woven garments, a regular machine and overlocker will do most of the work more economically. If you only want the occasional coverstitch look on a T-shirt hem, a twin needle may be the smarter call. The coverstitch earns its keep when you sew enough stretch garments to justify a dedicated setup.
That is the final decision most sewists face, especially when they are looking at machines in the UK market.
When a dedicated machine makes sense in the UK
In UK sewing rooms, this machine is often sold as a coverstitch or coverhem model, and the buying decision usually comes down to frequency, space, and the kind of clothing you make. If you sew knitwear regularly, want hems that look properly finished inside and out, or make activewear and children’s clothes often, a dedicated machine starts to make sense very quickly.
Combination machines can be appealing because they save space and may cost less than buying two separate machines. The compromise is conversion time. If you change back and forth constantly, that time adds up, and it can interrupt your workflow more than you expect. Dedicated machines are less flexible, but they are faster and less irritating when coverstitching is part of your routine rather than an occasional experiment.
My practical rule is simple: if you make stretch garments often enough to be annoyed by twin-needle limitations, the machine is probably worth considering. If you do not, you can get very far with the tools you already own. The final judgment is not about fashioning the most impressive setup; it is about matching the tool to the fabric and the finish you actually need.
The stitch that makes hems look deliberate
A coverstitch is useful because it solves a very specific problem well: it finishes hems on stretch fabric without turning them stiff or fragile. That is why it appears so often on shop-bought knitwear and why it is such a satisfying upgrade for home sewing.
If you sew a lot of T-shirts, leggings, sportswear, or children’s clothes, I think it is one of the most practical specialist stitches you can learn. If you sew only occasionally, you may not need the machine at all, but it is still worth understanding the stitch so you can choose between a twin needle, an overlocker, and a dedicated coverhem finish with confidence.
