
The main things to know before you sew a blind hem
- The machine makes the blind hem stitch; the foot helps you place it accurately.
- The centre guide keeps the fold aligned so the needle catches only a small bite.
- Names vary by brand: blind stitch foot, blind hem foot, and adjustable blind hem foot can overlap.
- It is most useful for hems on woven fabrics and many knits, provided you use the right stitch setting.
- A scrap test and careful pressing make more difference than most beginners expect.
What a blind stitch foot actually does
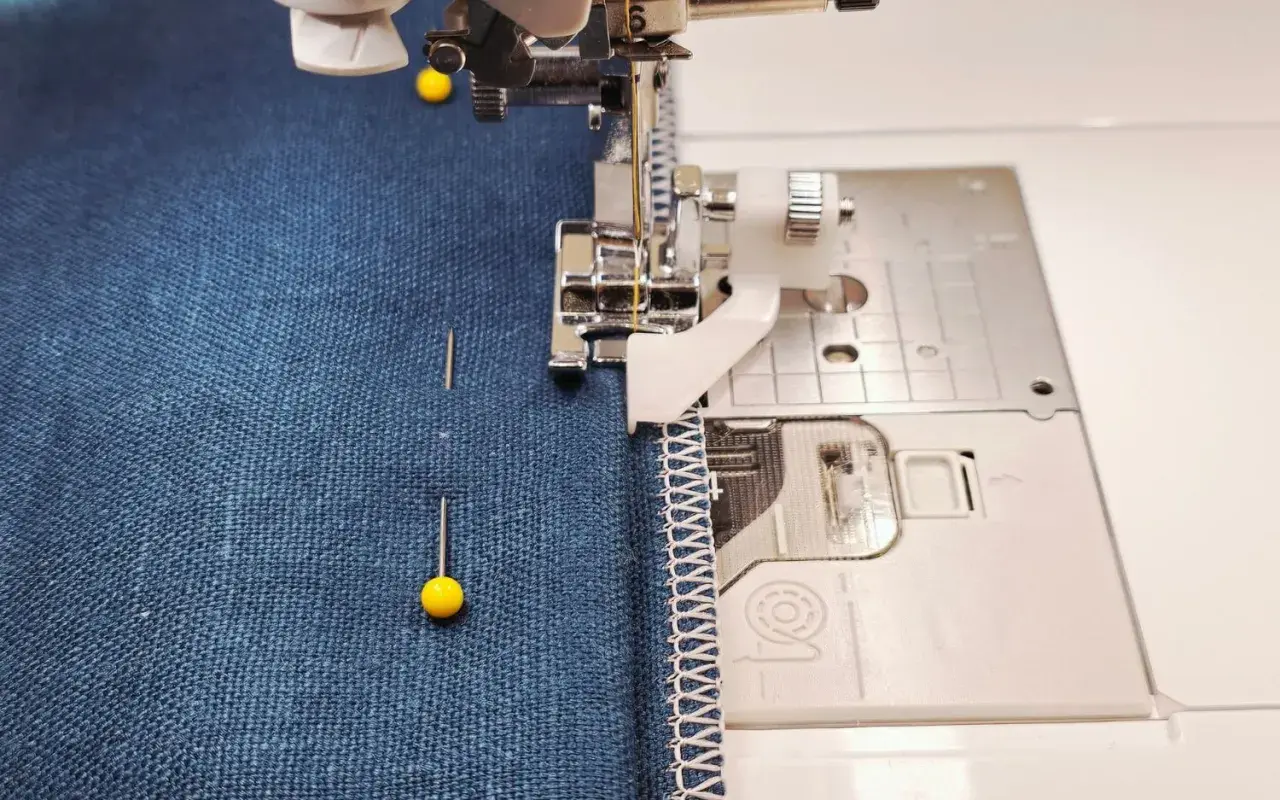
Think of it as a guide rather than a magic trick. Janome describes the common design clearly: a centre guide with grooves underneath that keeps the folded edge steady while the needle swings over the guide. That simple geometry is the whole point. The foot helps the fabric sit in the same place every time, which is how you get a line that looks neat from the right side and secure from the wrong side.
Singer’s guides describe the result as nearly invisible from the front, and that is the standard most sewists are aiming for. The foot does not create the blind hem by itself; it just makes the machine’s blind hem stitch easier to control. Once you accept that, it stops feeling mysterious and starts behaving like a useful piece of precision hardware.
That distinction matters, because the cleaner the guidance, the less you have to fight the fabric later on.
How to use one without guessing
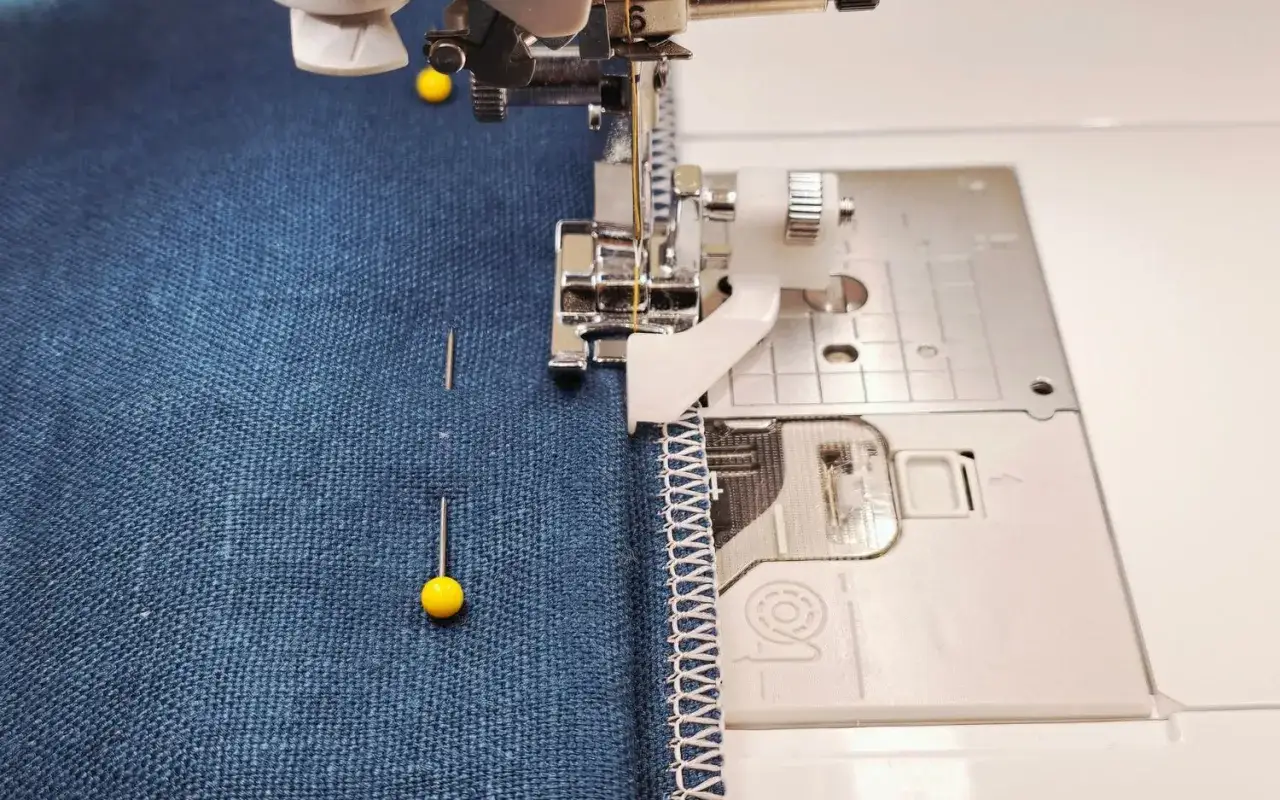
The process is straightforward once the hem is prepared properly. Many machine manuals suggest leaving roughly 1/4 in (0.7 cm) of the hem edge showing on woven fabrics before you stitch. That gives the needle something to catch without showing too much on the face of the garment.
- Select the blind hem or stretch blind hem stitch on your machine.
- Finish the raw edge first if the fabric frays easily.
- Fold and press the hem carefully so the edge stays flat.
- Fit the foot and line the folded edge up with the guide.
- Sew slowly on a test scrap, then check the front side.
- Adjust the guide in tiny steps until the stitch only peeks through from the right side.
If the stitches are too visible, move the guide a fraction toward the fold; if the hem is catching too much fabric, move it away slightly. I would always make the adjustment in small steps. That is usually the difference between a hem that is merely acceptable and one that looks made by hand for the right reasons.
Once the setup feels stable, the next question is whether you actually have the right version of the foot for your machine.
Choosing the right version for your machine
Manufacturers do not all use the same label, which causes more confusion than the foot itself. In practice, blind hem foot and blind stitch foot are often used interchangeably on domestic sewing machines, but some brands reserve one name for a sewing-machine accessory and the other for an overlocker attachment. That is why I check the machine type first and the name second.| Label you may see | What it usually means | What to check |
|---|---|---|
| Blind hem foot | A sewing machine foot for blind hems | Shank type and model compatibility |
| Blind stitch foot | Often the same idea, but not always | Whether it is meant for a sewing machine or overlocker |
| Adjustable blind hem foot | Has a screw or dial to move the guide | Useful when you sew different fabric weights |
| Overlocker blind hem foot | Foot for a serger/overlocker blind hem | Only for the matching machine type |
Current UK listings I checked suggest generic feet often start around £4 to £10, while branded or machine-specific versions are more commonly £12 to £25. Overlocker versions can sit a little higher. I treat that as a working range, not a promise, because fit and build quality matter more than the lowest price.
If your machine already has a blind hem programme, buy the foot that matches its shank or brand system. If it does not, the foot alone will not create an invisible hem. The machine and the accessory have to work together, which is why compatibility matters more than brand name.
That takes us to the part most people care about next: which fabrics and projects actually reward this setup.
Where it works best and where I would reach for something else
This foot earns its keep on hems that need to look clean from the front and sturdy from the back. I reach for it most often on trousers, skirts, dresses, curtains, and table linens. It is especially useful when the hem edge needs to disappear rather than stand out as a design line.
- Medium-weight woven fabrics: usually the easiest and most reliable.
- Lightweight fabrics: workable if they are well pressed and not too slippery.
- Knits: best with a stretch blind hem stitch, if your machine offers one.
- Fray-prone fabrics: finish the raw edge first so the hem stays tidy inside.
On heavyweight fabrics that ravel, I would overcast the raw edge before blind hemming. On bulky seams, I would trim and grade the seam allowance first, because the foot cannot force thick layers to sit flat. On very soft or slippery cloth, stabilising the fold and slowing down usually helps more than changing the stitch width every five minutes.
In other words, the foot is versatile, but it is not equal on every fabric. That is why the mistakes people make with it tend to be predictable.
Common mistakes that make the stitch show
The blind hem technique is unforgiving in a good way. It rewards accuracy and exposes shortcuts almost immediately. The most common problem is a visible stitch line on the front, and that usually comes from one of five causes.
- The guide is too far from the fold, so the needle bites too deeply into the face of the fabric.
- The fabric was not pressed well enough, so the fold drifts while sewing.
- The wrong stitch setting was chosen, especially when a standard stitch is used instead of a blind hem stitch.
- The seam is too bulky for the fabric, which leads to skipped stitches or uneven bites.
- No test piece was used, so the first attempt was made on the finished garment.
Test on scrap is not filler advice here; it is usually the quickest way to avoid a visible hem. I check both sides after the first few centimetres, because the fabric and the machine will tell you very quickly whether the guide is sitting in the right place. If the hem looks wavy, I slow down and press the next section before I sew it. If the stitches show too much, I change the guide position by the smallest amount possible.
Once those habits are in place, the accessory starts to feel less like a special trick and more like a reliable part of the sewing workflow.
The small setup habits that make the stitch disappear
I think the best blind hems come from three quiet habits: press before you sew, choose the matching foot, and make tiny guide adjustments instead of large ones. That is not exciting advice, but it is the advice that saves the most time. It also fits the way most domestic machines behave in real life, where a little control makes a bigger difference than forcing speed.
For anyone who hems clothing or home textiles regularly, this is one of the cheaper accessories in the sewing box, and one of the more useful ones. It will not rescue a poor fold or the wrong stitch setting, but it does make consistent blind hems far easier to produce. That is why I keep one close whenever I know a project needs a clean front and a secure finish on the back.
If you use it with careful pressing and a proper test strip, the result is usually a hem that looks deliberate, tidy, and much more professional than a standard folded edge.
