
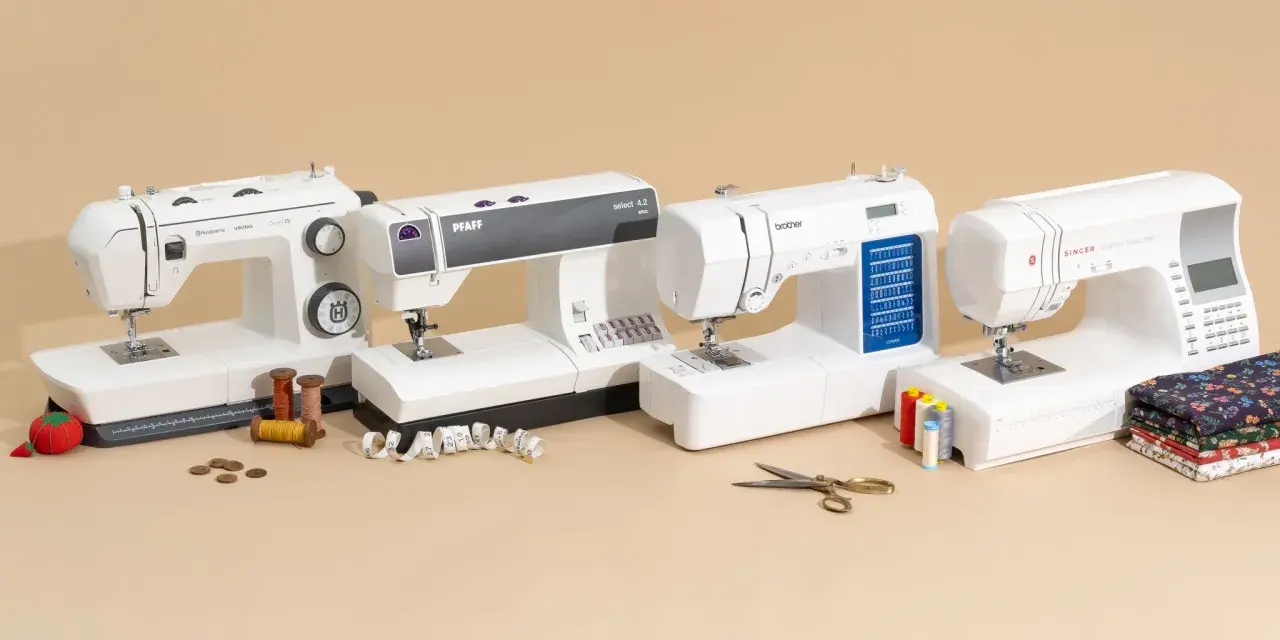
The essentials you need for a clean first seam
- Begin with woven cotton, a new universal needle, and all-purpose thread.
- Thread with the presser foot up and the needle at its highest point.
- Start with a straight stitch around 2.5-3 mm and test on scraps first.
- Hold the thread tails for the first few stitches, then sew slowly and let the feed dogs move the fabric.
- Most beginner issues come from threading mistakes, the wrong needle, or a stitch length set to zero.
- Rectangular projects such as cushion covers or tote bags teach control faster than stretchy or slippery fabric.
Get the machine ready before you touch the pedal
Before anything else, make the machine easy to read. I always want a clear work surface, good light, and a fresh needle, because those three things remove a lot of guesswork before the first stitch is even made. If the machine came with a manual, keep it open nearby; brand-specific diagrams are more useful than memory when you are new.
| Item | A sensible starting point | Why it helps |
|---|---|---|
| Needle | New universal 80/12 for woven cotton | Reduces skipped stitches and keeps the first seam predictable |
| Thread | Good-quality all-purpose polyester thread | Feeds more smoothly and breaks less often than cheap, fuzzy thread |
| Fabric | Medium-weight woven cotton or calico | Stable enough to control and honest enough to show mistakes clearly |
| Foot | Standard all-purpose presser foot | Gives the best visibility for a first straight seam |
| Practice piece | Two scraps at least 20 x 20 cm | Lets you test thread, tension, and stitch length before touching the real project |
Always raise the presser foot before threading; that opens the tension path and makes it much easier for the upper thread to seat correctly. I also like to turn the handwheel towards me until the needle is at its highest point, because that places the guides where they are supposed to be and makes threading far less awkward. Once that setup is clean, the threading order starts to make sense.
The next step is the one that usually feels most technical, but it becomes routine once you see the logic behind it.
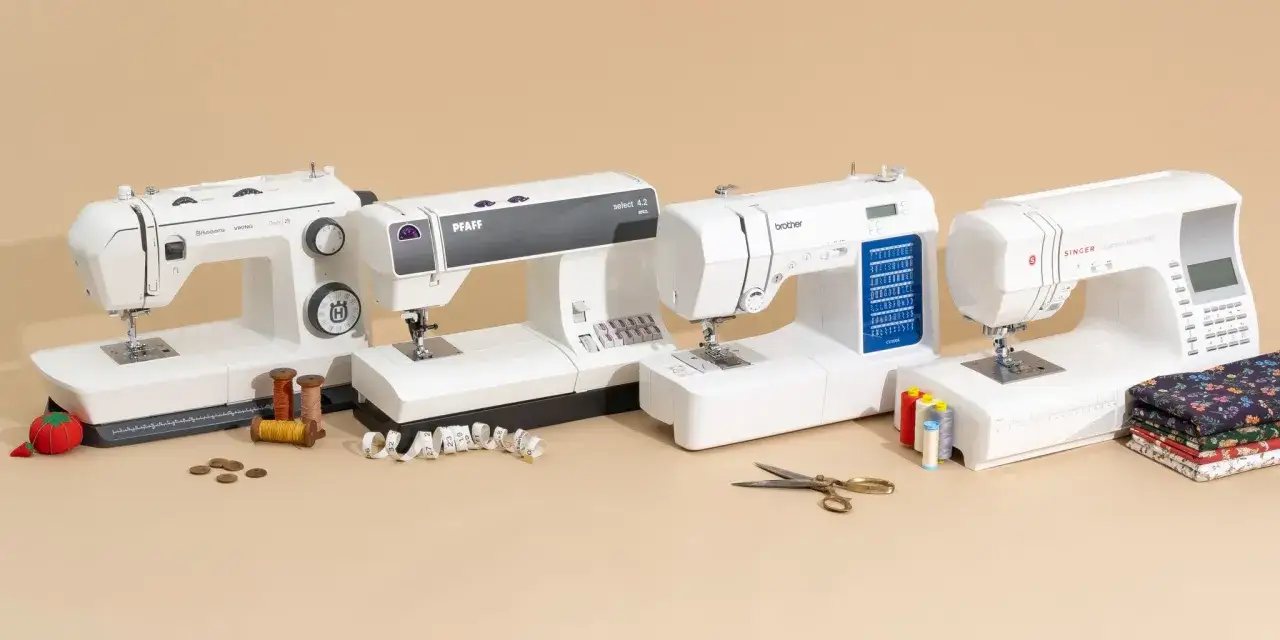
Thread the machine and bobbin the right way
The bobbin is where many beginners lose confidence, but the process is only difficult when the thread path is unclear. On most domestic machines, you want the bobbin wound evenly, not packed to the brim, and inserted exactly the way the machine diagram shows. If your machine has a top-loading bobbin, the thread usually needs to unwind smoothly in the direction indicated by the manual; if it is front-loading, the case matters even more.
- Wind the bobbin with the same thread you plan to sew with, and stop before it looks overfilled.
- Place the bobbin in the holder so the thread feeds off it in the direction shown by the machine.
- With the presser foot still up, thread the upper path from spool pin to take-up lever and down to the needle.
- Thread the needle from front to back and leave a tail of about 10-15 cm.
- Hold the upper thread lightly, turn the handwheel towards you, and bring the bobbin thread up through the needle plate.
- Pull both tails to the back of the machine before you start sewing.
That sequence matters because the upper thread and bobbin thread have to meet in the fabric, not in a tangle above or below it. If the stitch loops underneath, I usually recheck the upper threading first; if the loops sit on top, I look at the bobbin seating and thread path. The machine is telling you something, and the thread pattern is the clue.
Once threading is in place, the next job is not to sew faster. It is to choose settings that make the machine behave in a way you can actually control.
Use simple settings that give you a clean first seam
For a first practice seam, I keep the settings boring on purpose. A straight stitch is the best place to begin, and on many machines a stitch length around 2.5 mm is a sensible default. If you are sewing something heavier or doing topstitching later, you may move closer to 3.5-4 mm; for your first few seams, though, the shorter end of that range is easier to read and easier to unpick if needed.
| Setting | Good starting point | What it is for |
|---|---|---|
| Stitch type | Straight stitch | Best for first seams, hems, and basic control |
| Stitch length | 2.5 mm | Clean, balanced stitches that are easy to test and adjust |
| Stitch width | 0 mm for straight stitching | Width matters later for zigzag and decorative stitches, not for the first seam |
| Tension | Default setting on the machine | A sensible baseline; adjust only after a test seam |
| Seam allowance | 1.5 cm (5/8 in) if the pattern says so | Common in many commercial patterns, but the pattern instructions always win |
Test every new combination on scraps first. That one habit saves more time than almost anything else. If the stitch looks puckered, try a slightly longer length before touching the tension. If the thread is forming loops, rethread the machine before you start chasing dials. Tension is the pull between the upper and lower threads, so it is rarely the first thing I change.
With the machine set up and the stitches under control, the actual sewing step becomes much less mysterious.
Sew the seam with control, not speed
The feed dogs do the moving; your job is to guide the fabric. Feed dogs are the little metal teeth under the presser foot that pull the fabric through the machine at a steady rate, so you do not need to push the cloth from behind. In fact, pushing is one of the fastest ways to distort a seam.
- Place the fabric under the foot with the raw edges aligned and the seam line where you want it.
- Lower the presser foot before you start stitching.
- Hold both thread tails behind the foot for the first 2-3 stitches so they do not get pulled into the seam.
- Sew forward 3-4 stitches, then reverse 3-4 stitches to lock the seam, unless your machine has a lock stitch function.
- Keep your hands light on the fabric, with one hand on each side of the foot, and guide rather than drag.
- Watch the seam allowance or edge guide, not the needle itself.
- At corners, stop with the needle down, lift the foot, pivot the fabric, and lower the foot again.
- When you reach the end, lock the seam, raise the needle, lift the foot, and pull the fabric out towards the back.
- Trim the thread tails to about 1 cm once the seam is finished.
If the fabric starts to wander, stop early instead of trying to rescue it with speed. A few controlled pauses are better than one long crooked seam. For thicker areas, such as side seams or folded hems, I sometimes place a folded scrap of fabric behind the presser foot to level it out; that tiny lift helps the machine climb over the hump instead of stalling.
When the sewing itself feels manageable, the next challenge is not technique so much as diagnosis: what to do when the machine starts acting up.
Fix the beginner problems that show up first
Most beginner sewing problems look complicated but have simple causes. I usually check the same order every time: needle, threading, bobbin, presser foot, then tension. That sequence catches a surprising number of problems before you start twisting settings for no reason.
| Problem | Most likely cause | What to do first |
|---|---|---|
| Skipped stitches | Dull, bent, or wrong-size needle | Insert a new universal needle and rethread the machine |
| Loops underneath the fabric | Upper thread missed the take-up lever or tension path | Raise the presser foot and rethread from the spool down to the needle |
| Loops on top of the fabric | Bobbin not seated correctly or bobbin thread path wrong | Remove and reinsert the bobbin using the machine diagram |
| Fabric will not feed | Presser foot is up, feed dogs are lowered, or stitch length is set to 0 | Lower the foot, re-engage the feed dogs, and increase the stitch length |
| Needle breaks or the machine jams | Fabric was pulled, a thick seam was forced, or the needle hit the foot | Stop, clear the jam, turn the handwheel towards you, and replace any bent needle |
Thread quality matters more than many people expect. Old, fuzzy, or cheaply made thread can shred, especially when combined with a blunt needle. If you are sewing through a thicker section, slow down and let the machine work; do not drag the fabric through by force. A clean stitch is usually a sign of calm setup, not clever improvisation.
Once you can read those common faults, the smartest next move is to choose a first project that teaches, rather than punishes.
Choose your first makes like a trainer, not a test
Your first project should reward straight lines, simple shapes, and repeatable movements. That is why I prefer rectangular makes: they let you practise seam allowance, turning corners, pressing, and finishing without also dealing with fitting or stretch. A beginner project should feel like practice with a purpose, not a trick exam.
| First project | Why it is useful | What you practise |
|---|---|---|
| Cushion cover | Large, forgiving pieces with plenty of straight seams | Accuracy, corner turns, and pressing |
| Tote bag | Teaches long seams and simple turning through an opening | Consistent seam allowance and handling layers |
| Tea towel hem or napkin set | Fast, inexpensive, and easy to repeat | Folding, topstitching, and neat edges |
| Simple drawstring pouch | Introduces a casing without demanding fitting skills | Controlled stitching and working with small parts |
For all of these, use woven cotton, calico, or a washed cotton bedsheet before you move on to jersey, satin, or very thick layers. Those fabrics can be learned later, once your stitches are predictable and you are not still thinking about every millimetre of movement. If you can sew a straight 15 cm seam cleanly, stop, and repeat it several times, you are already building real machine control. Keep a seam ripper, spare needles, and a small brush beside the machine, and the learning curve becomes far less dramatic.
