
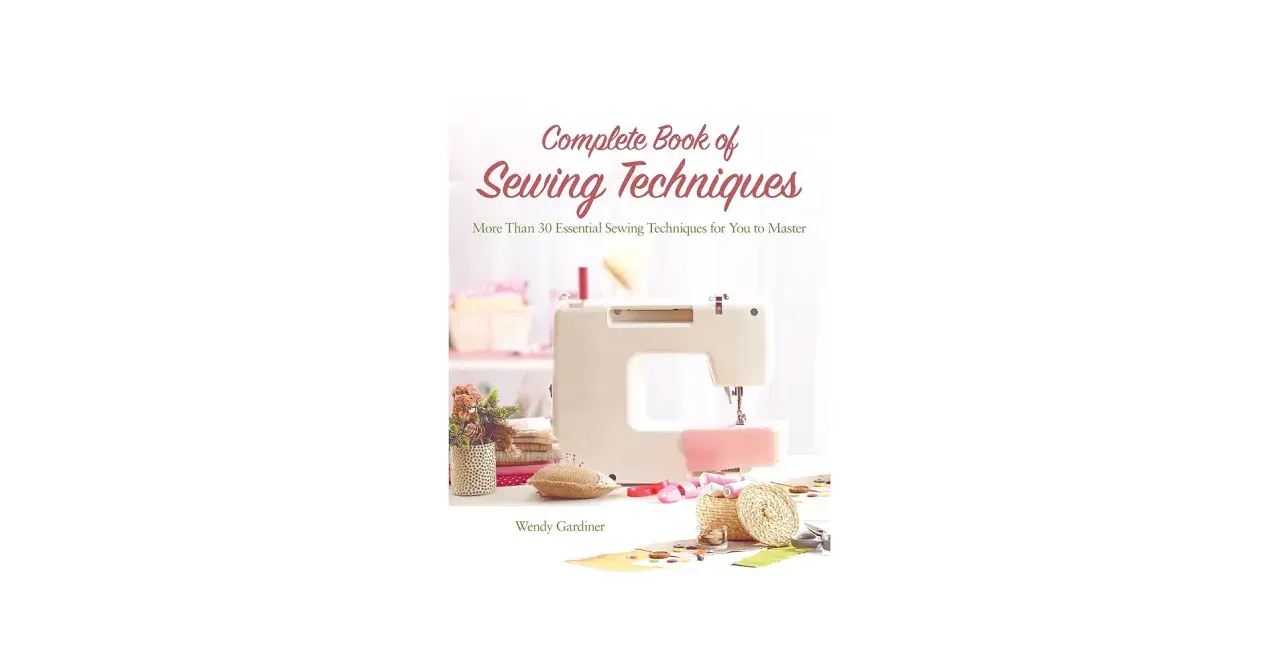
The essentials that make a sewing machine easier to learn
- Start with a fresh needle, a simple woven fabric and a test scrap at least 20 cm square.
- Thread the top path with the presser foot up, then confirm the bobbin sits in the correct direction for your machine.
- For most woven fabrics, begin with a straight stitch around 2.5 mm long and adjust from there.
- Use a ballpoint or stretch needle for jersey, and a stronger denim needle for heavy layers.
- If the machine snarls or skips, rethread first; the tension dial is rarely the first thing I touch.
- Clean lint and change needles regularly so the machine stays smooth between projects.
What the machine needs before you sew a single stitch
Before I sew anything real, I want the machine to be set up as plainly as possible. That means the manual nearby, the correct power lead and plug for the UK socket, a full bobbin, a thread spool that feeds smoothly, and a needle that matches the fabric rather than whatever happened to be in the machine last time. If the machine was bought outside the UK, I always check the voltage label first; a plug adapter changes the shape of the plug, not the electrical rating.
The parts worth knowing are simple. The presser foot holds the fabric flat. The feed dogs are the metal teeth under the foot that move fabric forward. The handwheel lets you move the needle slowly by hand. The stitch selector chooses the seam style, and the tension dial controls how tightly the upper thread pulls against the bobbin thread. Once those pieces make sense, the machine stops feeling mysterious and starts behaving like a tool.
I also keep a few items beside the machine: small scissors, a seam ripper, spare needles, clips or pins, and a scrap of the same fabric I plan to use. That scrap matters because a stitch that looks fine on plain cotton can look completely wrong on a slippery or stretchy cloth. Once the machine is physically ready, threading is the part that decides whether the first seam feels easy or frustrating.
Threading the machine and bobbin without guesswork
Threading is where most beginners lose time, because one missed guide can create a nest of thread under the fabric. I prefer to thread with the presser foot raised, because that opens the tension discs and lets the thread sit where it should. If the foot is down while you thread, the path can look correct and still fail the moment you start sewing.
- Raise the needle to its highest point with the handwheel.
- Place the thread spool on the pin so it can unwind without snagging.
- Follow every guide on the top of the machine and around the needle area in the exact order shown in the manual.
- Thread the needle from front to back unless your machine says otherwise.
- Wind the bobbin evenly, then insert it in the direction the manual specifies.
- Pull both thread tails to the back before you start the first stitches.
The bobbin is small, but it is the source of a surprising number of beginner problems. If the machine jams immediately, I check the bobbin orientation before I touch anything else. I also keep the thread tails under control for the first two or three stitches, because loose ends can be pulled into the needle plate and create a tangle. With the machine threaded, the next decision is whether the needle and stitch suit the fabric.
Matching needle, thread and stitch to the fabric
A machine can only sew well when the needle, thread and stitch length suit the material. I start with the fabric itself, because the fabric tells me more than the machine does. Lightweight cotton behaves differently from jersey, and both behave differently from denim. If you force the same setup on every cloth, the stitch line usually shows it.
| Fabric | Needle | Starting thread | Starting stitch length | What to watch for |
|---|---|---|---|---|
| Lightweight woven cotton | Universal 70/10 or 80/12 | All-purpose polyester | 2.0-2.5 mm | Clean, even seams with very little adjustment |
| Standard dressmaking cotton or linen | Universal 80/12 | All-purpose polyester | 2.5 mm | Good starting point for most beginner projects |
| Jersey or other knit fabric | Ballpoint or stretch 75/11 | All-purpose polyester | 2.5-3.0 mm or a stretch stitch | Let the fabric feed without pulling it |
| Denim or canvas | Jeans 90/14 or 100/16 | Strong polyester | 3.0 mm | Slow down over thick seams |
| Basting or test sewing | Universal 80/12 | Any smooth thread | 4.0 mm | Easy-to-remove stitches for fitting or checking tension |
For most UK dressmaking patterns, a seam allowance of 1.5 cm is common, but I still follow the pattern instructions rather than assuming. A straight stitch is the default for woven fabric, a narrow zigzag or stretch stitch works better for knits, and a longer stitch is useful for basting or topstitching. If the machine has a stitch width dial, remember that width matters mainly for zigzag and decorative stitches, while straight stitching is mostly about length and needle position. When the settings are right, the only thing left is learning to sew the first seam cleanly.
Sewing a straight seam that looks neat on the right side
My simplest method is also the one I use most. I place the fabric right sides together, lower the presser foot, take two or three short backstitches to lock the seam, then sew forward at a slow, steady pace. Slow is not a sign of inexperience here; it is what gives you control over the edge, the seam allowance and the line of stitches.
If the pattern calls for a 1.5 cm seam allowance, I watch the fabric edge against the seam guide on the needle plate rather than staring at the needle itself. That keeps the seam straighter. When I reach a corner, I stop with the needle down in the fabric, lift the presser foot, pivot the cloth, lower the foot again and continue. It sounds fussy written out, but it is the difference between a crisp corner and a wobbly one.
For curved seams, I move even more slowly and guide the fabric in small adjustments instead of trying to steer it in one big motion. The machine should feed the fabric; I am only helping it stay aligned. Even with good technique, a few predictable faults can still appear, and the fix is usually simpler than it looks.
Fixing the problems that waste the most beginner time
When a stitch looks wrong, I try one rule before anything else: change one thing at a time. Re-thread first, then test again, then change the needle, then test again. The tension dial is useful, but it is not the first suspect in most beginner problems.
| What you see | Most likely cause | What I would do first |
|---|---|---|
| Thread nests under the fabric | Top thread not seated correctly or bobbin inserted wrongly | Rethread with the presser foot up and check the bobbin path |
| Loops on the top side | Bobbin thread not seated or upper thread too loose | Remove and reinsert the bobbin, then rethread the top path |
| Skipped stitches | Wrong needle, blunt needle or needle not fully inserted | Replace the needle and make sure it is pushed fully into place |
| Puckered seam | Stitch too short, tension too tight or needle too fine for the fabric | Lengthen the stitch and test on a scrap before sewing again |
| Machine sounds heavy or jerky | Lint, stray thread or fabric forcing the mechanism | Stop sewing, clear the bobbin area and test on a single layer |
A fresh needle solves more than people expect. Many sewists leave a needle in place far longer than they should, then blame the machine when the problem is actually a dull tip bending through the fabric instead of piercing it cleanly. I keep a spare pack close to the machine because replacing the needle is cheaper and quicker than fighting one bad seam for twenty minutes. Once those issues are under control, the machine becomes easier to trust from one project to the next.
Keeping the machine ready for the next project
Routine care does not need to be complicated, but it does need to be regular. After a project, I brush lint from the bobbin area, remove loose thread from the needle plate and check that the presser foot and needle area are clear. If the machine has started sounding rough or the stitches look less crisp, I treat that as a sign to stop and clean before continuing.
I change the needle more often than many beginners expect. A practical rule of thumb is to replace it after a long project or after roughly 8 to 10 hours of sewing, especially if the tip looks bent, the machine starts skipping stitches, or the fabric begins to snag. I also keep needles sorted by type so I am not accidentally using a universal needle on jersey or a fine needle on denim. If you sew regularly, an occasional professional service is worth it; if you sew lightly, the main thing is not to let lint, dust and old thread build up until the machine starts complaining.
Storage matters too. A cover keeps dust off the machine, and storing the foot pedal and accessories together saves time when the next project starts. After a few rounds of basic cleaning, you can focus on habits that keep the machine predictable project after project.
The habits that make the next project easier
The best sewing habit I know is also the simplest: test first, then sew the real piece. A scrap test takes a minute and can save an entire project if the tension, stitch length or needle choice is wrong. I also write down the settings that worked, especially for fabrics I use often, because memory is unreliable once a machine has been set aside for a few weeks.
Another habit that pays off is slowing down at the start of each seam. The first few stitches tell you almost everything about the setup. If they look balanced and the fabric feeds cleanly, I keep going. If they do not, I stop early instead of sewing half the seam and hoping the problem disappears on its own. That small pause is what separates a tidy result from a frustrating repair job.
Once you stop treating the machine like a black box, it becomes much easier to use for hems, tote bags, cushion covers, alterations and eventually garments. The real progress comes from a few repeatable moves: thread carefully, match the needle to the fabric, test on scraps, and clean the machine before it starts struggling. That is the approach I trust when I want the sewing to feel smooth rather than improvised.
