
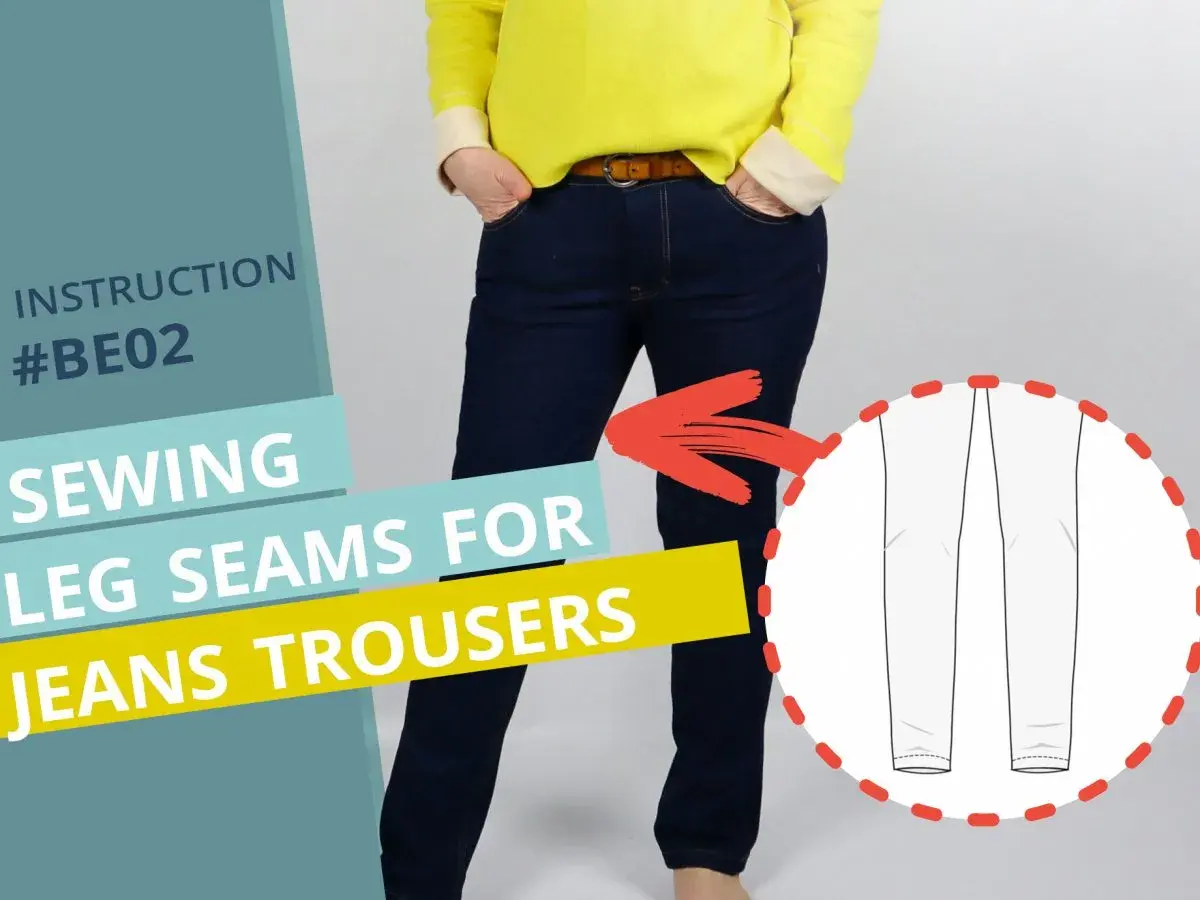
The essentials for a clean, durable crotch seam
- Sew a toile first if the rise or seat is unfamiliar; a few millimetres in the curve make a visible difference.
- Sew the inseams first, then join one leg inside the other for a smoother crotch join.
- Use a 2.5-3 mm stitch for most woven trousers; go stronger and more structured on denim.
- If the back pulls or dips, adjust the crotch curve in small steps rather than adding length only at the waistband.
- Patch or darn worn inner-thigh fabric before it becomes a full hole.
Why the crotch seam matters more than most people think
The crotch area is the highest-stress part of most trousers. Every time you sit, squat, climb stairs, or ride a bike, that seam is under tension from both the body and the fabric’s grainline, which is simply the direction of the threads in the cloth. If the curve is even slightly off, the garment may still close, but it will pull, wrinkle, or wear out faster than it should.
I look at two things first: the front rise and the back rise. A front rise that is too short usually creates tightness across the front and drag lines that point upward. A back rise that is too short tends to show itself as pulling under the buttocks, a dipping centre-back seam, or crumpling in the inner thigh. Those are not cosmetic quirks; they are the garment telling you the curve does not match the body.
That is why I treat the crotch seam as a shaping seam, not just a joining seam. Once you read the shape correctly, the sewing becomes much easier, and the next step is preparing the pieces so the curve can behave the way you want it to.
Prepare the pattern before you sew a single stitch
Before I cut into final fabric, I check the pattern pieces as carefully as I check the machine. The inseams should trued neatly, the notches should match, and the crotch curve should make sense on paper before it ever reaches cloth. If the pattern is for a fitted style, I make a toile or muslin first; for jeans or very structured trousers, that extra step saves time later because the rise is difficult to judge by eye alone.
One useful check is the inseam length. From the hem up to the notch area below the crotch, the front and back should align cleanly. If the difference below the crotch becomes more than about 1.3 cm (1/2 in), I redraw before sewing. You can sometimes ease a small difference while stitching, but once the numbers get larger than that, the curve usually needs proper adjustment instead of persuasion.
I also staystitch curved edges that want to stretch. Staystitching is a line of permanent stitching just inside the seam allowance, and it keeps curved pieces from growing while you handle them. That matters most with softer wovens, rayon blends, and any fabric with a bit of give. On stretch denim or trousers with elastane, I prewash the fabric and let it dry fully first, because shrinkage changes the rise more than most people expect.If the pattern includes a fly, I do not rush the centre front. The fly needs room to be constructed cleanly before the crotch area is closed, and the order matters more than most beginner instructions admit. Once the pieces are ready, the actual sewing is straightforward.
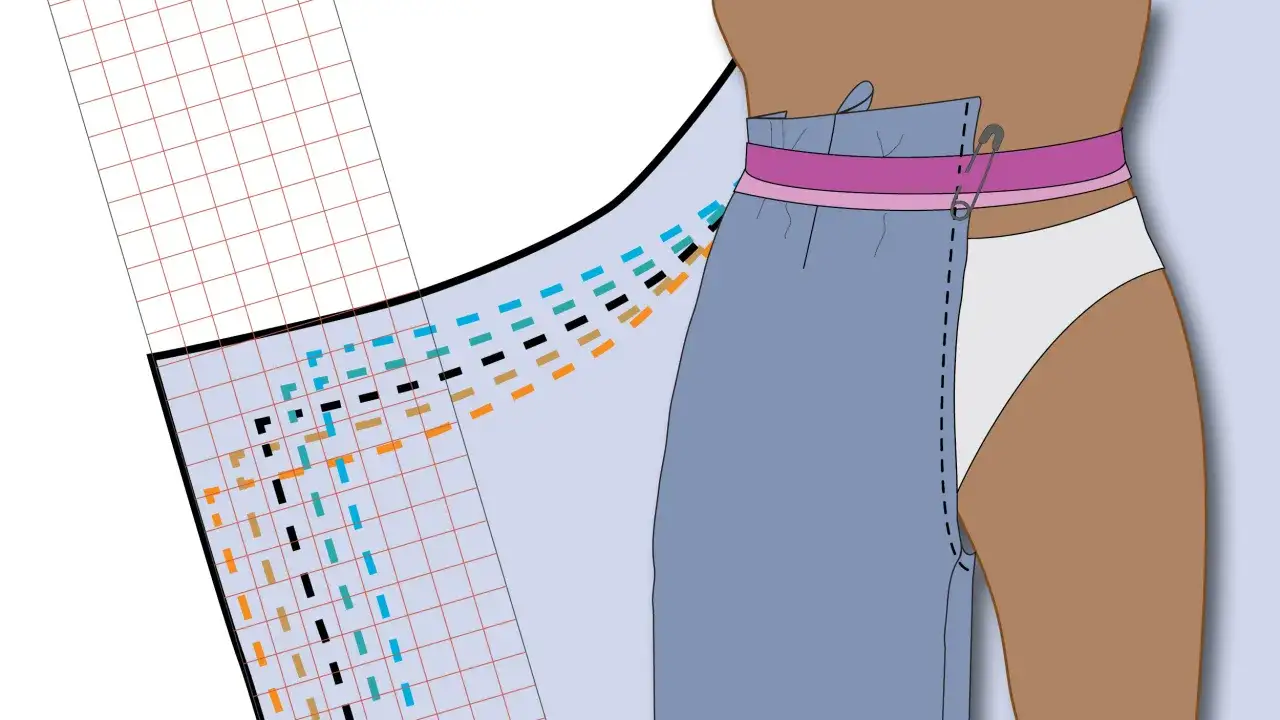
How I sew the crotch seam step by step
When I sew a crotch seam, I work in a sequence that keeps the curve under control and the seam allowances manageable. For most pull-on trousers, I sew the inseams first, then turn one leg right side out and slide it inside the other leg so the crotch can be stitched as one continuous curve. That method gives a cleaner join than trying to force the seam open in the wrong order.
- Sew darts, pockets, and any flat construction details first, while the pieces are still easy to handle.
- Sew each inseam, then finish the seam allowances if your chosen finish needs it.
- Turn one leg right side out and insert it into the other leg, right sides together.
- Match the crotch notches, centre points, and seam intersections carefully before pinning.
- Stitch slowly around the curve, letting the fabric feed naturally instead of pulling it through.
- Press the seam over a tailor’s ham so the curve keeps its shape rather than flattening awkwardly.
For medium-weight woven trousers, I usually use a 2.5-3 mm stitch length. On denim, I move to a denim needle, often 90/14 or 100/16, and a slightly longer stitch around 3-3.5 mm so the seam can take wear without looking cramped. If the fabric contains elastane, a stretch needle and a narrow stretch stitch or tiny zigzag will usually behave better than a rigid straight stitch.
With a fly front, I sew the front construction first and only close the crotch fully once the zip area is stable. I do not force bulk into that curve; the cleaner the shaping at this stage, the better the finished trousers will sit. Once the seam is closed, the next question is how to finish it so the inside is strong but not bulky.
Choose the seam finish that suits the fabric
There is no single finish that works best for every crotch seam. The right choice depends on fabric weight, how much bulk the curve already has, and whether the trousers are meant to be soft, tailored, or hard-wearing. I try to keep the finish as simple as possible while still matching the garment’s use.
| Finish | Best for | Why I use it | Limitations |
|---|---|---|---|
| Plain seam with overlocker or zigzag and pressed open | Light to medium woven trousers | Low bulk and quick to sew | Less structured than workwear finishes |
| Flat-felled seam | Jeans and durable everyday trousers | Very strong and tidy on the inside | Can become bulky on a deep curve |
| Mock flat-fell or lapped seam | Mid-weight fabrics | Good compromise between strength and thickness | Needs careful pressing and topstitching |
| Bound seam | Tailored trousers and lighter cloth | Clean, refined inside finish | Time-consuming and not ideal for heavy denim |
| Stretch stitch with a light finish | Trousers with elastane or knit bottoms | Allows movement without breaking the seam | Needs the right machine settings to stay neat |
On a curved stress point like this, I prefer the least bulky finish that still gives the garment enough strength. If the fabric is already thick, extra layers only make the seam harder to sit on and more likely to rub. Once the finish is chosen, the last major task is fit, because a seam that fits badly will fail faster than one that simply looks imperfect.
Fix fit problems before they wear through
Most crotch failures begin as fit problems, not as sewing failures. I look at the fabric around the seam while the trousers are worn or pinned on the body, because wrinkles, drag lines, and dips tell you what the pattern needs. Threads recommends working directly on the back-crotch seam in a toile, and I agree with that approach: it is faster to correct the actual curve than to guess at it from the waistband down.
| What you see | What it usually means | What I change first |
|---|---|---|
| Front pulls tight when sitting | Front rise is too short | Add a little width off the inseam or front thigh in 6 mm (1/4 in) steps, then redraw the curve |
| Centre-back seam dips low | Back crotch length is too short | Add to the back crotch extension horizontally rather than only at the waistband |
| Fabric crumples under the buttocks | Back curve needs scooping or lowering | Clip the toile seam allowance until the tension releases, often between 3 mm and 12 mm |
| Seams twist around the seat | Inseams are not trued or the grain is off | Check seam lengths and grainline before changing the rise again |
| Waist fits, but the crotch still cuts in | Depth problem, not waist size | Adjust rise and crotch curve first; the waistband is not the cure |
The adjustment I use most often is small and deliberate. If the back needs more room, I change the curve in 1/8 in to 1/4 in steps, then sew a fresh toile. Bigger changes can distort the rest of the leg shape, so I would rather make two controlled edits than one dramatic one. Once the fit is right, the final issue is wear, and that is where jeans and work trousers start asking for repairs.
Repair a worn crotch without adding a lump
When the crotch area is worn but not yet completely split, I treat it as a reinforcement job. A small hole can often be darned neatly, while a larger blowout usually needs an inside patch plus stitching that spreads the stress over a wider area. Collingwood-Norris uses the same basic logic for jeans: tiny holes can be darned discreetly, while larger worn areas are better handled with patching or machine stitching.
For a repair to last, I extend it beyond the obvious hole and into the thin fabric around it. I usually cut a patch from sturdy denim or twill that overlaps the weakened area by at least 2.5 cm (1 in) on all sides, more if the cloth is very thin. The patch goes on the inside for a discreet repair, and I stitch it down in more than one direction so it behaves like part of the garment rather than a loose extra layer.
- For tiny holes, I darn across the worn spot and a little beyond it, not just over the centre of the damage.
- For a seam split or blowout, I open enough seam to work cleanly instead of trying to sew through folded bulk.
- If the wear runs along the inner thigh, I cover the whole thin zone, not just the visible tear.
- For a discreet mend, match the thread colour closely and keep the stitches small.
- For visible mending, use contrast on purpose so the repair looks intentional rather than accidental.
I would rather do a slightly larger, cleaner repair than a tiny one that fails in two weeks. Once the fabric around the crotch starts going translucent, the surrounding fibres are already tired, so a generous patch usually makes better sense than a minimal fix. After that, the job becomes less about rescue and more about making the seam last longer in the first place.
What makes the seam last longer than the first wash
The strongest crotch seams are the ones that are planned for movement, heat, and friction before the garment is finished. That means choosing thread that suits the fabric, pressing every stage properly, and reinforcing only where the cloth genuinely needs it. I use polyester thread for strength on most everyday trousers because it tolerates stress better than a fragile cotton thread, especially in seams that get pulled hard every day.
- Press the curve after every major step, not just at the end.
- Use a needle weight that matches the cloth; a fine needle in heavy denim is asking for skipped stitches.
- Do not add bulk simply because it feels safer; bulk and durability are not the same thing.
- Recheck the rise after the first fitting, because tiny changes there affect the whole seat.
- If the same area keeps wearing through, question the pattern or fabric choice rather than blaming the stitching alone.
If I had to reduce all of this to one practical habit, it would be this: test the rise before you finish the garment. A short toile, a careful fitting, and a cleanly sewn curve do more for the crotch seam than extra topstitching ever will. Once the shape is right, the sewing stops being a fight and starts doing its real job.
