
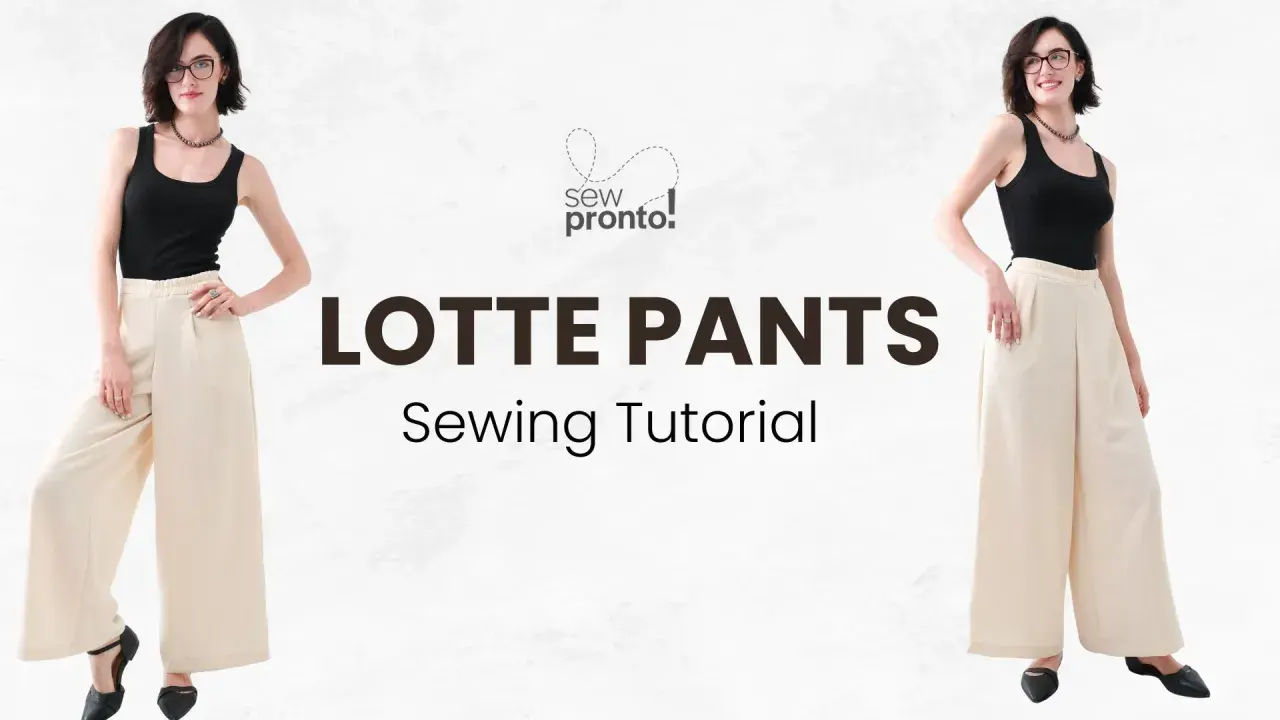
Making a good pair of trousers is mostly about sequence: choose the right pattern, cut accurately, fit the waist and seat before you finish, and press each seam properly. This guide explains how to sew pants in a way that stays practical for beginners while still covering the details that matter for better fit, cleaner construction, and stronger seams. I’ll also show where jeans differ from softer everyday trousers, because the fabric and finishing change the approach quite a bit.
The fastest route to a wearable pair is the right pattern, a sensible fabric choice, and fitting before the hem.
- Start with a trouser shape that matches your skill level and your hip measurement first.
- Choose fabric, thread, and hardware together; the wrong combination makes fitting and finishing harder.
- Cut carefully on grain, transfer every notch, and stabilise stress points before sewing.
- Fit the waistband, seat, and crotch first, then fine-tune the leg and hem.
- Use stronger seam finishes and heavier topstitching when you move from trousers to jeans.
Start with a pattern you can actually fit
I start with the pattern, not the fabric. If the hips are wrong, the rest becomes expensive improvisation; if the hips are right, the waistband and leg shape are much easier to fine-tune. For a first pair, I prefer a straight or gently tapered cut and a toile in medium calico, because balance lines are easier to read than in very pale or very drapey fabric.
| Style | Why I would start there | Skill level |
|---|---|---|
| Relaxed pull-on trousers | Fewer closures, fewer opportunities for bulk, and a calmer fit process | Beginner |
| Straight-leg trousers | Easy to read on the body and forgiving enough to learn from | Beginner to intermediate |
| Tailored trousers | More shaping, more pressing, and a cleaner finish if you want polish | Intermediate |
| Jeans | Heavy seams, topstitching, and a fly make them slower but very durable | Intermediate to advanced |
For a first pair, I would rather solve one fitting problem well than wrestle with a pattern that is too ambitious. Once the base shape is sensible, the fabric choice becomes a real design decision rather than a rescue operation. That leads straight into the next question: what cloth and notions will actually support the garment you want to make?
Choose fabric and notions that suit the final look
Fabric decides the mood of the garment and how forgiving the sewing will be. A bottom-weight fabric, meaning cloth with enough body to support trousers, is usually the right starting point, but not every bottom-weight fabric suits every pattern. Drape, structure, weight, and fraying behaviour all change how the pair will hang and how much patience the sewing will require.
| Fabric | Best use | Watch out for |
|---|---|---|
| Cotton twill or drill | Everyday trousers and first projects | Can feel stiff if you go too heavy |
| Linen | Summer trousers with a relaxed shape | Wrinkles easily and can grow a little after wear |
| Wool suiting | Tailored trousers with a cleaner crease | Needs careful pressing and a tested pattern |
| Viscose or rayon twill | Soft, fluid wide-leg trousers | Can shift while cutting and fray quickly |
| Denim or stretch denim | Jeans and hardwearing casual trousers | Bulk at seams and stronger needles are non-negotiable |
As a rough guide, many adult trouser patterns need about 1.5-2.5 m of 140 cm-wide fabric. Jeans and wide-leg shapes usually sit towards the upper end because of the longer leg line, pocketing, and extra pieces. I still trust the pattern layout more than any general estimate, especially when the fabric has a nap, a direction, or a visible print.
- Thread: polyester all-purpose thread works for most woven trousers.
- Needles: use 80/12 for lighter wovens and 90/14 or a denim needle for heavier cloth.
- Interfacing: stabilise waistbands, fly facings, and pocket openings so they do not stretch out.
- Closures: choose a zip, buttons, hook-and-bar, or elastic casing before you start cutting.
- Topstitching thread: useful for jeans or any pair where the stitching is meant to be seen.
When the fabric and notions are matched properly, the cutting stage stops feeling like guesswork. That matters, because the next step is where accuracy either holds the garment together or quietly sets up problems for later.
Cut, mark, and stabilise every piece before sewing
This is the least glamorous part, and it is where a lot of problems begin. Grainline, the direction of the lengthwise threads in the fabric, matters because it controls how the leg hangs; if it is off, trousers can twist after wear. I want every notch, dart point, pocket mark, and fly placement visible before the machine comes out.
- Prewash fabric if the finished trousers will be washed, especially cotton, linen, and denim.
- Press the cloth flat before cutting so folds do not distort the pattern pieces.
- Cut on grain, and consider single-layer cutting for directional fabrics or stretch denim.
- Transfer notches, darts, pocket positions, and fly marks before removing the pattern paper.
- Interface waistbands, fly pieces, pocket openings, and any area that has to hold shape.
- Staystitch curved waist edges so they do not stretch while you handle the pieces.
I care most about grainline here. A leg that is even slightly off grain can twist after one wash, and no amount of pressing will fully hide it. Once those pieces are stable, the machine work matters more, and the order of assembly starts to affect the fit.
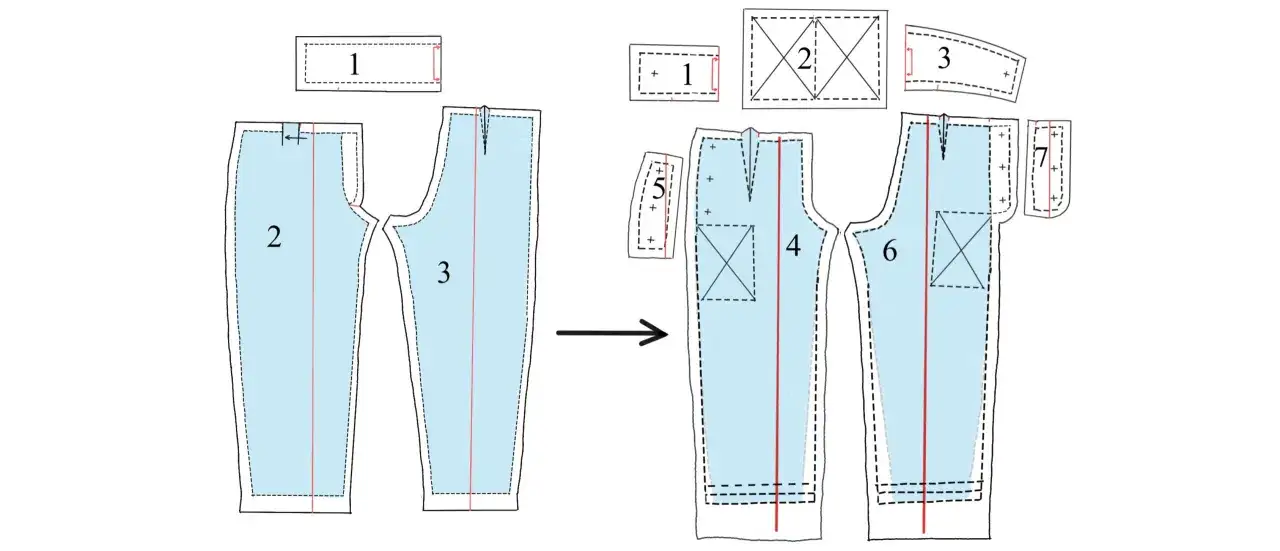
Sew the garment in a sequence that keeps the fit under control
The exact order changes with the pattern, but the logic stays the same: build the details you cannot easily fix later, then keep the legs open until the shape is stable. If I am making a toile, I finish enough of it to judge the waistband, crotch, and rise properly before I touch the hem. I would rather make one extra fitting pass than unpick decorative topstitching later.
For pull-on trousers
- Sew darts, pleats, and pockets first.
- Join the front and back pieces as directed, keeping the leg tubes open enough to check the shape.
- Construct the waistband or elastic casing and try the garment on before closing it permanently.
- Press every seam as you go, then finish the raw edges in the way the pattern expects.
- Only hem once the trousers hang correctly from the waist.
Read Also: Sew Perfect Waistbands: Jeans & Trousers That Lie Flat
For fly-front trousers or jeans
- Staystitch the front curves and pocket openings before handling them too much.
- Build the fly or zip front carefully, because this sets the tone for the rest of the garment.
- Sew the front and back crotch seams according to the pattern order.
- Join the inseams and outer seams, checking that the legs are not twisted.
- Attach the waistband, then topstitch it only after the fit is confirmed.
With jeans, I slow down at the fly and the topstitching. Those are the parts people notice first, and they also lock in the shape of the front rise. Once the legs are together, the real test is how the trousers behave on the body, not how tidy they look on the table.
Fit the waist, seat, and crotch before you hem
I fit trousers from the top down, and I rarely trust a mirror alone. A helper is invaluable, because the waistband, rise, and crotch are hard to judge properly on your own. The goal is not perfection on the first try; the goal is to see which part of the pattern is asking for more room, less room, or a different balance.
| What you see | What it usually means | First thing I would try |
|---|---|---|
| Waistband gaps at the back | Back waist is too loose or too long for your shape | Take in the centre back or reshape the waistband before touching the hips |
| Horizontal strain across the seat | Not enough room through the back seat or crotch curve | Add width at the back seat rather than lowering the waist blindly |
| Wrinkles point down from the crotch | Crotch length or rise is not quite right | Adjust crotch depth and length before changing the hem |
| Diagonal pulls across the thigh | Thigh is too narrow or the leg balance is off | Widen the thigh area and recheck the inseam line |
| Legs twist after wearing | Pieces were cut off grain or the front and back are not balanced | Check the cut and compare the front and back leg shapes carefully |
Figure variation matters too. Some bodies need more room through the back seat; others need a little more crotch length because they sit often or have a more forward-tilted posture. I like to pin, sit, stand, and walk a few steps in the toile, because trousers that only fit in a static mirror are not really finished. Once the fit is stable, finishing work is what makes the garment feel properly made.
Finish it like clothing you want to wear
A pair of trousers can be cut well and still look homemade if the finishing is careless. This is where seam choice, pressing, and hemming decide whether the garment feels crisp or flimsy. I think of finishing as structure, not decoration: it is what lets the trousers survive being worn, washed, and pressed again.
- Overlock or zigzag ordinary woven seams if you want speed and a clean inside finish.
- Use French seams only when the fabric is lightweight enough and the pattern has room for them.
- Choose flat-felled seams for jeans and hardwearing trousers when strength matters more than speed.
- Press curved seams over a tailor's ham, and flatten thick intersections with a clapper.
- Use a longer stitch length of about 3 mm for most topstitching and around 3.5 mm for a classic jeans look.
- Hem by fabric weight: about 2.5-3 cm for lighter trousers, and 4-5 cm for denim or heavier cloth.
If the hem drags or the side seam refuses to lie flat, I stop and fix that before declaring the pair done. Small corrections at this stage are much easier than living with a barely-right finish. The construction choice shifts again if the fabric is denim, so that deserves its own comparison.
What changes when you sew jeans instead of trousers
Jeans are trousers, but they ask for a different approach. Denim holds shape, hides less, and adds bulk at every seam, so the sewing gets slower and less forgiving. I treat jeans as a structure project with style details attached, not just as another pair of casual trousers.
| Feature | Everyday trousers | Jeans |
|---|---|---|
| Main fabric | Linen, twill, wool blends, rayon blends, or other woven bottom-weight cloth | Denim or stretch denim |
| Seam finish | Overlocked, zigzagged, or clean-finished depending on the cloth | Usually flat-felled for strength and a classic look |
| Topstitching | Often subtle or decorative | Visible, structural, and part of the design |
| Hardware | Zip, elastic, hook-and-bar, or buttons | Jeans zip, waistband button, and sometimes rivets |
| Fit tolerance | More forgiving if the fabric has drape | Less forgiving because denim holds the shape you sew in |
If this is your first denim project, I would choose a simpler cut or a trouser pattern that borrows jeans details rather than jumping straight into a heavy five-pocket pair. You learn the same discipline with less bulk, which makes the whole process more manageable. Once that comparison is clear, the last job is to save the lessons for the next pair.
The details that make a second pair easier
The most useful habit I keep is to treat the first pair as a record. I save the altered pattern, note the seam allowance, needle, stitch length, hem depth, and any waist or crotch changes, then pin a fabric swatch to the paper pattern so I do not have to guess later. That is usually what turns a one-off success into a repeatable method.
- Write down the finished waist, rise, inseam, and hem measurements.
- Mark the exact adjustment points on the pattern before you put it away.
- Keep the toile if the fit is close; it is cheaper to learn from it than to start from zero again.
- Change one variable at a time on the next pair so you know what actually improved the fit.
If the first pair is only almost right, I still keep the pattern. A near-perfect toile is not a failure; it is the template for a better pair, and that is usually where the real progress starts.
