
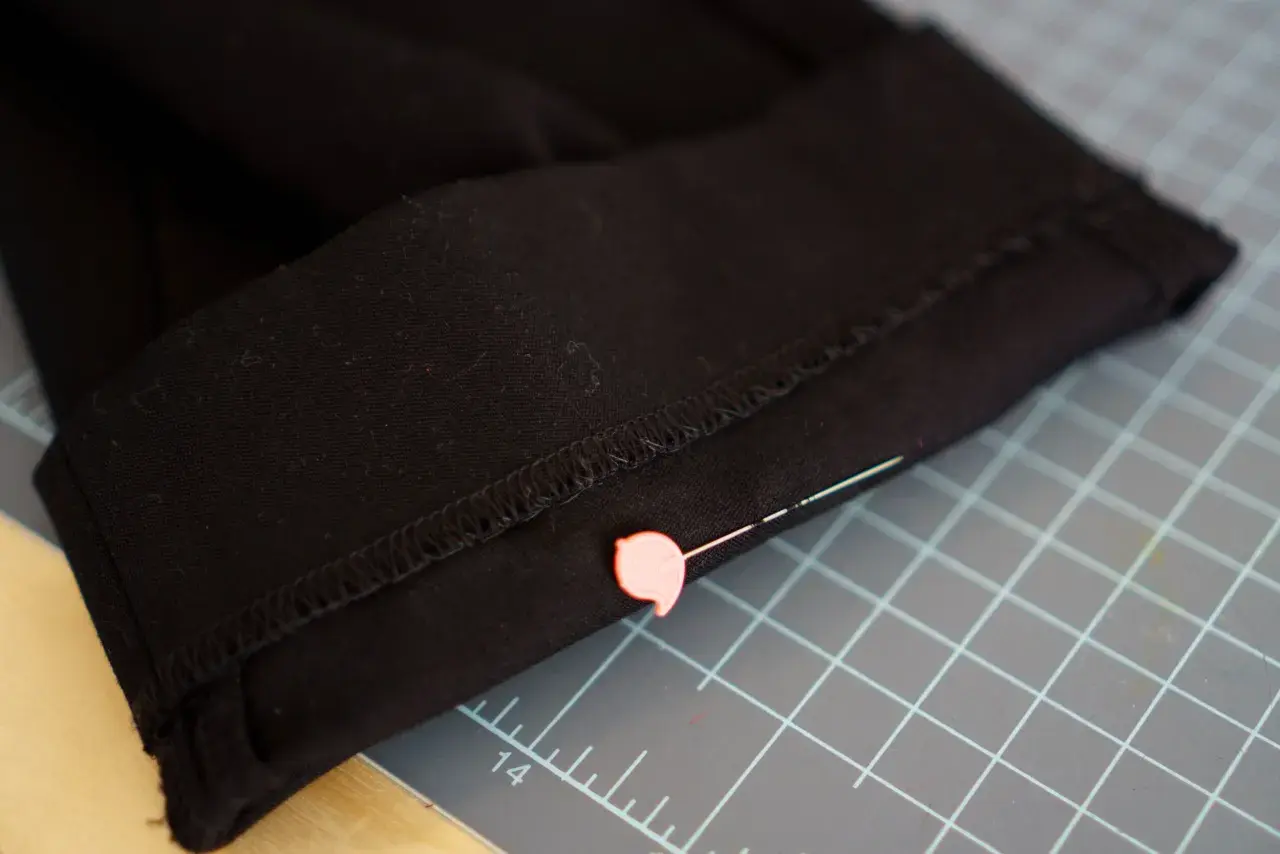
The practical answer to how to do an invisible stitch on pants is to use a blind hem and control every small detail around it: the fold, the thread, the stitch length, and the way the hem is pressed. In this guide, I walk through the hand-sewn method for trousers and jeans, when it works best, where it struggles, and how to avoid the little mistakes that make the stitch show. If you want a finish that looks clean rather than obviously repaired, the preparation matters as much as the sewing.
The quickest way to get an almost invisible trouser hem
- A blind hem hides most of the thread inside the fold, so only tiny catches reach the outside fabric.
- For most trousers, pressing the hem first does more for invisibility than sewing faster.
- Use a fine needle, matching thread, and short thread lengths to keep knots and bulk under control.
- Catch only 1-2 threads from the outside cloth; if you take more, the stitch starts to show.
- Jeans and heavy denim need more care at the side seams, where bulk can make the hem ridge.
- A machine blind hem is quicker, but hand sewing gives better control on delicate or expensive trousers.
What a blind hem actually does on trousers
What most sewists call an invisible hem is really a blind hem: a hand stitch that connects the folded hem allowance to the trouser leg without sending a visible line across the outside of the garment. From the right side, you should see almost nothing except a faint shadow, if anything at all. That is why it works so well on dress trousers, chinos, and neatly finished jeans.
The key idea is simple. Most of the thread lives inside the fold, and the needle only takes a tiny bite from the outer fabric before disappearing back into the hem allowance. If the bites are too deep, the stitch becomes obvious; if they are too shallow, the hem loosens. Once you understand that balance, the rest of the process becomes much easier.
For the cleanest result, I think of this less as a decorative stitch and more as a controlled repair of structure. That shift matters, because a good hem starts long before the first stitch goes in.
Prepare the hem so the stitch disappears
Before I sew anything, I make the trousers sit correctly on the body. That usually means trying them on with the shoes they will actually be worn with, then marking the finished length with tailor’s chalk or washable pen. If the fabric is denim or a heavy cotton, I often let the trousers hang for about 24 hours before trimming the final line, because the weight of the leg can change the drop.
For most trousers, I like a hem allowance of around 3 to 4 cm. Jeans usually behave better with a little more depth, often closer to 4 to 5 cm, because the extra fold gives the hem more body. If the allowance is already smaller than that, I work with what is there rather than forcing a wide turn-up that will sit too bulky.
Once the length is right, press the hem thoroughly. Then finish the raw edge if the fabric frays easily: an overlock edge is neatest, but a narrow zigzag works too. Thread should be kept modest in length as well; I usually cut about 40 to 50 cm at a time so it does not knot before I finish a section. A fine hand needle is enough for most trousers, while denim usually needs something slightly sturdier.
Sew the blind hem by hand step by step
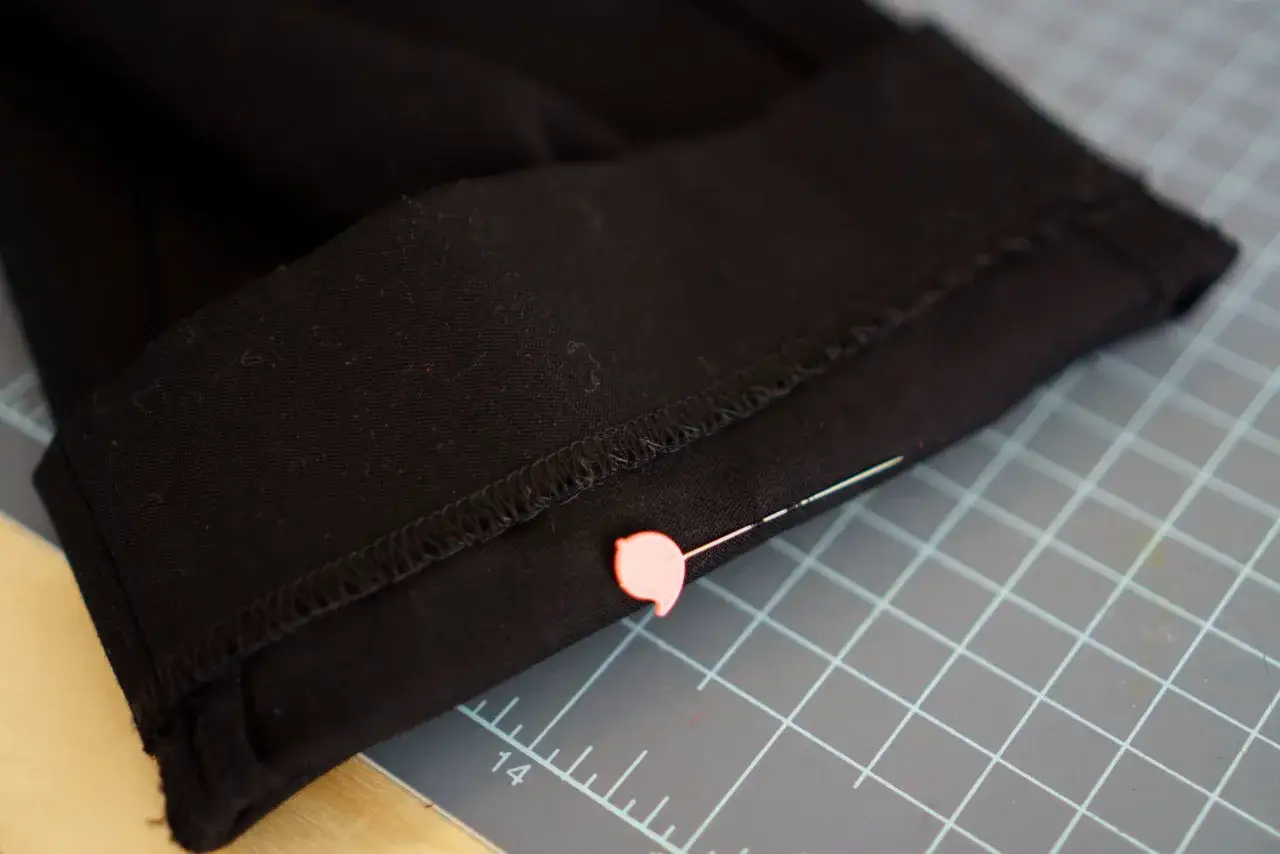
This is the part people worry about, but the hand movement is quite repetitive once it clicks. The goal is to alternate between the folded hem and the trouser leg while taking the smallest possible catch from the outside layer.
- Unpick the old hem if you are shortening a finished pair of trousers, then press the leg flat again.
- Fold the hem up to the marked line and press it firmly so the edge stays stable.
- Fold a small section of the hem allowance back on itself so the raw edge is hidden and only a narrow fold is exposed.
- Knot the thread and hide the knot inside the folded hem. I keep the knot tucked into the fold so it never rubs against the skin.
- Take a tiny stitch into the trouser leg, catching only 1 or 2 threads from the outside fabric. Then move the needle back into the hem allowance for a longer stitch inside the fold.
- Repeat at a steady rhythm, usually every 5 to 8 mm on the fold. The outer catches should stay small enough that they almost melt into the cloth.
- When you reach the end of the section, tie off the thread inside the fold and press the hem again from the wrong side and then lightly from the right side.
If you can clearly see the stitch line from the outside while you are sewing, stop and make the outer catch smaller. That is usually the fastest correction. I also like to keep the stitches slightly angled rather than straight and stiff, because the diagonal movement blends into woven trouser cloth more naturally.
Choose the right approach for jeans and tailored trousers
Not every pair of trousers behaves the same way. A blind hem is the default for most dress trousers, but jeans, stretch chinos, and lined tailoring each ask for a slightly different hand. A catch stitch, which is a diagonal hand stitch that grips the hem more firmly, can be a better option on bulky cloth when a blind hem refuses to sit flat.
| Fabric type | Best approach | Why it works | What to watch |
|---|---|---|---|
| Dress trousers and wool blends | Fine blind hem with thin thread | It disappears well in smooth cloth and keeps the drape neat | Avoid tight stitches that pucker the fabric |
| Jeans and heavy denim | Blind hem or catch stitch, depending on bulk | It holds securely without obvious topstitching on the outside | Grade the side seams first, or the hem can ridge |
| Stretch chinos | Blind hem with a touch of give in the thread | It moves better with the fabric and resists popping open | Do not pull the thread tight while sewing |
| Lined suit trousers | Separate handling of shell and lining, then a hand blind hem | It preserves the clean line of the tailoring | Check that the lining does not twist or hang lower than the shell |
On jeans, I am less obsessed with perfect invisibility and more concerned with the hem sitting flat and wearing well. Denim is thick, so a stitch that is technically hidden but causes a bump at the side seam is still a poor result. In that case, I would rather grade the side seams first, meaning trim the seam allowances to different widths so they do not build into a ridge, and let the hem look calm than force the stitch to be microscopic.
Fix the details that make the hem show
Most visible hems fail for the same few reasons, and they are all fixable. The problems are usually not the stitch itself but the handling around it.
- Catching too much outer fabric makes the stitch line obvious from the right side.
- Using thick or shiny thread turns a discreet repair into a visible line.
- Skipping the press leaves the hem wavy, even if the stitching is neat.
- Pulling the thread too tightly creates puckers and small ripples along the fold.
- Ignoring bulk at the seams causes raised spots at the inseam and side seam, especially on jeans.
When I notice a stitch showing, I do not usually start again from scratch. I unpick only the section that looks wrong, reduce the catch depth, and re-press the area. The correction is often small, but it changes the finish completely.
There is also one detail people overlook: thread colour is not always best when it is an exact match. On textured wool or dark denim, a thread that is one shade darker can disappear better in shadow than a bright exact match. I would still test it on a scrap first, but it is a useful trick when a perfect colour match is not available.
When a machine blind hem makes more sense
A hand stitch gives control, but it is not always the most efficient option. If I am hemming several pairs of work trousers, or if the cloth is stable and uncomplicated, a machine blind hem is faster and perfectly respectable. It is especially useful when the hemline is long, uniform, and not fighting awkward side-seam bulk.
That said, hand sewing still wins when the garment is expensive, the fabric is slippery, or the finish needs more finesse than speed. Tailored wool trousers, lined trousers, and delicate blends often look better with a hand blind hem because I can place each stitch more precisely. On heavy jeans, I also prefer hand sewing if I need to adjust the stitch depth around thick intersections.
If the trousers are extremely valuable or the original hem finish matters, a tailor is the safer choice. That is not an admission of defeat; it is simply the point where accuracy matters more than convenience.
Keep the hem neat through washing and wear
The best blind hem still has to survive movement, washing, and regular wear. After sewing, I press the hem one more time, let it cool flat, and avoid folding the trousers away while the fibres are still warm and shaped. That final cooling stage helps the hem settle into place instead of springing back into a crooked line.
For care, turn the trousers inside out if they are going in the wash, and avoid rough handling on the hem edge. If the fabric is structured and the stitches are under a little tension, check the hem after the first wear rather than after several months. A small adjustment early is much easier than rebuilding a stretched line later.
For me, the difference between a hem that looks handmade and one that disappears is never the stitch alone. It is the preparation, the tiny bites of fabric, and the final press. Keep those three things steady, and the hem will stay quiet in the background where it belongs.
