
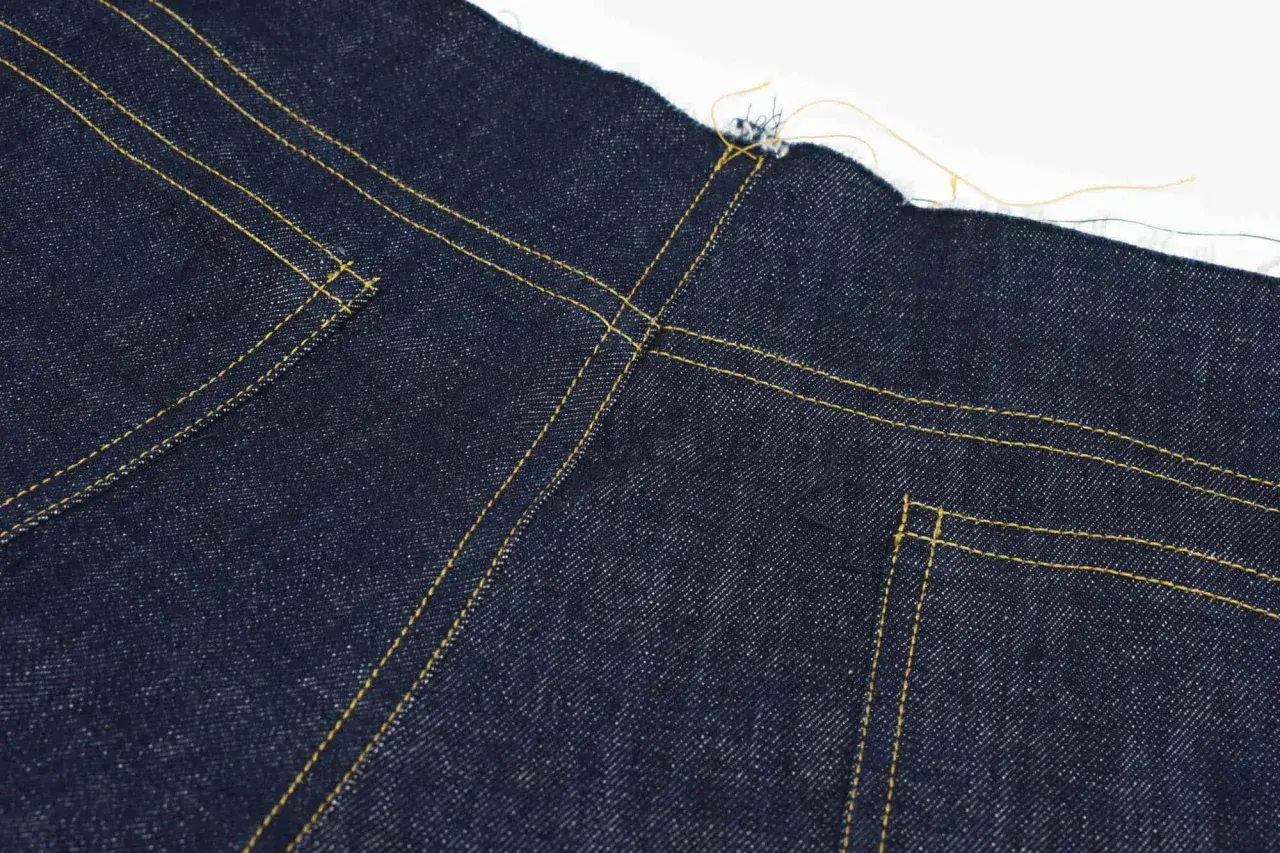
The yoke on jeans is one of those details that looks minor until the fit goes wrong. It is the shaped upper section that bridges the waistband, waist and hips, and it has a direct effect on how the jeans sit across the seat. In this article I explain what that panel does, how different shapes change the fit, what common problems mean, and how I approach adjustments and sewing when the back of the jeans needs more work.
The back yoke is a fit tool, not just decoration
- It replaces some of the shaping that would otherwise come from darts in trousers.
- A deeper curve usually adds more shape through the seat; a straighter line gives a flatter look.
- Most fit problems show up here first: gaping, pulling, folds under the bum, or a waistband that sits oddly.
- Small alterations of 3 to 5 mm can make a visible difference when testing a toile.
- A clean yoke seam depends on accurate cutting, grading, pressing and topstitching.
What the back yoke actually does
I treat the back yoke as structural shaping disguised as a style line. It sits just below the waistband and helps the jeans curve over the waist and around the seat instead of dropping straight down like a tube. That means it is doing two jobs at once: controlling fit and creating the back view people recognise instantly as denim.
The easiest way to think about it is this: if a trouser block uses darts to remove excess fabric at the waist and hips, the yoke is one way of folding that shaping into a seam instead. That is why the back of jeans can look neat at the waist while still giving enough room for the bum and upper thighs. Once you see the yoke as shaping rather than ornament, the next question becomes how the shape itself changes the fit.
Yoke, rise and seat are not the same thing
These three terms get mixed up all the time, and the confusion leads to bad adjustments. The back rise is the vertical distance from the crotch to the waistband. The seat is the body area over the bum and upper hips. The yoke is the shaped upper panel that helps the jeans follow that curve. If one of them is wrong, the others may still be fine.
| Term | What it means | What changes when you alter it |
|---|---|---|
| Back rise | The back length from crotch to waistband | How high the jeans sit and whether the waistband is pulled down |
| Seat | The area over the bum and upper hips | Whether the jeans feel tight, baggy or balanced across the back |
| Yoke | The shaped upper back panel | How much contour the back of the jeans has and how the seat is supported |
That distinction matters because a pair can have the right rise and still fit badly through the yoke, or vice versa. When I am fitting jeans, I always decide which part is actually causing the problem before I touch the pattern. That saves a lot of unnecessary redrawing later. With those terms separated, the shape choices make much more sense.
The main yoke shapes and what they do
Once you start comparing denim closely, the yoke line becomes one of the clearest style choices in the pattern. The deeper the curve, the more the seat is being shaped. A straighter line gives a calmer, more boxy look. Neither is automatically better; they solve different problems.
| Shape | What it tends to do | Best for | Trade-off |
|---|---|---|---|
| Deep V | Adds more curve through the seat and can make the back look more lifted | Fuller seats and denim that needs stronger contour | Can feel over-shaped if the curve is deeper than the body needs |
| Shallow V | Gives moderate shaping with a classic jeans look | Most everyday jeans patterns | May not hold enough shape on a fuller seat |
| Straight | Reads flatter and cleaner across the back | Workwear looks or bodies that need very little back contour | Can look blocky if too little shaping is built in elsewhere |
| Inverted curve | Adds room in a different place and changes the balance of the seat | Some women’s cuts and more stylised denim | More noticeable visually and less forgiving if the draft is off |
A wide yoke is another variation worth knowing about. It is not simply a deeper V, but a broader panel that can create the look of a lower-slung jean while still covering the seat properly. I see that used a lot in workwear and moto-inspired styles. The key point is simple: shape changes both fit and silhouette, so the back yoke is never just background detail. The real test is how that shape shows up on the body.
Fit clues I look for around the yoke
Wrinkles are not decoration, and I rarely read them as isolated faults. I look at the whole back half of the jean, then decide whether the yoke is too shallow, too deep, too short or simply in the wrong place. If you are fitting from a toile, the back view usually tells you more than the front.
| What you see | What it usually suggests | What I try first |
|---|---|---|
| Waistband gaping at the centre back | The yoke may be too flat for the shape of the seat, or the back waist needs a sway-back change | Check the centre back curve before changing the whole waistband |
| Horizontal folds under the waistband | There may be too much length in the upper back rise | Reduce length a little at the top edge and retest |
| Diagonal drag lines pointing to the crotch seam | More room is usually needed through the seat or lower back rise | Add a small amount of depth to the back shape |
| Bagginess under the bum | There may be too much seat room or the yoke curve is too deep | Flatten the curve slightly and remove a little width if needed |
| Back pockets look tilted or uneven | The yoke line may be out of balance | Check symmetry before blaming pocket placement alone |
I do not diagnose from one wrinkle alone. A jean can pull for several reasons at once, especially if the fabric has stretch or the crotch curve is also off. Still, these clues are useful because they tell you where to start. Once I know which problem I am looking at, I can alter the yoke instead of fighting the whole leg.
How I alter a yoke when jeans do not sit right
When I alter jeans, I move in small steps. A 3 to 5 mm change can be enough to shift the fit without throwing the rest of the pattern out. I also keep the waistband, pocket placement and back rise in view while I work, because changing the yoke in isolation can create new problems if you ignore the rest of the upper back.
- Mark the problem on a toile while the jeans are on the body, not after you have taken them off.
- Decide whether the issue is depth, length or curve. Those are different fixes.
- If the back feels short, add a little length through the centre back and the yoke curve.
- If the back feels too baggy, remove a small wedge or flatten the curve slightly.
- Blend the change smoothly into the side seam and check that the pocket line still sits where you want it.
If I am correcting a fuller seat, I usually deepen the back curve before I touch the leg width. If I am dealing with a flatter seat, I often do the opposite and reduce excess at the top of the back rise. The point is not to force one body into one standard shape. It is to make the pattern follow the body without creating stress lines or empty space. Once the shape is right, sewing the seam cleanly becomes much easier.
Sewing the seam cleanly
Most jean patterns finish the yoke seam with a flat-felled seam or a similar enclosed finish. That is not just a durability choice. It also gives jeans their crisp, familiar look. If your pattern calls for a 1.5 cm or 5/8 in seam allowance, follow that exactly, because the finished yoke shape depends on it.
My practical checklist is short:
- Cut the yoke and back pieces accurately and transfer the notches.
- Ease the longer curve into the shorter one without stretching either piece.
- Grade the seam allowance so the seam does not build unwanted bulk at the seat.
- Press in stages before topstitching, because pressing does more for a yoke seam than speed ever will.
- Switch to a denim needle and a longer stitch length, usually around 3 to 3.5 mm, before visible stitching.
I also pay attention to the topstitching line. A single row looks quieter and more refined; two rows read as more workwear or western. Neither is wrong, but the choice changes the character of the jeans. If the stitching is uneven, the eye goes straight to the yoke, which is exactly where the fit story is already being told. Before you cut expensive denim, though, I would still check the pattern itself.
What I check before I buy or draft jeans
When I am choosing a jeans pattern or studying a ready-made pair, I look at the back yoke before I get distracted by wash, pocket embroidery or trend details. A rough fit guide from denim brands often puts yoke depth somewhere around 4 to 7.5 cm, but I treat that as a starting range, not a rule. The right depth depends on rise, seat shape, fabric and the silhouette you want.
- Yoke depth - deeper shaping usually means more seat contour, while a shallow line stays more relaxed.
- Back rise - if this is too short, the waistband will feel dragged down even if the yoke looks fine.
- Back pocket position - pockets can visually lift or flatten the seat, even when the pattern fit is sound.
- Fabric stretch - stretch can soften small fit issues, but it will not rescue a badly drafted curve.
- Balance between waist and hip - if those measurements are far apart, the yoke needs to do more work.
That is why I never choose jeans by leg shape alone. A skinny, straight or wide leg can all fail if the upper back section is poorly matched to the body. In practice, the yoke is one of the fastest ways to tell whether a pattern has been drafted thoughtfully or just made to look like jeans from the front. Those checks stop most disappointments before the first stitch is sewn.
The detail I would fix first if the jeans almost work
If a pair of jeans is 80 percent right, I would fix the yoke before I started redesigning the legs. It is usually the fastest way to improve comfort and the silhouette at the same time. A better back shape can remove gaping, reduce drag lines and make the jeans look intentionally fitted rather than merely pulled on.
That is the practical lesson I keep coming back to: when the back view feels wrong, the problem is often sitting in that small shaped panel just below the waistband. Get the yoke right, and the rest of the jeans becomes much easier to judge. It is a small pattern piece, but it carries a lot of the fit work, and that is exactly why I give it so much attention.
