
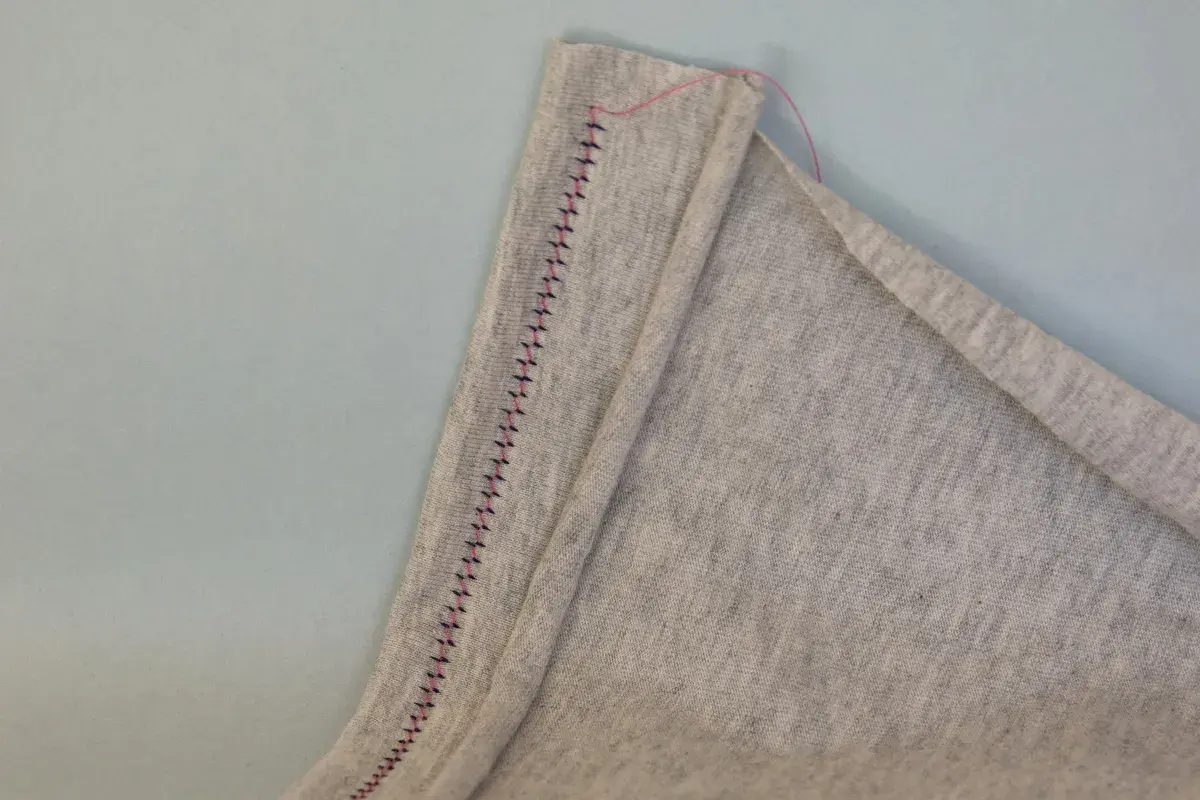
A twin needle, also called a double needle, is brilliant for neat hems and decorative topstitching, but reverse stitching changes the stitch structure more than most people expect. In this article I’ll show when backing up is acceptable, why it can create bulk or uneven stitches, and which finishing methods give a cleaner result on domestic sewing machines. I’ll also cover the setup details that make the biggest difference before you ever touch the reverse lever.
What matters most before you try it
- Yes, but rarely is the honest answer: most machines can reverse with a twin needle, yet the result is often untidy.
- Reverse stitching can tighten the bobbin thread zigzag and create bulk, especially on jersey and other stretch fabrics.
- Auto-lock, thread tails, or hidden seam finishes are usually safer than backstitching.
- Use two threads of the same weight, the correct zigzag foot, and a test scrap before sewing the real garment.
- Many machines limit twin-needle width to around 3.0 mm and disable certain stitches in twin-needle mode.
- If you want a strong, neat stretch hem, a coverstitch or stretch stitch may be the better tool.
The short answer is yes, but I usually would not do it
A twin needle can often be driven backward just like a single needle, so the answer is not a hard no. What matters is the result. In practice, reverse stitching tends to distort the two parallel lines, and the underside can become lumpy because the bobbin thread is already forming a zigzag between the two needle threads.
If I’m making a visible hem, I prefer to leave thread tails, lock the seam another way, or hide the start and end in a seam allowance. I only use reverse with a twin needle when I have tested the fabric first and the stitching stays flat.
That distinction matters, because the same move that seems harmless on a stable woven can look clumsy on a knit or fine jersey. The reason shows up in the stitch structure itself.
Why reverse stitching changes the stitch structure
A twin needle does not behave like two separate single needles. Both needles share one bobbin thread, and that bobbin thread zigzags from side to side underneath the fabric. The two top threads form the neat parallel lines you see on the right side, while the underside carries the connection between them.
When you reverse stitch, you are asking that structure to fold back over itself. On a firm woven, that may simply look a little thicker. On a stretch fabric, it can pull the rows together, create tunnelling between the lines, or make the seam feel stiff where you want it to stay flexible.
There is also a machine-side issue. Some domestic machines reduce the allowable stitch width in twin-needle mode, and some will warn or block stitches that are not suited to it. Manuals commonly recommend a test seam first, because the safest setting is not always obvious from the dial. Once you understand that limitation, the better finishing options become much easier to choose.
Better ways to secure the start and end of a twin-needle seam
If the goal is simply to keep the seam from unravelling, reverse stitching is not the only answer. In many projects, it is not even the cleanest answer. These are the methods I reach for first.
| Method | Best for | Why it works | Trade-off |
|---|---|---|---|
| Auto-lock or lock stitch | Computerised machines with a lock-stitch function | Secures the seam without doubling back over the twin-needle rows | Not available on every machine |
| Long thread tails and hand-knotting | Visible hems, especially on jersey | Keeps the stitch line flat and avoids reverse tension | Needs a little hand finishing |
| Starting and ending in a seam allowance | Garments with hidden side seams or facings | Any bulk sits where it will not show | You need to plan the seam path in advance |
| Short single-needle lockstitch in the seam allowance | Areas that need extra anchoring | Gives you a firm anchor before the twin-needle section begins | Adds one extra step and one extra needle change |
For example, on a T-shirt hem I would usually leave tails and knot them to the wrong side, but on a side seam that disappears into another seam I might use a small lock in the allowance. That keeps the finish neat without forcing the twin needle to do a job it was not really designed for.
On a machine that has an auto-lock function, I prefer that over reverse stitching because it secures the line without creating a little knotty traffic jam at the edge. The next step is making sure the machine is set up so the stitches stay smooth in the first place.
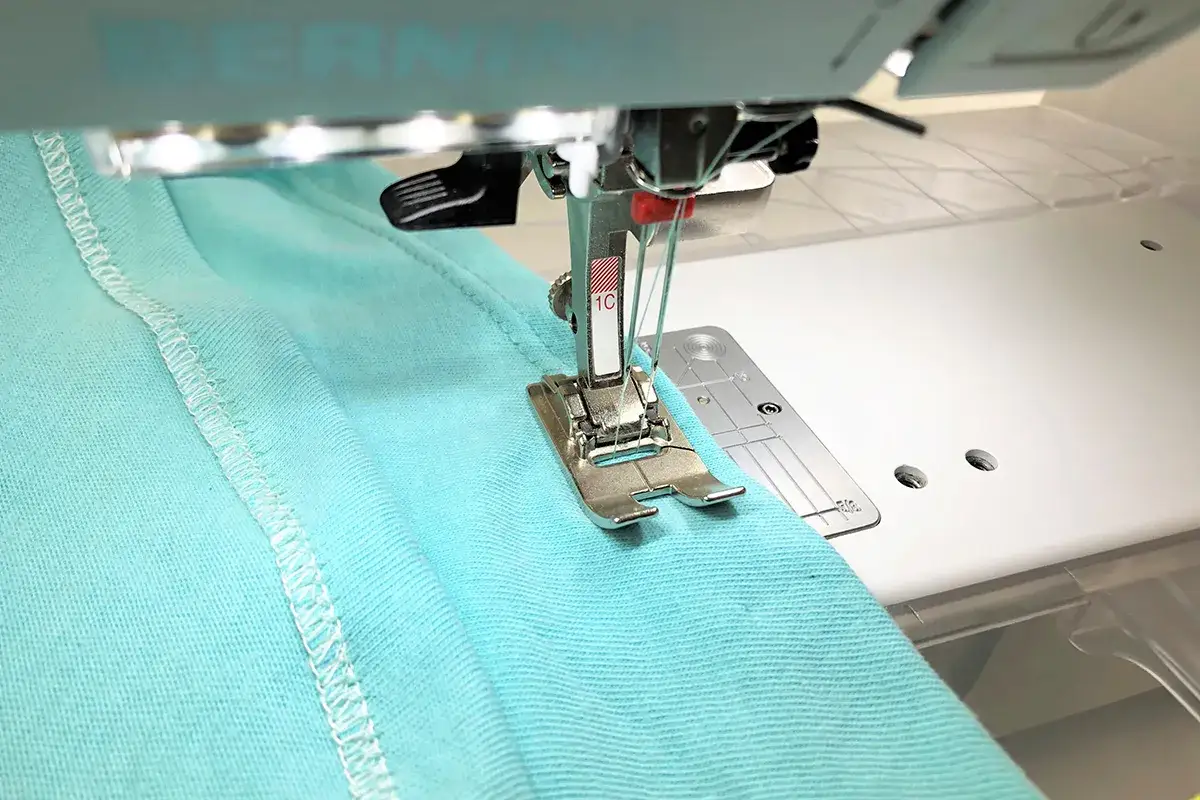
How I set up the machine for a clean twin-needle finish
Clean twin-needle stitching comes from the setup, not just the finishing method. The biggest mistake I see is using the right needle but ignoring the rest of the system.
- Use two threads of the same weight and similar fibre. Uneven thread changes the tension balance and can make one row look tighter than the other.
- Fit the correct twin needle for your fabric. A 2.0 mm or 2.5 mm twin needle is a common starting point for general hems, while a stretch twin needle is a better choice for jersey.
- Use the proper presser foot and clear the needle path. Brother’s support guidance, for example, points to a zigzag foot and warns against using the needle threader with a twin needle.
- Lower the stitch width to suit twin-needle mode. Many machines restrict it to about 3.0 mm, so always check the machine’s limit before sewing.
- Lengthen the stitch a little. Around 3.0 to 4.0 mm is a sensible starting point for hems, and it usually looks less crowded than a short utility length.
- Test on a scrap of the real fabric. I never skip this step, because a stitch that looks fine on calico can pucker on rib knit.
If the wrong side starts to tunnel, reduce top tension slightly or lengthen the stitch before touching the reverse lever. On many machines, that one adjustment does more for the finish than any back-and-forth stitching ever will.
Once the machine is behaving, the remaining question is whether a twin needle is even the best tool for the job.
When a twin needle is not the best choice
There are times when I would step away from the twin needle entirely. If the seam must stretch a lot, if the garment is meant to look professionally finished inside and out, or if I need a highly durable edge on knitwear, another stitch often makes more sense.
| Alternative | What it gives you | When I would choose it |
|---|---|---|
| Coverstitch | Professional-looking hem with good stretch and a clean underside | Hems on jersey, activewear, and higher-end knit garments |
| Stretch straight stitch | More give than a standard straight stitch | Seams on knit fabrics when you do not want twin-needle rows |
| Triple straight stitch | Very strong seam with some stretch recovery | Stress points, topstitching, and utility seams |
| Regular single-needle topstitching | Simple, controlled stitch lines | When bulk or machine clearance makes the twin needle awkward |
A coverstitch machine is not mandatory, and I would not buy one just to solve this single issue. But if you sew a lot of jersey and keep wanting that crisp hem without the compromise, it is the most natural upgrade. For everyone else, the practical decision is usually much simpler: keep the twin needle for decorative hems and topstitching, and switch to another stitch whenever strength or stretch matters more than appearance.
The rule I use for hems, seams, and topstitching
My own rule is straightforward. If the twin-needle line is decorative or lightly functional, I avoid reverse stitching and secure the ends in a cleaner way. If the seam is structural, I choose a stitch designed for strength instead of trying to force the twin needle to act like one.
- For jersey hems, I use a stretch twin needle, a longer stitch, and either tail-knotting or auto-lock.
- For woven topstitching, I sometimes secure the line with a few extra stitches in the seam allowance if that area will not show, but I still test first.
- For heavy stress areas, I do not rely on the twin needle to provide seam security on its own.
So, can you backstitch with a twin needle? Yes, often you can. But if you want a flatter hem, a tidier underside, and fewer surprises on the fabric, I would treat reverse stitching as the exception rather than the habit. The neatest result usually comes from good machine setup, a sensible stitch length, and a finishing method that respects how the twin needle actually forms the stitch.
