
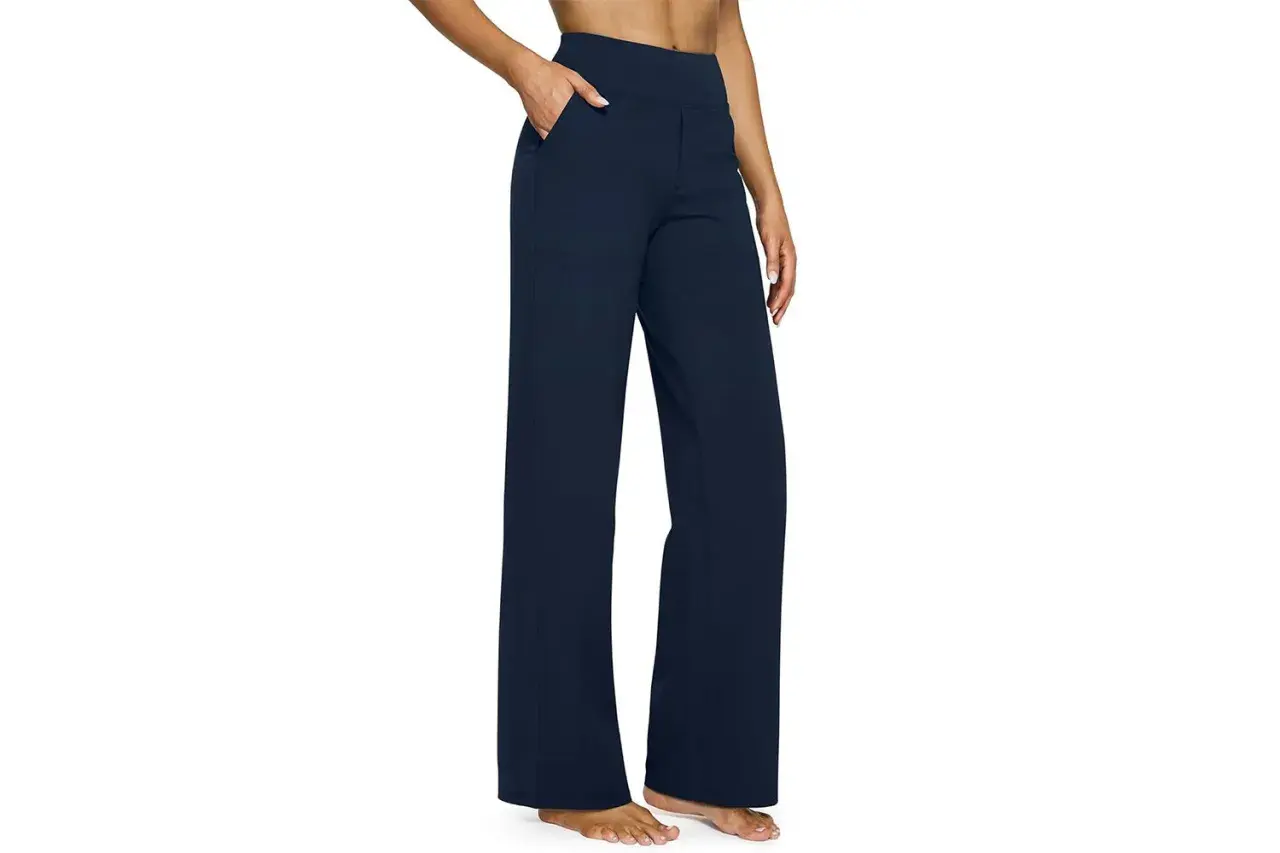
Hemming yoga pants is less about taking fabric away and more about keeping the leg opening stretchy, smooth, and balanced. In this guide, I walk through the decisions that matter most: how to measure the new length, which finish works best on activewear, what stitch and needle I trust, and how to avoid the wavy edge that ruins an otherwise neat job. I also cover when it makes sense to keep the original hem or hand the pair to a tailor, because not every fabric behaves the same way.
The key decisions that make a stretch hem look clean
- Use a stretch-friendly stitch such as a narrow zigzag, stretch stitch, twin needle, or coverstitch.
- Measure with the pants on and the shoes you will actually wear, then mark both legs before cutting.
- Keep the fabric relaxed while sewing; pulling knit fabric is the fastest way to get a wavy hem.
- Use a ballpoint or stretch needle in size 75/11 or 80/12 for most yoga-pant fabrics.
- Allow about 20 to 40 minutes for a simple DIY hem once the length is marked and pressed.
- Choose the finish first, because the right method depends on fabric weight, leg shape, and how visible you want the stitching to be.
Why yoga pants need a stretch-safe hem
Yoga pants are usually made from knit fabrics with elastane, which means the hem has to move every time the leg bends, stretches, or rolls. A straight stitch can look tidy on the machine and then fail the first time the fabric is pulled sideways, so I treat the hem as a performance detail rather than a simple edge finish. The goal is not just to shorten the leg; it is to keep the recovery, drape, and comfort intact.
That matters even more on slim leggings, flared yoga pants, and anything with a close ankle opening, because a heavy fold can change the shape of the whole lower leg. If the fabric is light and springy, the wrong hem can also ripple or tunnel, which is why the method needs to suit the fabric instead of forcing the fabric to suit the method. Once you understand that, the choice of finish becomes much easier.
Choose the finish before you cut
Before I pick up scissors, I decide what the finished hem needs to look like. A simple turned hem is fastest, a twin-needle finish looks closest to ready-to-wear activewear, and keeping the original hem can be the smartest move when the factory finish is worth preserving. If the fabric is slippery, thin, or expensive, I would rather spend two extra minutes planning than unpick a crooked hem later.
| Method | Best for | What it gives you | Main limitation |
|---|---|---|---|
| Simple re-hem | Most yoga pants and leggings | Fast, flexible, low-profile finish | Needs the right needle and stitch |
| Twin needle | Visible topstitching on activewear | Two neat rows that look polished | Can tunnel if tension is too tight |
| Coverstitch | Frequent sewing or a pro finish | Factory-style hem with excellent stretch | Requires a specialised machine |
| Keep the original hem | Retail hems you want to preserve | Maintains the original look and weight | Can add bulk at a narrow ankle |
| Tailor | Expensive or difficult pairs | Reliable finish with less risk | Costs more than DIY |
As a rough UK budget, a simple trouser-style alteration often sits around £8 to £15, while more fiddly activewear work can cost more if the finish has to be recreated neatly. That is still reasonable for a good pair, but if you sew regularly, the home method pays for itself quickly. Once the finish is chosen, the actual shortening process becomes far more predictable.
The step-by-step method I use for a clean hem
- Wash and dry the pants first if they are new or have not been pre-shrunk. Stretch fabrics sometimes relax after the first wash, and hemming before that can leave you with a pair that shrinks above the line later.
- Try them on with the right shoes or barefoot if the pair is lounge wear. I mark the finished length while standing straight, because sitting down tends to push the hem too short.
- Mark both legs separately with tailor’s chalk, washable marker, or pins. I compare the inseam and side seam on a flat surface after marking, because yoga pants can look even when one leg is slightly longer than the other.
- Allow a sensible hem allowance. For most knit hems, I leave 1.5 to 2 cm (5/8 to 3/4 in) if I am turning once, or a little more if the fabric needs a deeper fold to lie flat.
- Cut carefully and mirror the legs. I trim one leg first, then use it as the guide for the second leg so the lengths stay identical.
- Fold, press lightly, and clip. A steam iron helps, but I keep the heat moderate and use a press cloth on delicate synthetic blends so the fabric does not shine or flatten badly.
- Sew without stretching the fabric. I let the machine feed the fabric, support the weight of the garment on the table, and test the stitch on a scrap before stitching the real hem.
If the fabric slides around or refuses to hold the fold, I hand baste with long stitches about 1 cm below the fold line. That extra step looks fussy, but it saves time because the hem stops drifting while I sew. With the shape secured, the stitch choice starts doing the real work.
The stitch, needle, and settings that keep the hem flexible
The needle does more than people expect. For knit activewear, I reach for a ballpoint or stretch needle in 75/11 or 80/12, because a sharp universal needle can damage the fibres or cause skipped stitches. I also prefer quality polyester thread, since it has enough give for a hem that needs to stretch and recover repeatedly.| Tool or setting | What I use it for | Practical note |
|---|---|---|
| Ballpoint or stretch needle | Most yoga pants and leggings | Replace it if stitches start skipping or the fabric snags |
| Narrow zigzag stitch | Standard sewing machines without special stretch stitches | Use a narrow width and a moderate stitch length so the hem can move |
| Stretch stitch | Extra elasticity on a home machine | Useful when the fabric feels springy or the hem needs more recovery |
| Twin needle | Two visible rows of topstitching | Gives a professional look, but test tension first to avoid tunnelling |
| Coverstitch machine | Factory-style activewear hems | Best result for frequent sewing, but not necessary for one pair |
For a narrow zigzag, I usually stay around 0.5 to 1.5 mm in width and about 2.5 to 3 mm in length, then adjust from there based on the fabric. If I am using a twin needle, I test on a scrap first and watch the back side closely for tunnelling or thread loops. That small test tells me more than any guesswork could.
How to avoid the wavy hem problem
Most bad hems on stretch trousers come from the same few mistakes, which is good news because they are fixable. The fabric gets pulled while sewing, the needle is wrong for the knit, or the tension is too tight for the amount of stretch in the cloth. If I spot the problem early, I can usually correct it before the whole hem is finished.| Problem | Likely cause | What I do |
|---|---|---|
| Wavy edge | The fabric was stretched while sewing or pressed too hard | Support the garment, sew with a relaxed hand, and press lightly with steam |
| Skipped stitches | Wrong needle, dull needle, or rethreading issue | Switch to a ballpoint or stretch needle and test on scraps |
| Puckering | Tension too tight or hem allowance too narrow for the fabric weight | Loosen tension slightly and use a more generous fold |
| Tunnelling under a twin needle | Top tension is too tight for the fabric | Reduce tension a touch and re-test before sewing the full hem |
| Uneven legs | Marks were taken from different reference points | Measure both legs from the same waist or inseam point before cutting |
One detail I never skip is letting the hem cool flat after pressing. Hot knit fabric can still shift, and if you move it too soon, the shape may relax into a ripple you did not sew in. That cooling step sounds minor, but it often separates a tidy hem from a fussy one.
When keeping the original hem saves time and looks better
Sometimes the best answer is not a new hem at all. If the pants have a neat factory edge, a decorative topstitch, or a finish that matches the rest of the garment, preserving the original hem can save time and keep the legs looking balanced. I also lean that way when the fabric is thick, because a new fold can add bulk right where the ankle needs to stay clean.
The original-hem method is especially useful when the change is small, the garment is expensive, or the fabric is a bit temperamental. On the other hand, it is not the best choice for very slim leggings where every extra layer at the hem shows, and it is rarely worth the trouble if the existing stitching is already stretched out. In practice, I treat it as a style decision as much as a sewing decision.
For a pair that is only slightly too long, I would keep the original finish if it sits flat and still flexes well; for a major reduction, I would usually recut and stitch a fresh hem instead. That simple rule keeps me from overcomplicating the job and helps me decide when to invest in a professional alteration rather than forcing a compromise.
What I tell myself before I sew the last stitch
The cleanest activewear hems are rarely the most complicated ones. They are the hems where the length was marked carefully, the stitch was chosen for stretch rather than speed, and the fabric was left to move naturally through the machine. If I remember only one thing, it is this: do less pressure, not more. That usually means less pulling, less overpressing, and less temptation to fix a problem by sewing faster.
If the pair is valuable, I test everything on a leftover offcut before I touch the actual leg. That final check takes a few minutes, but it protects the fit, the drape, and the finish all at once. Once the hem is settled and cool, the pants should sit like they were made that length from the start.
