
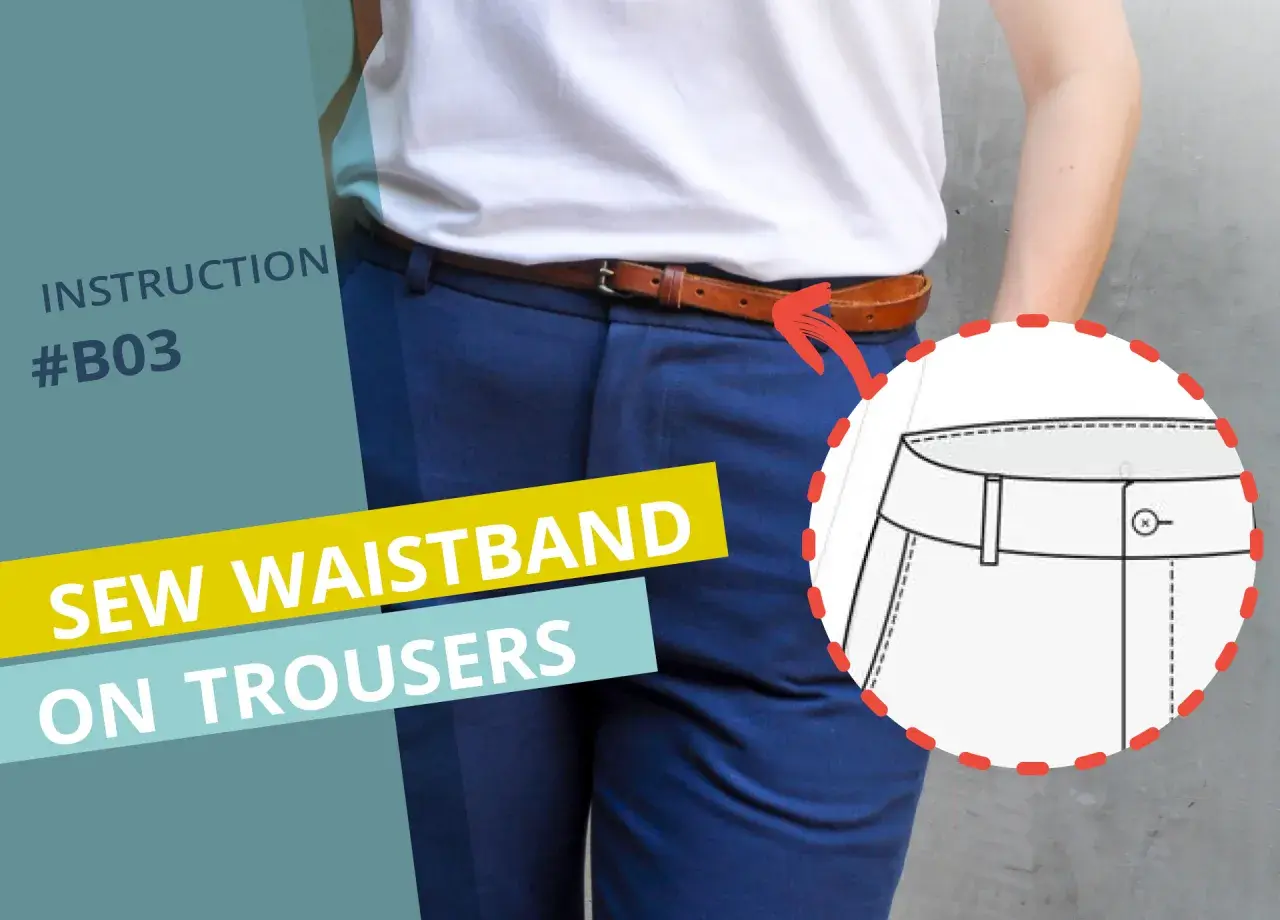
What matters most before you cut the waistband
- Shape comes first. A straight band is simpler, but a curved or contour waistband usually fits the body better when the waist indents sharply.
- Interfacing is not optional. It keeps the waistband from stretching out and helps the top edge stay crisp.
- Jeans need bulk control. Clean grading, accurate folding, and firm pressing make a bigger difference than decorative topstitching.
- The fit is decided above the stitching line. If the waist gaps, twists, or bites in, the pattern shape needs attention before sewing gets blamed.
- Different fabrics need different finishes. Rigid denim, stretch denim, and lightweight trousers do not all benefit from the same waistband treatment.
Which waistband style your garment actually needs
I start by deciding whether the waistband is there to structure the garment, to soften the fit, or to do a bit of both. That sounds obvious, but it changes everything: the amount of interfacing, the amount of curve in the band, and even whether I use a classic stitched waistband at all.
| Waistband style | Best use | Why it works | Trade-off |
|---|---|---|---|
| Straight waistband | Simple trousers, waistlines that already sit cleanly, beginner-friendly projects | Easy to draft, cut, and sew; behaves predictably on stable fabrics | Can gape at the back if the body curves in more than the pattern allows |
| Curved or contour waistband | Jeans, fitted trousers, bodies with a more pronounced waist-to-hip difference | Follows the body more closely, so it usually sits flatter | Needs more careful matching, pressing, and fitting |
| Elastic waistband | Casual trousers, children’s wear, comfort-led jeans or jogger-style bottoms | More forgiving in fit and easier to wear for long periods | Less structured and usually less tailored |
| Facing or casing finish | Lightweight fabrics, relaxed silhouettes, styles that do not need a rigid top edge | Reduces bulk and can be quick to sew | Not the best match for traditional denim or sharp tailoring |
My rule is simple: if the garment needs to look crisp and stay put, I lean towards a structured band; if comfort and ease matter more, I let the finish soften. Once that decision is made, the sewing order becomes much easier to trust.
How I sew the waistband so it stays flat
The order matters more than people think. A waistband that is technically sewn together can still look poor if the layers were cut unevenly, pressed carelessly, or topstitched before the shape was stabilised.
-
Cut the band accurately and stabilise the correct layer. I usually interface the inner waistband rather than both layers, because that gives support without making the outside feel stiff. On rigid denim, a stable woven fusible works well; on stretch denim, I prefer a lighter knit fusible that supports the band without killing recovery.
-
Join any waistband seams first and press them open. If the waistband has side seams or a centre-back seam, I sew those before attaching the band to the garment. Pressing them open at this stage reduces bulk and helps the finished edge lie flatter later.
-
Match the waist carefully when attaching the band. I pin or clip at centre front, centre back, side seams, and notches before I sew. If one section of the garment waist has more ease than another, I distribute that ease evenly instead of trying to force it into one spot.
-
Use a controlled seam allowance. On jeans, 1 cm (3/8 in) is common because it keeps the waist manageable and avoids unnecessary bulk near the fly. Some patterns use 5/8 in, and if the pattern gives a specific allowance, I follow that rather than improvising.
-
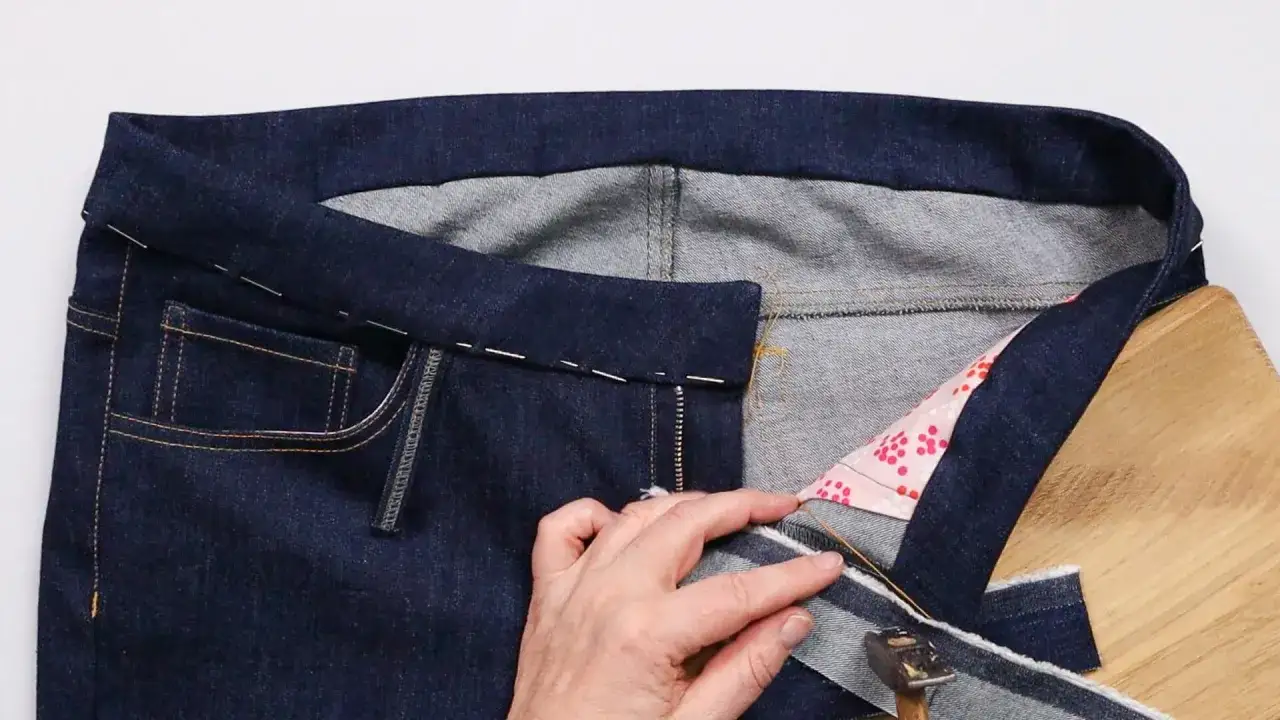
Grade, trim, and turn before topstitching. I trim the garment seam allowance slightly narrower than the waistband seam allowance, then grade the inner layer narrower again. That small step is what stops the waistband edge from looking lumpy once it is turned and pressed.
-
Topstitch only after the fold is fully set. I press the waistband into its final position, let it cool flat, and then topstitch or edge-stitch. On jeans, I often add belt loops before closing the waistband top edge, because trying to force them in later is how bulk creeps back in.
That sequence works because it treats the waistband as a shaped structure, not just a strip of fabric. Once the structure is right, the real test becomes fit, especially at the back waist.
Why the back waist gapes and how I correct it
Back waist gaping usually tells me the waistband shape does not match the body, not that the sewing machine has misbehaved. A straight band can work on some figures, but if the waist curves in more sharply than the pattern expects, the top edge will float away from the body even when the rest of the trouser fits well.| What you see | Likely cause | What I would change |
|---|---|---|
| The back waistband stands away from the body | The band is too straight for the wearer’s shape | Use a curved or contour waistband, or remove a little width from the upper edge in a toile |
| The waistband feels fine standing up but gaps when sitting | There is not enough accommodation through the waist-to-hip transition | Check the rise and the contour of the side seam before blaming the waistband alone |
| The waistband twists after wear | Grain, stabilisation, or easing was uneven | Cut more carefully on grain, interface consistently, and match the waist in smaller sections |
| The front fits, but the back feels loose | The pattern is balanced for a different body shape | Adjust the back rise and waistband curve rather than tightening the whole waist |
When I suspect a fit issue, I do not try to hide it with a belt loop or a heavy topstitch line. I make the shape fit first, because the cleaner the contour, the less finishing work the waistband needs later.
Pressing, topstitching, and bulk control that make the finish look deliberate
This is the stage that separates a believable ready-to-wear finish from a home-sewn one that still looks slightly undecided. Pressing and topstitching are not decoration added at the end; they are part of the construction.
- Press every seam as you sew. I press the waistband seam open, then press the band up and away from the garment before I think about topstitching.
- Use the right thread and needle for the fabric. Denim usually benefits from a jeans needle and a longer stitch length, roughly 3.0 to 4.0 mm, especially if the topstitching is meant to be visible.
- Keep the top edge even. If the waistband width varies, I check it before stitching the final top edge closed. It is much easier to correct then than after the whole band is finished.
- Use clips or tape when the fabric shifts. On bulky denim, I often prefer clips or wash-away tape to pins because they keep the layers aligned without creating more distortion.
- Finish the corners cleanly. A sharp corner at the fly or centre front looks better when the seam allowances are trimmed back neatly and turned with a point turner or the blunt end of a tool.
- Let the fabric cool flat. Steam helps, but the waistband needs a moment to settle before it is moved, otherwise it can stretch out of shape again.
For jeans, I usually accept a slightly more visible line of topstitching because it suits the garment. For tailored trousers, I keep the finish quieter and let the cleanliness of the edge do the talking.
When I choose a different finish instead
Not every pair of trousers or jeans needs a rigid sewn waistband. If the fabric is light, the garment is meant to be relaxed, or the wearer values comfort over structure, I sometimes choose a different finish on purpose rather than forcing a classic band onto the pattern.
- Elastic waistband. Good for casual trousers, children’s clothes, and softer jeans styles when comfort matters more than sharpness.
- Half-elastic waistband. Useful when you want a smoother front and more ease at the back, especially on easy-wear trousers.
- Casing with drawstring. Works well on lounge styles and very relaxed bottoms, but it does not give the same shape as a proper waistband.
- Facing instead of a band. A smart choice for lightweight woven fabrics where a bulky waistband would distort the waistline.
The trade-off is always the same: the more structured the waistband, the more control you get over the silhouette; the softer the finish, the more comfort and flexibility you gain. I choose based on what the garment is supposed to do on the body, not on habit alone.
The mistakes I would fix before the waistband reaches the ironing board
Most waistband problems are not dramatic. They come from small errors that compound: a slightly inaccurate cut, an interface choice that is too heavy, or a rushed press that locks in a bad fold. I would rather catch those early than rebuild the whole waist later.
| Mistake | Why it happens | What I do instead |
|---|---|---|
| Skipping interfacing | The band looks fine off the machine, so it feels unnecessary | Interface at least the inner waistband so the top edge stays stable |
| Using fusible that is too heavy | There is a fear of stretching, so the stiffest option is chosen | Match the interfacing to the fabric weight; denim often needs support, not armour |
| Not matching the waist in sections | The band is pinned in a hurry from one end to the other | Quarter the waist and distribute ease evenly between those points |
| Topstitching before the band is fully pressed | It is tempting to rush once the band is attached | Press, cool, check the shape, then topstitch |
| Ignoring body shape during fitting | The pattern is assumed to work on every figure | Adjust the contour of the waistband to the wearer, especially at the back waist |
When a waistband still feels wrong after those checks, I look at the whole waist area rather than just the band itself. Often the issue is in the rise, the side seam balance, or the way the garment hangs once the body starts moving.
What I keep from every good waistband I sew
The best waistband is not just the one that looks neat on the day it is finished. It is the one I can repeat on the next pair without reinventing it from scratch. That is why I keep a few practical notes every time I get a really good result.
- I keep the altered pattern piece, not the original assumption.
- I write down the interfacing I used and whether it was firm, light, or stretch-friendly.
- I note the finished waistband width and any curve change I made at the back waist.
- I record whether the garment needed one row of topstitching, two rows, or just edge-stitching.
That habit turns one successful waistband into a repeatable method, which is the part most sewing books do not spell out clearly. Once you have that record, the next pair of trousers or jeans starts from experience instead of guesswork.
