
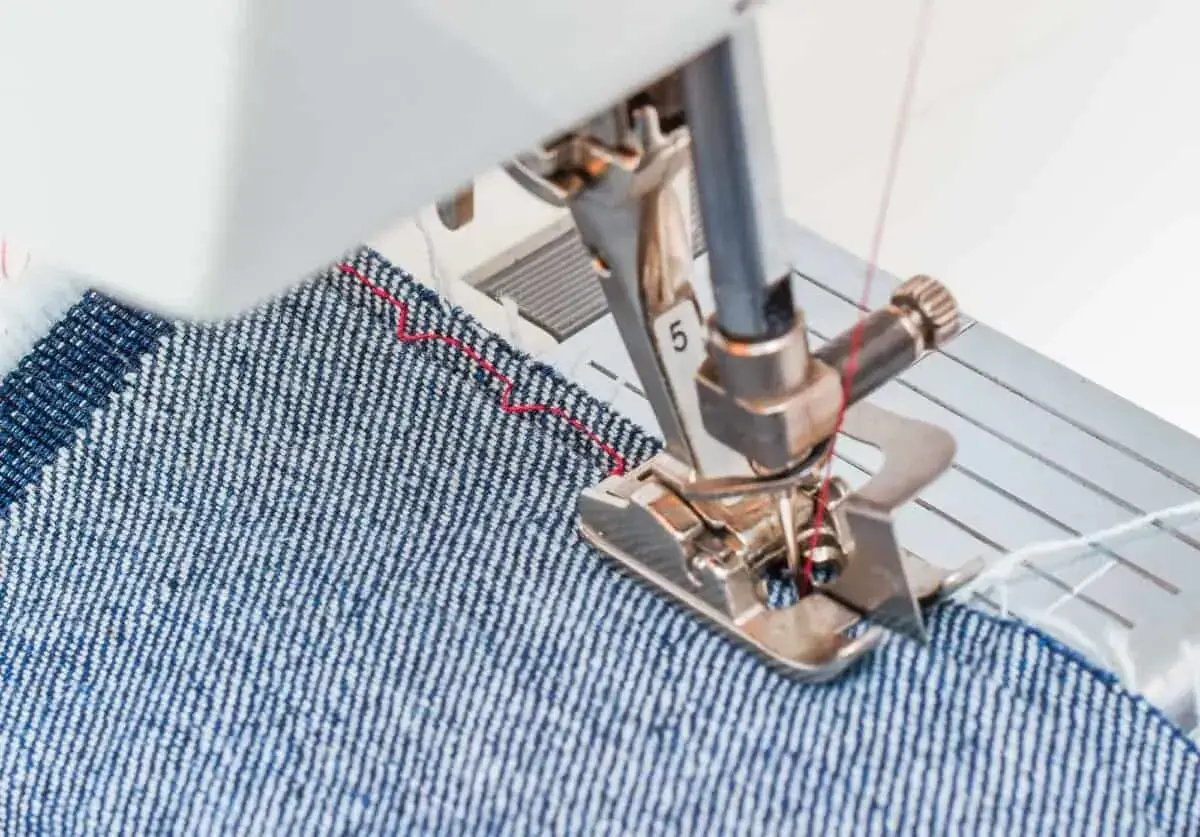
Knowing how to blind hem pants matters when you want trousers to sit at the right length without advertising the alteration. The finish only disappears if the hem is measured well, pressed properly, and stitched with the right amount of bite. I’ll walk through the preparation, the machine method, the hand-sewn fallback, and the fixes I use when the hem still shows.
Key points before you start
- A blind hem works best when you want a clean outside finish on tailored trousers, chinos, and many straight-leg jeans.
- The hem disappears only if the leg is pressed flat, the allowance is even, and the stitch catches just a thread or two on the outside.
- A blind hem foot helps, but careful guiding matters more than the foot itself.
- Most trousers need a hem allowance of about 3 to 4 cm; heavier denim usually needs a little more room.
- If the leg is too bulky, too narrow, or too delicate for the machine, a hand-sewn blind stitch is often the cleaner option.
- Test on scrap fabric first. It saves time and prevents an obvious row of stitches on the finished garment.
When a blind hem is the right choice for trousers
I reach for a blind hem when the trouser needs to look finished from the outside but still behave like everyday clothing. It is the right answer for office trousers, school trousers, wool blends, chinos, and many jeans when the goal is an understated, altered look rather than a visible fashion hem.
The method is not universal, though. If the garment is meant to show a chunky cuff, if the original factory hem is part of the design, or if the fabric is so bulky that the fold will not sit flat, I would choose a different finish.
| Method | Best for | What it looks like | Trade-off |
|---|---|---|---|
| Machine blind hem | Tailored trousers, chinos, lighter denim, everyday hems | Nearly invisible from the outside | Needs careful folding and test stitching |
| Hand blind hem | Delicate fabric, narrow legs, awkward seams, no blind hem stitch | Very discreet when worked neatly | Slower and more dependent on steady hands |
| Topstitched hem | Jeans, workwear, visible styling | Intentional and obvious | Not invisible, but very strong |
| Hemming tape | Temporary fixes | Can look tidy at first | Usually not durable enough for regular wear |
For stretch trousers, I use a stretch blind hem stitch rather than a standard one so the seam keeps moving with the fabric. Once you know the finish you want, the next job is preparation, because most visible hems are caused by poor marking rather than poor stitching.
Prepare the hem so the stitching disappears
The invisible part of the finish is decided before the machine starts. I always put the trousers on with the shoes they will be worn with, because even a small change in heel height alters the break and the final length.
- Try the trousers on and mark the finished length with chalk or pins.
- Add a hem allowance of about 3 to 4 cm on most trousers. On heavier denim, 4 to 5 cm usually gives more room to work.
- Press a sharp fold all the way round the leg so the hem sits evenly.
- Finish the raw edge with an overlock, zigzag, or narrow turn if the fabric frays.
- Trim and grade bulky seam allowances at side seams and inseams so the fold does not thicken suddenly.
- Test the thread, stitch, and needle on a scrap cut from the same fabric if possible.
If the trousers are lined, I shorten the lining slightly less than the outer leg so it hangs cleanly and does not peek below the hem. That small detail makes a bigger difference than most people expect, especially on formal trousers. Once the leg is pressed and balanced, the machine work becomes much easier to control.
Sew the blind hem on a machine
A blind hem foot is helpful because its guide keeps the folded edge steady while the needle takes tiny bites into the trouser leg. Many modern machines include a blind hem stitch that alternates several straight stitches with one sideways bite, which is what makes the stitch nearly invisible from the outside.
- Turn the trousers wrong side out and fold the hem up so the raw edge sits inside the fold.
- Select the blind hem stitch or stretch blind hem stitch if the fabric needs give. Start with a test scrap rather than the garment itself.
- Set a moderate stitch length to begin with, around 2.5 to 3 mm, then adjust after checking the sample.
- Position the fold against the guide on the blind hem foot so the machine can skim the trouser fabric without swallowing too much of it.
- Sew slowly. When the needle swings to catch the fold, it should barely pick up a thread or two on the right side.
- Pause at bulky side seams and keep the fabric flat. If needed, stop with the needle down and realign the fold before continuing.
- Open the hem after the first section and check the right side. If the stitch shows, change the fold position slightly and retest before finishing the leg.
I like to check the first 10 to 15 cm before committing to the full hem. That small pause catches problems early, especially on jeans where seam bulk can push the fabric off line. If the machine cannot cope with the leg shape, hand stitching is often the better finish.
Hand stitch it when the machine is awkward
When the trouser leg is too narrow for the free arm, the fabric is too delicate for machine feeding, or the seams are simply too bulky, I switch to a hand blind stitch. It is slower, but it gives a lot of control and often looks better on difficult hems than a strained machine stitch.
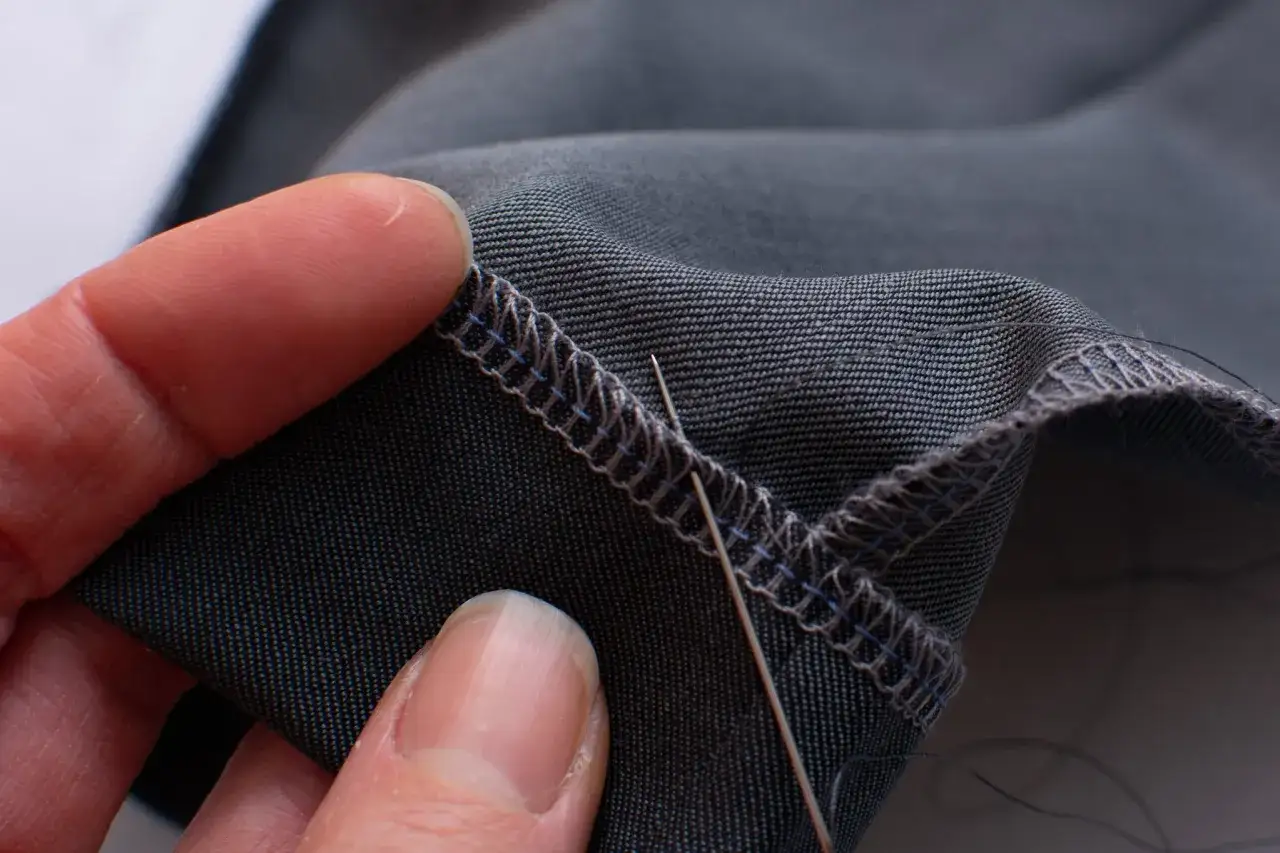
I use a slip stitch style: the needle takes a tiny bite from the outside fabric, then travels through the folded hem allowance before emerging again a short distance away. On the right side, only tiny points should show.
- Use a sharp hand-sewing needle and matching thread.
- Knot one end and keep the stitches loose enough to preserve drape, not so loose that the hem sags.
- Take up only 1 to 2 threads from the outer fabric each time.
- Make the stitches in the hem allowance longer than the tiny bites on the outside.
- Use a thimble on denim or heavy twill so you do not strain your fingers.
For jeans, I am especially careful around the side seams and inseams, because that is where the bulk can ruin an otherwise neat finish. If the original hem is part of the look you want, though, a blind hem is the wrong tool and preserving the factory hem is a better decision. That trade-off matters more than people think, which is why troubleshooting comes next.
Fix the problems that make the hem visible
Most bad blind hems are not mysterious. They usually come from too much fabric being caught, not enough pressing, or a stitch choice that does not match the fabric weight.
| Problem | Likely cause | What I change |
|---|---|---|
| Stitches show on the right side | The needle is catching too much outer fabric | Move the fold slightly deeper under the guide and retest |
| The hem looks wavy | The hem was not pressed evenly or the stitch is too tight | Re-press the fold, loosen the stitch slightly, and sew without pulling |
| Thread breaks at side seams | Seam bulk is too heavy for the needle or thread | Use a stronger needle for denim, slow down, and grade the seam allowance |
| The hem flips outward after wear | The allowance is too narrow or the edge was left unfinished | Finish the raw edge properly and give the hem more structure |
| Skipped stitches on stretch fabric | Wrong stitch or needle for the fabric | Switch to a stretch blind hem stitch and use a needle suited to knits or stretch denim |
One small habit saves a lot of grief here: I always look at the hem from normal standing distance, not just flat on the table. A stitch that seems invisible under the iron can still be obvious once the trousers are hanging. The fabric type changes the final judgement, which is why I treat jeans and formal trousers differently.
What changes on jeans, stretch trousers, and formal trousers
On formal trousers, invisibility is the priority. I keep the thread close to the fabric colour, press carefully, and make sure the hem hangs softly so it does not look stiff.
On jeans, the seam bulk usually matters more than the stitch itself. The hem can be blind stitched, but the leg openings and side seams are often thick enough that trimming and grading make the biggest difference. If the jeans are stretch denim, I choose a stretch blind hem stitch so the hem does not snap when the fabric moves.
- Formal trousers: keep the finish soft and precise, and do not overpress the fold into a hard ridge.
- Jeans: manage bulk first, then worry about invisibility.
- Stretch trousers: use a stitch that gives with the fabric and avoid pulling while sewing.
- Lined trousers: hem the outer fabric and keep the lining slightly shorter so it does not creep below the edge.
If the garment is meant to look deliberately casual, a blind hem may be too discreet for the style. In that case I would rather choose a visible finish that suits the design than force an invisible one onto the wrong fabric. The last step is simply checking the work with the same care you used to make it.
What I check before the hem leaves the ironing board
Before I call the job finished, I check the trousers on the hanger, on the body, and under good light. The hem should hang level, the side seams should not kick the fold out, and the stitches should disappear from a normal viewing distance.
- Wear the intended shoes and compare both legs in a mirror.
- Look at the hem from the front, side, and back, not just from above.
- Check the inside of the fold for loose threads near bulky seams.
- Let the trousers cool fully after pressing before judging the final shape.
A blind hem is one of those finishing jobs that rewards patience more than speed. If the length is marked correctly, the fold is pressed cleanly, and the stitches are kept light, the alteration will do its work quietly every time the trousers are worn.
