
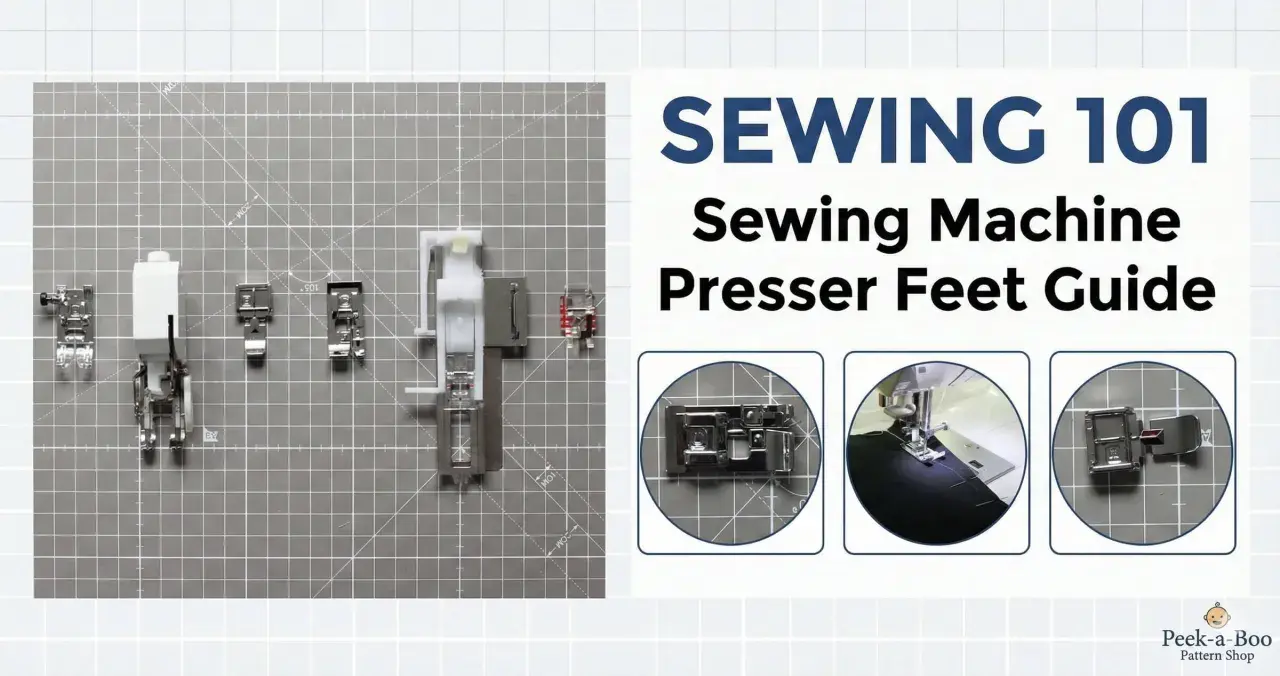
A presser foot keeps fabric flat so the machine can stitch cleanly
- It presses the fabric against the throat plate and feed dogs so the machine can move it forward evenly.
- The standard foot handles most everyday straight and zigzag sewing.
- Specialty feet help with zippers, buttonholes, quilting, hems, and edge finishing.
- Fit matters as much as function, so shank type and machine compatibility should be checked first.
- Pressure adjustment can solve feeding problems, but not every machine offers it.
What the presser foot actually does
I like to think of the presser foot as the machine's controlled hand. It does not pull the fabric forward by itself; that job belongs to the feed dogs, the little toothed bars under the fabric. The foot's role is to press the fabric down against the throat plate, which is the metal plate under the needle, so the fabric stays flat while the stitch forms.
That simple pressure makes a bigger difference than many beginners expect. A stable foot helps keep seam allowance visible, reduces shifting between layers, and gives the needle a consistent surface to work through. In practice, that means straighter seams, cleaner corners, and fewer surprises when you reach a bulky join or a slippery fabric.
Once you see it as a stabiliser rather than just an attachment, the next question becomes how pressure and feed movement work together in real sewing.
How pressure and feed dogs work together
The foot and the feed dogs have to cooperate. The feed dogs move the fabric in small steps, while the presser foot keeps enough contact on top to stop the layers from skating around. If that balance is off, the machine may still sew, but it will not feed the fabric well.
- Too much pressure can flatten or pucker delicate fabric, and it can make thick seams harder to climb.
- Too little pressure can let layers shift, which often shows up as uneven seam lengths or wandering stitches.
- Mixed fabric thickness can expose the problem fast, especially on jeans hems, quilting layers, or fine cotton paired with a heavier facing.
On many machines, pressure is adjusted with a dial, button, or screen setting. Some machines do not offer much adjustment at all, which is why manuals matter more than people think. I usually start with the default setting and only change it when the fabric clearly tells me the machine needs help. That leads naturally to the part most sewists care about next: the feet themselves.
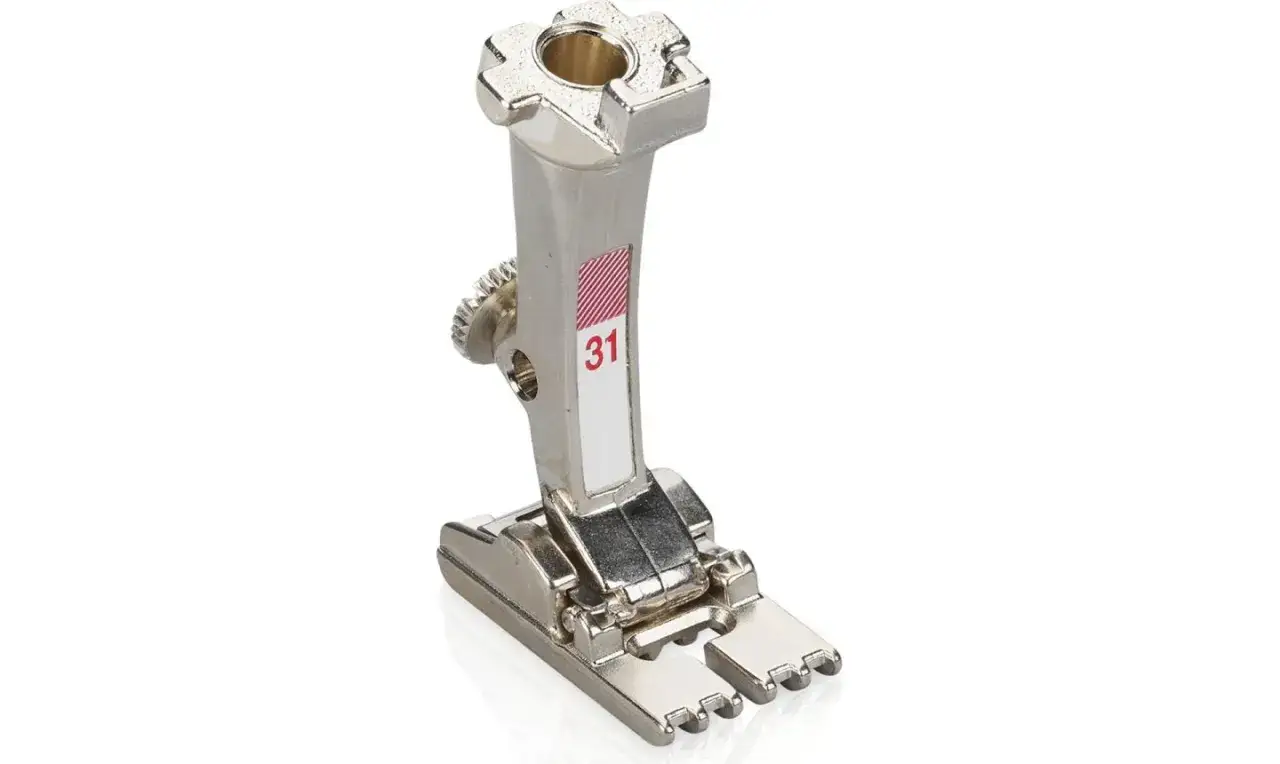
Common presser foot types and why they matter
There is no reason to collect every foot on the market, but the right few make sewing noticeably easier. The standard foot is built for general sewing, while specialty feet solve problems that the standard shape cannot handle well.
| Foot type | Best use | What it helps with | Main limitation |
|---|---|---|---|
| All-purpose foot | Everyday straight and zigzag stitching | Stable feeding for most woven fabrics | Not ideal for narrow spaces or specialist finishes |
| Zipper foot | Inserting zippers, piping, and close edge stitching | Lets the needle sew close to bulky details | Less useful for general sewing |
| Walking foot | Quilting, layers, knits, and slippery fabrics | Helps the top layer move in step with the bottom layer | Bulkier and slower than a standard foot |
| Buttonhole foot | Sewing repeatable buttonholes | Guides length and shape more consistently | Usually specific to machine style and buttonhole system |
| Blind hem foot | Making hems that disappear on the right side | Helps keep the fold aligned while the stitch catches only a little fabric | Needs accurate folding and setup |
| Overcasting foot | Finishing raw edges with a zigzag or overedge-style stitch | Keeps the edge flatter as the stitch wraps it | Not a substitute for a real overlocker when you need one |
For most home sewing, I would start with three feet: the standard foot, a zipper foot, and a walking foot. That combination covers a surprising amount of garment making and soft furnishing work. The real challenge is not owning the foot; it is making sure it actually fits the machine you own.
How to choose the right foot for your machine
Compatibility is where many purchases go wrong. A foot can look right online and still be useless if the attachment system is wrong. In the UK, sellers often sort feet by fit first and purpose second, which is the right order to think in.
- Check whether your machine is snap-on or screw-on. Many modern domestic machines use snap-on feet, while some older models need a screw attachment.
- Confirm the shank type. Low-shank, high-shank, and slant systems sit at different heights and angles, so the needle must line up correctly.
- Read the machine manual. This is the safest way to confirm whether a generic foot, brand-specific foot, or adaptor is appropriate.
- Check stitch width and needle clearance. Some speciality feet only work with a narrow zigzag or a specific needle position.
Adaptors can help in some cases, especially when converting certain setups, but they are not a universal fix. If the foot sits too low, too high, or too far off centre, the machine will tell you by sewing badly. That is where the trouble signs become useful.
When the wrong foot or pressure shows up in the stitch line
The machine usually complains before the sewer does. The clues are visible in the stitch line, the fabric surface, and the way the layers move under the needle.
- Puckered seams often point to too much pressure, a foot that is too aggressive for the fabric, or tension that is fighting the feed.
- Fabric that will not advance can mean the foot is pressing too hard, the seam is too bulky, or the foot is not suited to the material.
- Wavy knits or slipping layers usually need a walking foot or a lighter touch from the pressure setting.
- Uneven zipper insertion often improves when the correct zipper foot is used on the correct side, with the needle positioned close enough to the teeth.
- Skipped stitches over thick joins can mean the foot is not giving enough clearance, or the machine needs a different needle and setup as well.
I also check the basics before blaming the foot. Both thread tails should be placed under the foot and toward the back before sewing starts, and the foot must be lowered before the first stitch. Those small habits save time because they stop false problems from masquerading as mechanical ones. Once you can read those clues, the presser foot stops being mysterious and starts becoming a real part of your sewing control.
Why this tiny part changes the whole seam
The presser foot is easy to overlook because it looks passive, but it shapes the sewing experience more than many knobs do. It controls how firmly the fabric meets the throat plate, how confidently the feed dogs can move it, and how much friction the machine has to overcome.
My rule is simple: keep the standard foot on the machine until the project gives you a reason to change it. Swap feet when the fabric, seam, or finish clearly needs more control, not because the accessory drawer looks tempting. That approach keeps setup time low and makes the machine easier to trust.
- Test on a scrap before sewing the real piece.
- Clean lint from the foot area and feed dogs regularly.
- Slow down over bulky seams instead of forcing them through.
- Choose the foot for the fabric, not just for the stitch.
When you treat the foot as part of the sewing system rather than a minor attachment, your stitches improve faster and your troubleshooting gets simpler. That is usually the turning point where sewing starts feeling more controlled, less accidental, and far more consistent.
