
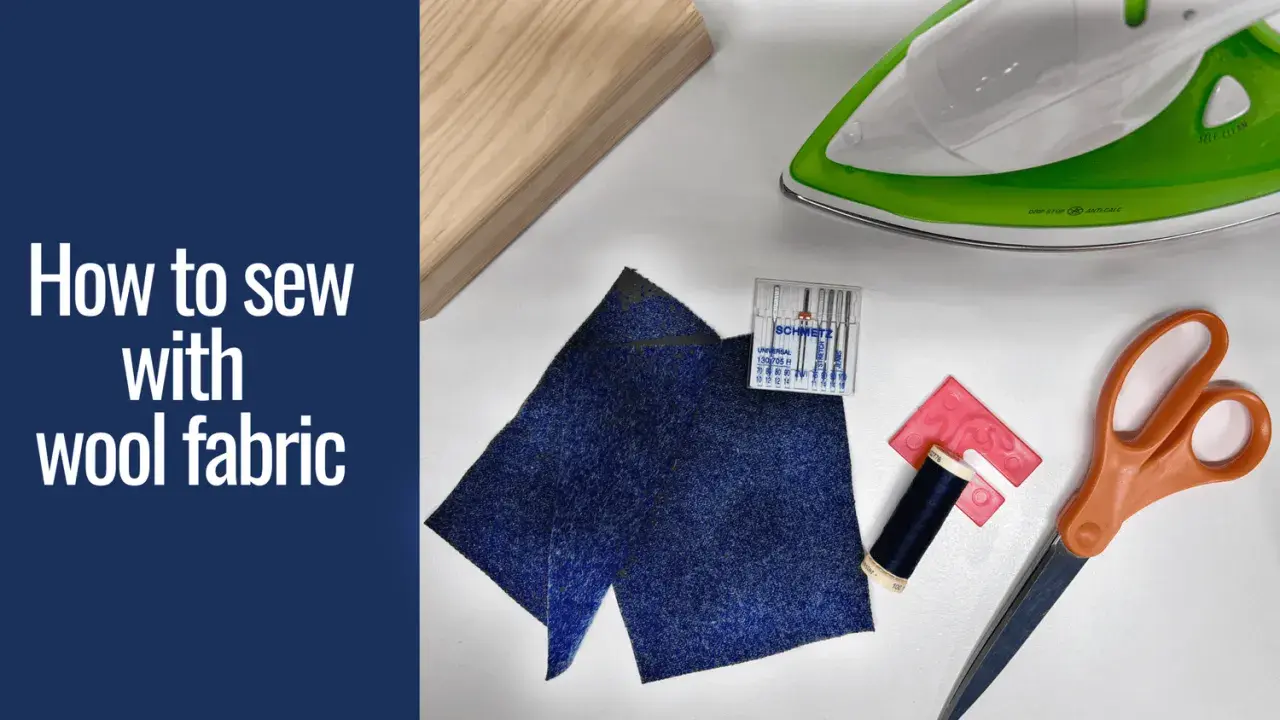
Learning how to sew wool starts with understanding that this fabric is forgiving in some places and demanding in others. Wool can hold shape beautifully, press into crisp seams, and last for years, but only if you handle shrinkage, nap, and bulk with care. In this guide, I’ll walk through fabric choice, preparation, cutting, stitching, pressing, and finishing so you can work with wool more confidently and avoid expensive mistakes.
The essentials to get right before you cut the first piece
- Pre-treat the fabric first so heat and moisture do not change the fit after construction.
- Match the wool to the project because suiting, tweed, coating, and boiled wool do not behave the same way.
- Use a sharp needle and a moderate stitch length; 70/10 to 90/14 and around 2.5 to 3 mm is a solid starting point.
- Press with steam carefully, using a press cloth, ham, seam roll, or clapper instead of dragging the iron.
- Choose seam finishes by fabric behaviour rather than assuming every wool needs the same inside treatment.
What makes wool behave differently at the machine
Wool is not difficult because it is fussy; it is difficult because it has memory. It responds to steam, shape, and pressure, which is brilliant when you want a tailored collar or a smooth sleeve head, but less helpful if you handle it roughly or press too hard. A woven wool can fray, a lofty coating can bulk up quickly, and a felted or boiled wool may hardly fray at all, yet still distort if you pull it while sewing.
Nap matters too. If the surface has a direction, the cloth can look slightly darker or smoother one way than the other, and every cut piece needs to face the same direction or the finished garment can look patchy. That is why I treat wool as a fabric that rewards planning before stitching, not improvisation after the first seam goes in. Once you understand that, choosing the right fabric becomes the next decisive step.
Choosing the wool that suits the pattern
I like to think about wool in families rather than as one generic cloth. A British shop may describe it as suiting, tweed, coating, boiled wool, or wool jersey, and that label tells you a lot about how it will sew. If you are choosing a first project, a stable suiting or boiled wool is usually kinder than a very open tweed or a bulky coating, simply because the cloth gives you fewer surprises while you learn.
| Wool type | How it behaves | Best for | My sewing note |
|---|---|---|---|
| Tropical suiting | Light, crisp, breathable, and usually presses cleanly | Trousers, skirts, light jackets, tailored dresses | A strong choice when you want structure without much bulk. |
| Tweed | Textured, slightly lofty, often frays and can hide stitches well | Jackets, skirts, structured dresses | Match checks and stripes carefully; the fabric deserves the extra time. |
| Boiled wool | Dense, stable, and low-fray with a soft, compact hand | Coats, cardigans, simple jackets, raw-edge designs | Ideal when you want a cleaner inside finish and less seam bulk. |
| Melton or coating | Heavy, firm, warm, and prone to bulky intersections | Coats, capes, collars, winter outerwear | Plan your seam reduction early or the garment can feel overbuilt. |
| Wool jersey or felted jersey | Stretchy or semi-stable, with little fray when fully felted | Cardigans, dresses, soft jackets, unlined layers | Use stretch-friendly handling if the knit still has give. |
For a first wool garment, I would rather see you make a simple skirt, an unstructured jacket, or a pair of trousers in stable suiting than wrestle with a complex coat pattern. Once the fabric is right for the job, the preparation stage becomes much less stressful.
Prepare the fabric before the first cut
Wool can change size and shape with heat and moisture, so preparation is not optional. If the care label allows it, pre-shrink the fabric by steaming it thoroughly or by following the supplier’s recommended treatment; if the fabric is sold as dry-clean only, test a small offcut first instead of gambling with the whole length. I always let the cloth cool and dry completely before I cut anything, because warm wool is still moving.
- Check for nap, direction, and pattern repeat. If the surface has a visible direction, mark the wrong side clearly so every piece faces the same way.
- Match checks or stripes before cutting. This is where extra fabric disappears quickly, so plan for it early.
- Let the cloth rest flat or hanging only if the weave is stable. Loose or stretchy wool can distort if you leave it unsupported for too long.
- Use tailor’s tacks, chalk, or thread marking. Heavy pen marks can show through or disappear at the wrong moment.
- Keep the grain honest. Wool that is even slightly off grain can twist more noticeably after pressing.
Set up the machine for clean, stable seams
The right setup makes wool feel far less temperamental. I usually start with a sharp or Microtex needle in the 70/10 to 90/14 range, depending on weight, and a good-quality polyester thread unless the pattern or fabric demands something different. For most woven wool, a stitch length around 2.5 to 3 mm works well; for topstitching, 3.5 to 4 mm can look cleaner and reduce thread drag.
- Use a walking foot if the fabric is thick, layered, or slippery, because it helps feed both layers evenly.
- Test on scraps first so you can check needle holes, seam puckering, and how the fabric presses after stitching.
- Reduce presser-foot pressure only if needed; too much pressure can flatten loft and mark the cloth.
- Baste when the fabric creeps; hand basting is slower, but it is often the cleanest solution on valuable wool.
I nearly always sew a few test seams before I touch the garment pieces. That small habit tells me whether the needle is punching too hard, whether the thread is settling neatly, and whether the seam needs a different press after stitching. Once the machine is behaving, the actual sewing stage becomes more controlled.
Cut and stitch without distorting the cloth
Wool behaves best when you support it. Use a large flat table, keep the pieces from hanging over the edge, and avoid lifting the cut fabric by the corners more than necessary. Sharp shears are fine, but for bulky cloth a rotary cutter and weights can be more accurate, especially when you are matching checks or cutting single layers. I also like a 1.5 cm seam allowance on tailored wool because it gives me enough room to grade and refine the seams afterwards.
- Staystitch curved edges such as necklines, armholes, and waistlines before they stretch out of shape.
- Use fine pins or hand basting so the cloth does not pucker where the seam starts.
- Sew slowly and let the feed dogs do the work; pushing wool through the machine invites distortion.
- Trim and grade bulky seam allowances after stitching to keep intersections flatter.
- Clip curves carefully so the seam can sit smoothly when turned or pressed.
If the wool is very lofty, I often stitch the most visible seams first and then decide whether the structure needs more support. That keeps the order of construction practical rather than theoretical, and it leads naturally into pressing, which is where wool really starts to look tailored.
Press wool the way tailors do
Pressing is where many wool projects are won or lost. The iron should set the seam rather than drag across it, which means lifting, placing, and holding instead of sliding back and forth like you would on a cotton shirt. Use a press cloth to prevent shine, especially on darker or smoother wool, and use a tailor’s ham or seam roll to keep curves and long seams from picking up unwanted impressions.
- Use steam lightly on textured wool and more direct pressure on dense coating fabrics.
- Press seams open or to one side as the pattern requires, then let them cool before you move the garment.
- Use a clapper on a freshly steamed seam when you want the edge to stay flat and crisp.
- Support the fabric from underneath so seam allowances do not emboss through to the right side.
I think of pressing as construction, not finishing. Every seam needs attention as soon as it is sewn, because wool takes shape in stages and keeps the shape it is given. From there, the last big decision is how to finish the inside cleanly without adding unnecessary bulk.
Finish seams, hems, and edges according to the fabric
The best seam finish depends on how much the wool frays, how heavy it is, and whether the garment is lined. A lined coat can sometimes be simpler on the inside than an unlined jacket, because the lining protects the seam allowances and reduces the need for decorative finishing. On a cloth like boiled wool, the raw edge may behave so well that a narrow topstitch or lapped seam is enough; on a loose tweed, I would usually do more work to contain the fray.
| Finish | Best for | Why it works |
|---|---|---|
| Overlocked edge | Most woven wool garments and linings | Quick, tidy, and effective when you mainly need to stop fraying. |
| Hong Kong finish | Jackets and coats where the inside matters | Bias binding encloses each seam allowance for a polished tailored look. |
| Bound seam | Unlined outerwear and visible interiors | Useful when you want the inside to look deliberate rather than purely functional. |
| Flat-felled or lapped seam | Heavy wool, reversible garments, hard-wearing seams | Strong, flat, and dependable when bulk needs to be controlled carefully. |
| Raw edge with topstitching | Boiled wool and some felted fabrics | Minimal fray lets the design stay soft and modern without extra finishing. |
Interfacing matters just as much. I prefer lightweight fusible woven or tricot interfacing for collars, facings, pockets, and plackets, but I test it first because a heavy fusible can flatten wool’s natural loft. On scratchy fabric, a lining is often the simplest comfort upgrade you can make. With the structure sorted, the remaining risks are mostly avoidable mistakes.
The mistakes that cost the most on wool
Most wool problems are not mysterious; they are usually the result of pushing the fabric too hard or planning too little. The good news is that the fixes are straightforward once you know what to watch for. I see the same errors repeated often enough that they are worth naming clearly.
- Skipping pre-shrinking. The garment may look right on the table and then change after the first steam or clean.
- Choosing an overcomplicated pattern. Too many seams, corners, and facings can turn a promising wool into a bulky mess.
- Overfusing the fabric. Too much glue can kill the drape and leave the surface stiff or shiny.
- Pressing by dragging instead of lifting. That is one of the fastest ways to stretch or glaze the cloth.
- Ignoring nap or checks. A mismatched surface reads as sloppy even when the sewing itself is neat.
- Underestimating bulk at intersections. Collar points, hems, and pocket corners need grading before they look good.
When I am unsure, I simplify. A cleaner pattern, better pressing, and a more thoughtful finish usually beat a clever construction trick that the fabric was never going to enjoy. That leads to one last point: the small habits that make wool sewing easier every time.
The small choices that make wool garments look tailored
The final difference is usually made before the garment is even finished. I like to keep offcuts for test hems, buttonhole samples, and interfacing checks, because wool often reveals its best settings on the second or third try, not the first. If the cloth is even slightly scratchy, I plan the lining early; if it is bulky, I reduce seam allowance thickness before I worry about decorative details.
- Make a 20 cm test square for stitching, pressing, and seam finishing before you commit to the garment.
- Use the simplest pattern that suits the fabric; wool usually looks more expensive when it is not overcrowded with design lines.
- Respect the cloth’s direction and texture; one-way nap and visible checks are design decisions, not afterthoughts.
- Stop and press in stages; wool looks more refined when the shape is built gradually.
That is the approach I trust most: choose the right wool, prepare it properly, sew with a sharp needle and a calm hand, and finish the inside in a way that matches the fabric’s weight. Wool rarely rewards speed, but it almost always rewards care, and once you start working with that rhythm, the results look polished rather than homemade.
