
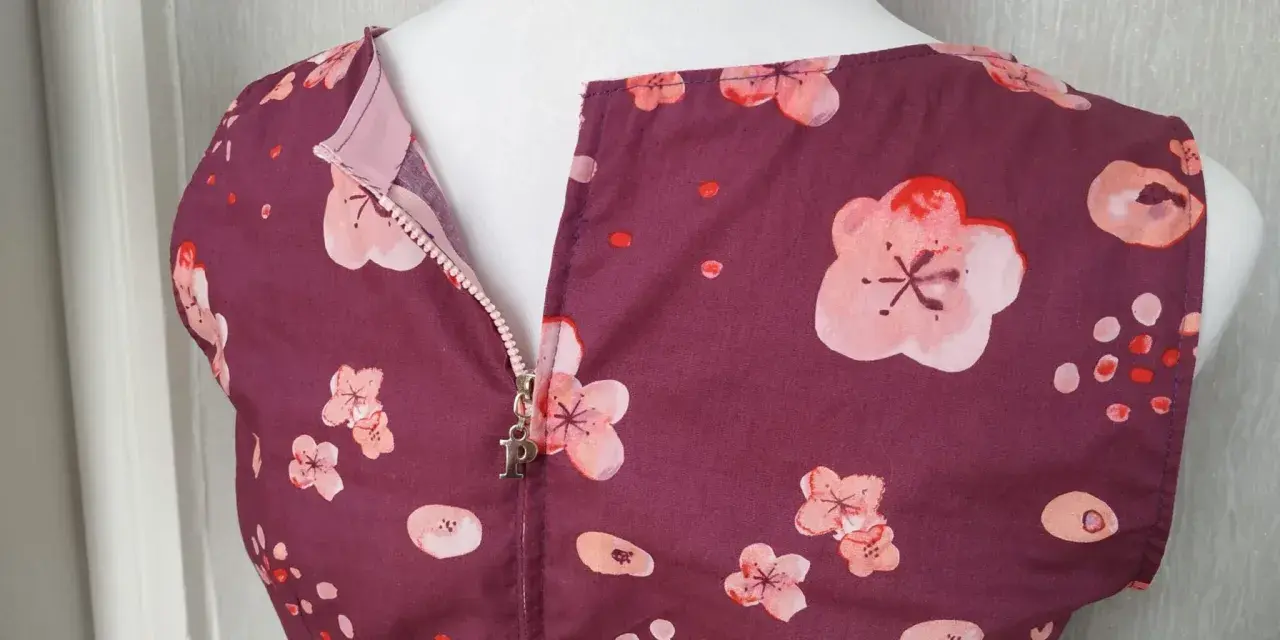
A centered zipper does more than close a garment. It keeps the opening balanced, the seam readable, and the finish tidy whether I am working on a skirt, a dress, or a simple cushion cover. In this guide, I’ll show how I prepare the seam, mark the opening, stitch both sides evenly, and avoid the small errors that make the result look off-centre.
The essential points that keep the opening even
- Stabilise the zipper area first, especially on lightweight or bias-cut fabric.
- Use the pattern’s seam allowance, because even 2 to 3 mm of drift is visible at the top.
- Baste the opening before machine stitching so both sides stay aligned.
- Mark the stitch lines on the right side, not just by eye.
- Press after each major step, since symmetry is easier to set than to correct.
What a centred zip is and when I choose it
I use a centred zip when I want a straightforward closure with a balanced look on both sides of the seam. The seam allowances sit evenly, the teeth are placed directly under the seam line, and the result feels tidy rather than hidden. It is a good fit for skirts, dresses, trousers, cushion covers, and bags when I want structure and clear construction lines.
It is not the same as an invisible zip. An invisible zip disappears into the seam, while a centred insertion still reads as a visible closure. That difference matters because it affects both the look and the sewing process: the centred version is usually more forgiving, but it is also less discreet. Once you know where it belongs, the next step is prep, because symmetry is decided long before the foot goes down on the machine.
What matters most before you sew the zip
The biggest mistake I see is rushing the prep and expecting the stitching to fix everything. It usually does not. If the fabric has stretched, the opening is not marked properly, or the seam allowance is inconsistent, the zip will show it immediately. I treat the preparation as part of the installation, not as a separate chore.| Prep step | What I do | Why it matters |
|---|---|---|
| Staystitching | Use a short straight stitch, around 2.0 to 2.5 mm, just inside the seam allowance near the opening. | Prevents stretching on soft, bias-cut, or loosely woven fabric. |
| Interfacing | Apply a lightweight fusible strip about 25 mm wide and the opening length plus 25 mm. | Gives the zip area more body and keeps the top edge flat. |
| Marking | Mark the zipper stop with chalk, a pin, or a washable pen on both seam allowances. | Helps both sides end at exactly the same point. |
| Seam allowance | Follow the pattern allowance, which is often 1 cm or 1.5 cm in UK sewing patterns. | Keeps the zip centred under the seam instead of drifting to one side. |
If the fabric frays easily, I finish the raw seam edges before the zip goes in. That small decision saves time later, because the seam can be opened and pressed cleanly without the edges collapsing. Once the opening is stable, the actual sewing becomes much less dramatic.
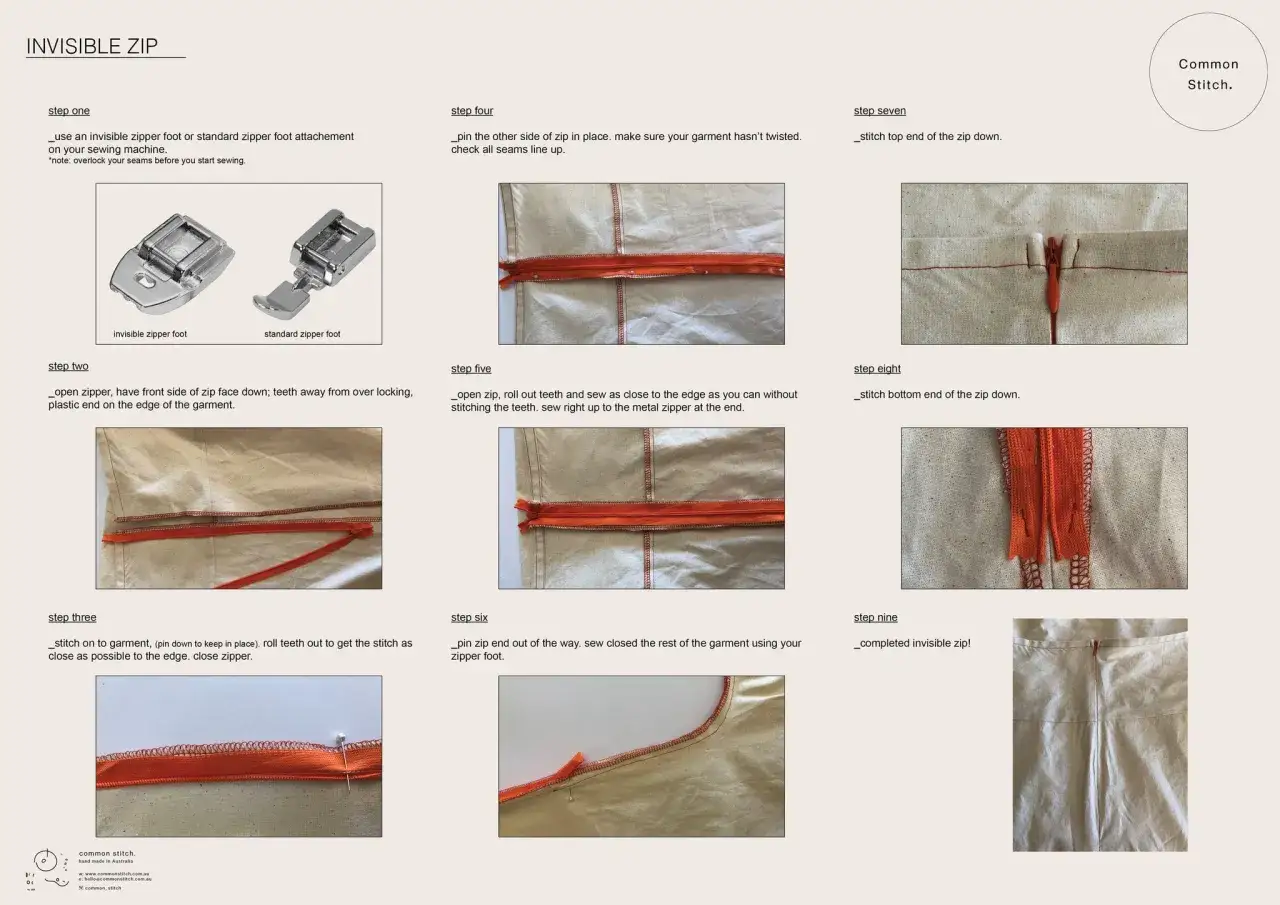
How I install it step by step
This is the method I return to most often for woven garments. It is plain, reliable, and easy to check at each stage, which is exactly what you want when the two sides have to mirror each other.
- Sew the seam below the opening with your normal stitch length, then switch to a long basting stitch, around 5 mm, through the zip opening.
- Backstitch at the point where the zip opening ends, then continue with a regular stitch below that mark.
- Press the seam open so the centre line is clear.
- From the right side, mark two stitching guides about 6 mm, or 1/4 in, from the seam line if your pattern does not already show them.
- Place the open zip with the teeth centred on the seam and the stopper just above the marked end point.
- Pin or hand-baste the tape to the seam allowances so it cannot creep out of line.
- Using a zipper foot, stitch close to the teeth on one side, then return to the top and stitch the second side.
- Check that the bottom is secure, remove the basting stitches, and press lightly from the wrong side.
On slippery fabric, I often hand-baste before machine stitching because pins alone do not stop movement well enough. That extra ten minutes is usually cheaper than unpicking a skewed topstitch line. Once the zip is in, the real skill is keeping both sides visually equal, which is where a few small habits make a big difference.
How I keep both sides perfectly even
Symmetry is mostly about reference points. I measure from the seam line, not from the edge of the tape, because zipper tape widths can vary by a few millimetres from one brand to another. I also keep the top edge aligned with the garment edge, not with the facing, because that is where most visible mismatch shows up.
- I place the same number of pins on each side, spaced evenly, so the tape does not twist while I sew.
- I keep the zipper pull closed while positioning the top, then open it only when I need access to the lower section.
- I check that the stopper sits just above the marked end point before I start stitching.
- I press each side after sewing, rather than waiting until the end.
- I stop immediately if one side starts to creep higher, because a 2 to 3 mm error is easy to see once the garment is worn.
On curved or bias edges, these checks matter even more, because the fabric can fight the zipper as soon as tension changes. If the fit of the opening is right, the stitching becomes the easy part, and that leads directly to the problems most sewists run into first.
The mistakes I fix before they ruin the finish
Most bad zip installations come from a handful of repeatable issues. The good news is that they are easy to diagnose once you know what to look for.
- One side sits higher than the other. The usual cause is uneven basting or a mark that was transferred only on one side. I unpick early and reset the stop point before sewing again.
- The seam looks wavy. This usually means the fabric stretched during handling. I stabilise it with interfacing next time and use a lighter touch when pressing.
- The top edge buckles. Often the zip is sitting too close to the top edge, or the facing has not been kept flat. I check the upper edge before the final topstitch line goes in.
- The zipper catches near the bottom. Bulk at the stop is the usual culprit. I trim and grade the seam allowances more carefully, then keep the tape tails neat.
- The topstitching wanders. This happens when I sew by eye instead of using a marked line. A clear ruler and a washable pen solve more problems than people expect.
If the garment is made from a delicate woven or a fabric with obvious nap, I slow down even more. The finish only looks simple when the handling is disciplined, and that is especially true when deciding whether this closure is the best choice in the first place.
Which zipper treatment fits the garment better
I do not use the same zip treatment for every project. A centred insertion is strong and predictable, but sometimes another style gives a cleaner result for the fabric or silhouette.
| Type | Look | Best use | Difficulty | My take |
|---|---|---|---|---|
| Centred | Even, visible stitching on both sides with the teeth sitting under the seam line. | Skirts, dresses, trousers, cushions, and straightforward closures. | Beginner-friendly once the marking is accurate. | Best when I want balance and a clear construction line. |
| Lapped | One side overlaps the zip for a slightly more concealed finish. | Tailored skirts and trousers where I want the closure to sit a little cleaner. | Moderate. | Useful when I want less tape showing and a neater overlap. |
| Invisible | Teeth are hidden in the seam. | Formal dresses and lighter garments where the closure should disappear. | Moderate to higher. | Best for a polished look, but less forgiving if the seam is not prepared well. |
For a lot of everyday sewing, I still reach for the centred option because it is practical and easy to check as I go. If the fabric is sheer, very fine, or meant to look almost seamless, I would usually switch to another finish. That judgment is part of sewing well, not a compromise.
The final checks that make the finish look deliberate
Before I call the job done, I do one slow inspection from top to bottom. I check that the zipper closes smoothly, the top edges meet within 1 to 2 mm, and the seam opens flat after pressing. I also make sure the facing or waistband sits without buckling, because a clean zip can still look wrong if the surrounding construction is tense.
There is one last habit I rely on: I keep a small scrap of the same zipper tape and fabric nearby while sewing. It is useful for testing stitch length, needle position, and tension before I commit to the garment itself. That tiny bit of preparation saves more remakes than any shortcut, and it is usually the difference between a zip that merely works and one that looks properly set into the piece.
