
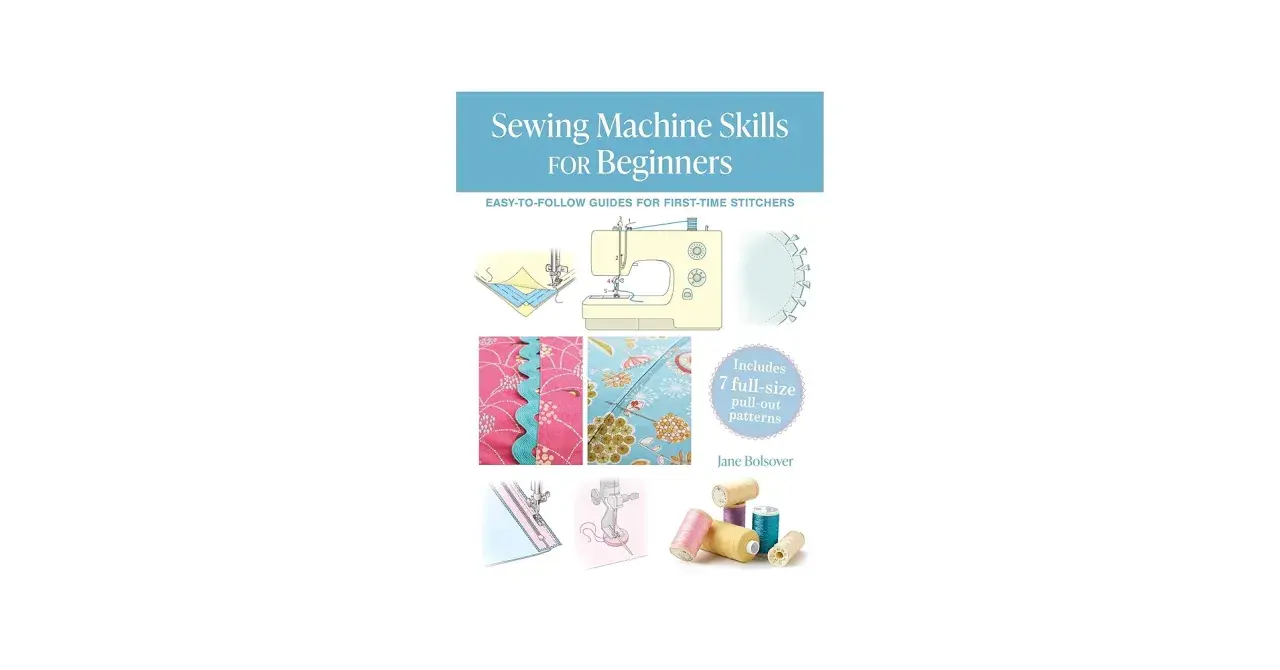
Good sewing is built on a small set of repeatable habits: accurate cutting, steady machine control, careful pressing, and fabric choices that do not fight you. This guide breaks down the sewing skills that matter most at the beginning, then shows how I would practise them in a way that actually leads to finished projects. The focus is practical, because the fastest progress comes from learning what to do, what to ignore for now, and where beginners usually waste time.
The quickest route to cleaner stitching and fewer mistakes
- Start with basics that repeat rather than chasing decorative stitches or advanced garment details too early.
- Buy a simple toolkit first: machine, needles, thread, dressmaking scissors, pins or clips, seam ripper, measuring tape, and an iron.
- Practise on cotton and cotton blends before slippery, stretchy, or heavily draped fabrics.
- Use short scrap tests every time you change fabric, needle, or thread.
- Choose beginner patterns with fewer than 6-7 pieces, no zip, and a loose fit.
- Keep sessions short and regular, because 20-30 focused minutes beats an occasional marathon of frustration.
What the foundation really looks like
When I strip sewing back to its essentials, I do not get a long list of glamorous techniques. I get a small number of habits that show up in almost every project: handling tools well, understanding fabric grain, reading pattern markings, cutting accurately, sewing seams, pressing as I go, and making simple shaping work when a project needs it. That is the core of reliable stitching, and it is what makes the difference between something that merely holds together and something that looks intentional.A seam allowance is the fabric between your stitching line and the raw edge. Many commercial patterns use 1.5 cm, but I always check the pattern instructions, because not every design uses the same allowance. Cutting on the grainline, the direction of the lengthwise threads in woven fabric, matters just as much, because it helps garments hang properly instead of twisting or pulling out of shape.
- Tool awareness means knowing what each item does, not just owning it.
- Pattern reading means understanding symbols, grainlines, notches, and seam allowances before you cut.
- Cutting and marking are about precision, not speed.
- Seam sewing includes straight seams, corners, curves, and the discipline to stop and check your line.
- Pressing shapes the work and should happen as you sew, not only at the end.
- Basic fullness through darts, gathers, tucks, or easing is what turns flat fabric into something with form.
Once those pieces make sense, choosing tools becomes much easier, because you can buy for the job instead of buying for the drawer.
Build a starter toolkit that helps, not hinders
In UK retail, a dependable beginner machine usually sits around £115-£250. That is a sensible range for a first machine because it is simple enough to learn on, but still good enough to make clean seams on light to medium-weight fabrics. I would rather see a beginner spend that money on a straightforward machine with easy threading and a foot pedal than on a crowded feature set they will not use yet.
If I were assembling the rest of the kit, I would keep it deliberately lean. A lot of early frustration comes from clutter, not lack of enthusiasm.
| Tool | What to look for | Why it matters |
|---|---|---|
| Sewing machine | Basic stitches, easy threading, foot pedal, and a simple bobbin system | Lets you control speed and build confidence without wrestling the machine |
| Needles | Universal needles for woven fabric, ball-point needles for knits | The wrong needle causes skipped stitches, pulls, and snags |
| Thread | A decent polyester thread for general use | Polyester is strong, versatile, and forgiving for most beginner projects |
| Dressmaking scissors | A dedicated fabric pair that never cuts paper | Clean cuts make pieces line up properly and reduce fraying at the edge |
| Pins or clips | Standard pins for most woven fabrics, clips for thicker or slippery layers | Holds pieces in place while you sew, which keeps seams accurate |
| Seam ripper | A sharp tip and a handle that feels comfortable | Mistakes are easier to fix early, and this tool saves fabric when you need to unpick |
| Measuring tape and chalk | A flexible tape measure and washable fabric marker or tailor’s chalk | Useful for hems, placement marks, and checking fit |
| Iron and press cloth | A reliable iron with a padded board and a clean cotton press cloth | Pressing shapes seams, flattens bulk, and gives a much neater finish |
An overlocker is useful later, especially for knitwear and neat seam finishes, but I would not put it on the starter list. A beginner gets more value from a good iron and a clean pair of scissors than from a machine they are not ready to use well.
With that kit in place, the next step is not a project. It is control.
The first stitches and settings worth practising
I would spend the first few sessions on scraps, not on a finished item. The goal is to make the machine feel predictable, because once you can predict how it behaves, you can start trusting your hands. That confidence comes from repeating a small set of motions until they stop feeling awkward.
| Technique | What it teaches | How I would practise it |
|---|---|---|
| Straight stitch on a scrap | Seam control and line following | Sew 3-5 lines on cotton, keeping the edge distance even |
| Backstitching | How to lock seams at the start and end | Reverse 3-4 stitches at both ends of each practice seam |
| Corner turning | How to pivot without losing the line | Stop with the needle down, lift the presser foot, turn, and continue |
| Curved seams | Speed control and hand placement | Sew slowly and guide the fabric, rather than pulling it through |
| Simple hemming | Turning, pressing, and edge control | Fold, press, pin, and stitch a narrow hem on a small square |
| Zigzag on stretch fabric | How knit fabrics behave differently | Test on jersey scraps before sewing any real project |
For most woven beginner projects, I start with a universal needle in the 80/12 range and a stitch length around 2.5 mm. For basting, I lengthen the stitch to roughly 4 mm. When I move to knit fabric, I switch to a ball-point needle, because it slides between loops instead of piercing and damaging them.
Two small habits make a big difference here. First, test on the same fabric you plan to use, because cotton, denim, jersey, and linen all behave differently. Second, let the machine feed the fabric while you guide it lightly. Pulling the cloth usually creates wavy seams, especially on lighter fabric.
Once those motions feel calmer, fabric choice becomes the next lever you can control.
Fabrics and patterns that make early wins more likely
The easiest fabrics for a beginner are light to medium-weight woven cloths such as cotton, cotton blends, linen blends, and calico. They stay where you put them, they are easier to pin and cut, and they forgive small mistakes better than slippery or stretchy fabrics. In contrast, satin, chiffon, viscose with lots of drape, and highly elastic jersey usually create more tension than they solve in the first few projects.
I also think pattern choice matters more than people expect. A good starter pattern is not just “simple” in theory. It should be simple in construction.
- Choose fewer than 6-7 pattern pieces so you are not decoding a puzzle before you even start sewing.
- Avoid zips and buttonholes until your seam control is consistent.
- Skip set-in sleeves at the very beginning, because they add fitting and ease issues that distract from the basics.
- Look for a loose or boxy fit so the project is less dependent on exact body adjustments.
- Start with rectangles like a tote bag, pillowcase, cushion cover, or apron, because they teach clean stitching without overloading you.
If fit matters, I would make a toile first. A toile, sometimes called a muslin, is a test version sewn in cheap fabric such as calico or an old sheet. It is not wasted time. It is the cheapest way to discover that a shoulder is too narrow, a hem is off, or a curve needs more ease before you cut into fabric you actually care about.
Once fabric and pattern stop being random variables, the remaining problems become much easier to diagnose, which leads straight into the mistakes I see most often.
The mistakes I see most often and how to fix them
Most beginner frustration is not a talent problem. It is usually a setup problem, and that is good news because setup can be improved quickly. When a seam goes wrong, I look first at the fabric, the needle, the stitch length, and the handling, not at the person using the machine.
| Mistake | What it causes | What I would do instead |
|---|---|---|
| Skipping a test seam | Wrong tension, puckering, or broken stitches | Sew a quick sample on the same fabric before the real seam |
| Cutting before pressing | Warped edges and inaccurate pieces | Press the fabric first, then cut and mark carefully |
| Confusing ironing with pressing | Distorted seams and stretched edges | Lift and lower the iron instead of sliding it around the fabric |
| Using the wrong needle | Skipped stitches or fabric damage | Match the needle to the fabric weight and fibre type |
| Pulling the fabric through the machine | Wavy seams and uneven feeding | Guide the fabric lightly and let the feed dogs do their work |
| Trying to learn everything at once | Fast burnout and poor habits | Practise one skill per session and repeat it until it feels normal |
I also see a lot of people avoid unpicking, as if the seam ripper is a moral judgement. It is not. Unpicking early, when a seam is only a few centimetres long, protects the fabric and saves time later. If something looks wrong after five stitches, I fix five stitches, not the whole garment.
That same mindset makes a practice plan much more effective, because you stop treating mistakes as a surprise and start treating them as part of the process.
A practical first-month plan for steady progress
If I wanted to build confidence in one month, I would keep the sessions short, focused, and slightly repetitive. The point is not to finish a big project quickly. The point is to make the machine, the fabric, and your hands start speaking the same language.
- Week 1: Thread the machine, wind the bobbin, change the needle once, and sew straight lines on scraps for 20-30 minutes at a time.
- Week 2: Practise backstitching, turning corners, and sewing a narrow hem while marking your seam allowance properly.
- Week 3: Make one small project such as a tote bag or cushion cover, and press every seam as you go.
- Week 4: Try a simple garment or alteration, but use a toile first if fit is involved.
I would also keep a tiny notebook next to the machine and write down three things after every session: the needle type, the thread, and the stitch length that worked. That record becomes more useful than most shopping lists, because it tells you what actually happened, not what you hoped would happen.
By the end of that month, the machine will feel less mysterious, your seams will look cleaner, and you will know which habits matter most. That is where real progress starts, and it is exactly why sewing skills compound so quickly once the basics stop feeling fragile.
