
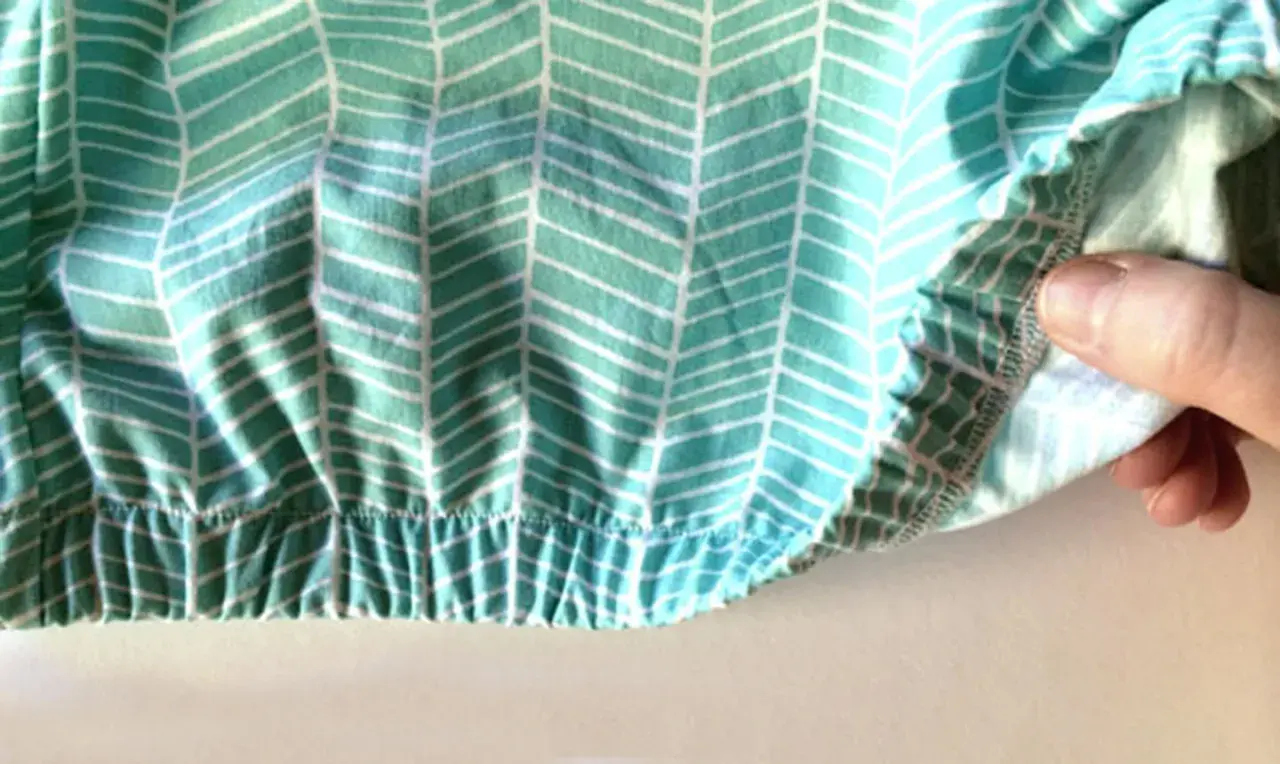
The cleanest elastic results start with matching the method to the garment
- Casing is the easiest method to adjust later and usually gives the neatest all-round finish.
- Direct stitching works best when you want a flatter edge or a lightly gathered result.
- A stretch or ballpoint needle is the safer default for knit fabrics and elastic seams.
- Marking both the elastic and the fabric into quarters keeps the stretch even.
- As a starting point, cut elastic slightly shorter than the body opening, then fine-tune for comfort.
- The biggest mistakes are stretching the fabric instead of the elastic, using the wrong stitch, and choosing elastic that is too soft for the channel.
Match the method to the garment
Before I stitch anything, I decide whether the garment needs a casing, direct attachment, or a topstitched waistband. That choice changes the feel of the finished piece as much as the elastic itself, so it is worth getting right early. Casing is the easiest to alter later, direct stitching gives the flattest profile, and topstitching adds control and a more tailored look.
| Method | Best for | What it gives you | Limitations |
|---|---|---|---|
| Casing | Waistbands, cuffs, children’s clothes, easy alterations | Neat interior, simple construction, easy replacement later | Can feel bulky and may twist if the channel is too wide |
| Direct stitching | Hems, gathered edges, quick fixes, some sportswear details | Flatter finish with less bulk | Harder to alter and more dependent on even tension |
| Topstitched waistband | Shorts, trousers, skirts, joggers | Secure elastic with a cleaner, more polished look | Takes longer and needs careful distribution of fullness |
After that, I choose the elastic itself. Woven elastic is firm and stable for waistbands, knitted elastic feels softer inside casings, braided elastic suits narrow channels but tends to narrow when stretched, and clear elastic is better for stabilising seams than for holding a waistband up. For most projects, 6-12 mm elastic suits cuffs and necklines, while 25-50 mm elastic is more common for waistbands. Once the method and the elastic agree with each other, the rest of the job becomes much easier.
Set up the tools that make elastic easier to control
I keep the setup simple and predictable. That matters more than fancy attachments, because elastic work goes wrong when the fabric is hard to control or the stitch is too stiff for the material. A stretch or ballpoint needle, decent thread, and a clear plan for marking the stretch points do most of the heavy lifting.
- Stretch or ballpoint needle - helps the needle pass between fibres instead of piercing and damaging them.
- All-purpose polyester thread - usually holds up well on elastic seams because it has a little give.
- Fabric clips or pins - useful for holding quarter marks in place before stitching.
- Safety pin or bodkin - essential for threading elastic through a casing.
- Ruler or tape measure - keeps the elastic and garment sections even.
- Iron - helps flatten seam allowances before elastic goes in, though I always test heat on a scrap first.
- Overlocker or elastic foot - optional, but helpful if you sew a lot of narrow elastic or stretch fabrics.
For most home machines, I start with a medium zigzag around 2.5-3 mm wide and about 2-2.5 mm long, then test on a scrap. If the stitches tunnel, pucker, or skip, I change one thing at a time rather than forcing it. That kind of quiet testing saves far more time than trying to fix a finished seam later, and it leads neatly into the actual sewing method.
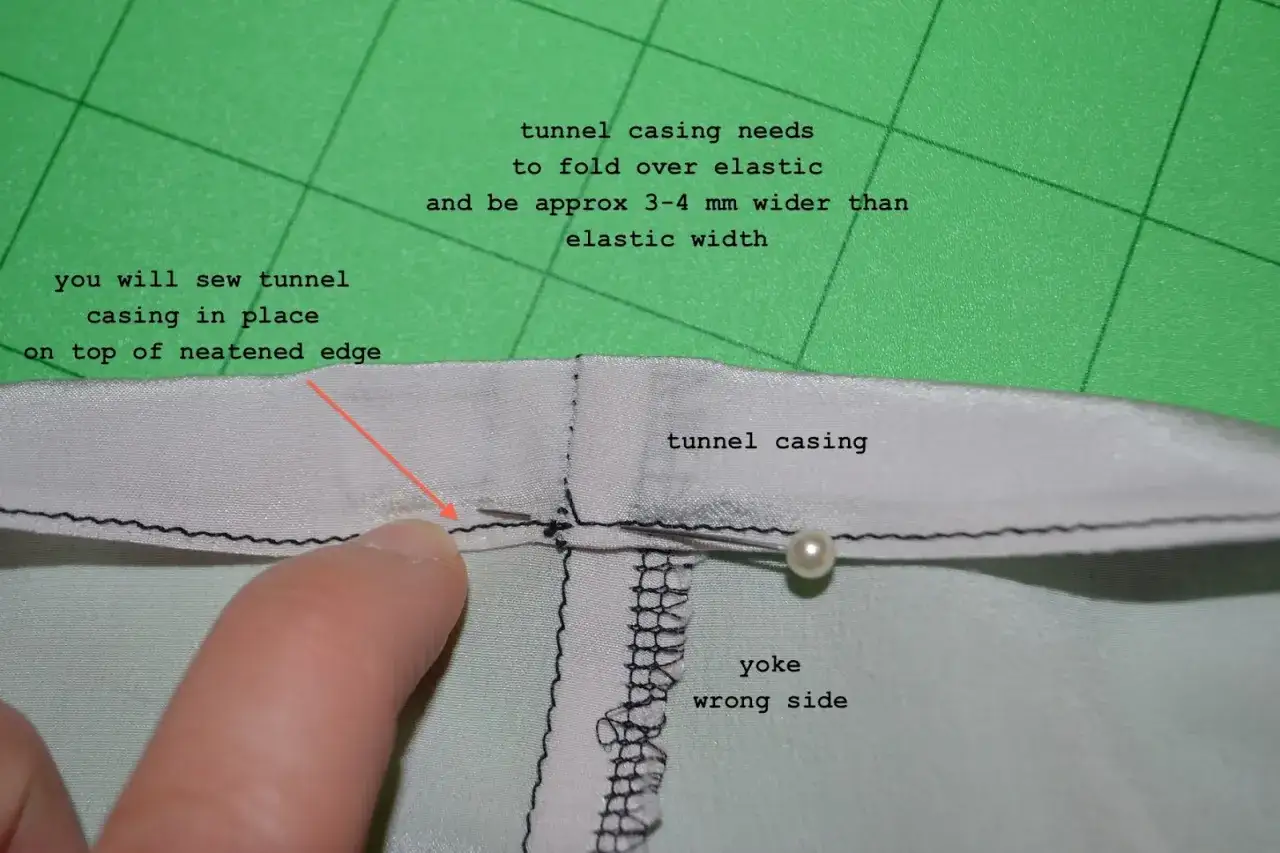
Sew elastic into a casing cleanly
A casing is a stitched tunnel that holds the elastic without stitching through the elastic itself. I use this method when I want a comfortable waistband, a cuff that can be replaced later, or a finish that looks tidy inside and out. It is also the most forgiving method when you are still getting used to elastic work.
- Sew the casing and leave a gap of about 5-8 cm for threading the elastic. Press the seam before you insert anything, because pressing becomes awkward once the elastic is inside.
- Measure the elastic against the body or garment opening, then add only a small overlap allowance. I usually leave the elastic slightly shorter than the opening, not equal to it.
- Attach a safety pin to one end and feed the elastic through the casing slowly. Keep a grip on the free end so it does not vanish into the channel.
- Before joining the ends, check that the elastic has not twisted. I run my fingers around the whole waistband or cuff for this exact reason.
- Overlap the ends by about 2.5 cm and secure them with a box stitch or box-and-X stitch for strength.
- Pull the elastic fully back inside the casing, spread the gathers evenly, and close the opening with a neat stitch.
In practice, the trick is to stretch the elastic, not the fabric, while you are working the ends into place. If the casing is too narrow, the elastic will fight you every time the garment is worn; if it is too wide, the elastic can roll or turn. I usually allow the channel to be 6-10 mm wider than the elastic so it can move without biting into the seam. That balance is what keeps a simple casing from looking amateurish, and it is why the next method needs a different approach.
Stitch elastic directly to fabric when you need a flatter result
Direct stitching is the method I reach for when I want the elastic to shape the edge rather than sit inside a tunnel. It works well for some hems, leg openings, sleeves, and softer gathered edges where a casing would add too much bulk. The finish is flatter, but the sewing needs more control.
- Mark both the elastic and the fabric into four equal sections. Quarter marks are the easiest way to keep the stretch balanced.
- Pin or clip the elastic to the wrong side of the fabric, matching each quarter mark to its partner.
- Use a zigzag or three-step zigzag stitch and stretch only the elastic between the pins. The fabric should stay relaxed under the presser foot.
- Sew in sections, adjusting gently as you go. I prefer to keep one hand in front and one behind the needle so the elastic stays even.
- Check the edge as soon as you finish. If it ripples, the fabric was probably stretched instead of just the elastic.
A straight stitch is usually the wrong choice here because it will not stretch with the seam. If I want extra security, I use a three-step zigzag rather than a plain straight line, especially on edges that will be pulled a lot. This method is slightly less forgiving than a casing, but it gives a cleaner profile when the garment needs to sit close to the body.
Get the length and tension right before you close it up
Elastic length is never one-size-fits-all, which is why I treat it as a fitting decision rather than a fixed formula. A good starting point is to cut the elastic slightly shorter than the body opening, then adjust after a quick test fit. If the elastic is too tight, it will dig in; if it is too loose, the garment will slide and lose shape.
| Situation | Starting point I use | What to watch for |
|---|---|---|
| Relaxed adult waistband | About 90-95% of the body opening | Comfortable hold without squeezing |
| Firmer waistband or heavier fabric | About 85-90% | Better support, but test carefully because it can feel restrictive |
| Children’s pull-on garment | About 90-100% | Comfort often matters more than a tight hold |
| Cuffs and light gathers | Start by matching the opening, then shorten slightly only if needed | Avoid over-tightening or the edge will twist |
If I plan to add topstitching over the waistband, I cut the elastic a touch firmer because the extra stitching can slightly relax the stretch. That is also why I like to test the garment on the body before I close the final seam completely. A five-minute check now is cheaper than unpicking a waistband later, and it usually tells you whether the remaining problems are about fit or technique.
Fix the problems that most often spoil the result
Most elastic mistakes fall into a small number of patterns. Once you learn them, the fixes are usually straightforward, and they stop feeling mysterious.
- Skipped stitches usually mean the needle is wrong for the fabric. Switch to a stretch or ballpoint needle and test again.
- Wavy fabric usually means the fabric was stretched while sewing. Keep the cloth flat and let the elastic carry the tension.
- Twisting inside a casing usually means the channel is too wide or the elastic is too soft. Narrow the casing or choose a firmer elastic.
- Weak joins at the ends usually mean the overlap is too short. Overlap by about 2.5 cm and secure it with a box stitch or box-and-X stitch.
- A waistband that feels cramped usually means the elastic was cut too short. Replace it with a slightly longer piece rather than forcing the fit.
- Elastic that rolls or flips usually means it is too narrow for the channel or the seam allowances were not pressed flat enough.
When I see a seam fail, I usually trace the problem back to one of those six causes before I blame the elastic itself. That habit makes repairs faster and keeps you from changing three things at once, which only creates more confusion. Once those basics are under control, the last gains come from finishing rather than from sewing harder.
Finish it so the elastic sits flat and stays useful
The last stage is less about drama and more about discipline. I check that the elastic lies flat, the gathers are evenly spread, and the seam allowance is behaving instead of curling or rolling. A careful press, a clean topstitch where needed, and a note about the elastic width will make the next project easier to repeat.
- Press lightly and test the heat first, because some elastic dislikes direct high heat.
- Use topstitching on waistbands or cuffs that need extra stability and a tidier look.
- Keep seam allowances caught down if a waistband tends to flip outward.
- Save the details that worked, especially the elastic brand, width, and the stitch setting.
When I want the result to feel professional, I treat elastic as part of the garment’s fit engineering, not as an afterthought. Measure carefully, choose the method that suits the fabric, stitch only what should stretch, and leave enough room for the garment to move comfortably. That approach works just as well for a simple pair of pyjama trousers as it does for cuffs, sleeves, and small repairs, and it is usually the difference between a piece you wear once and a piece you keep reaching for.
