
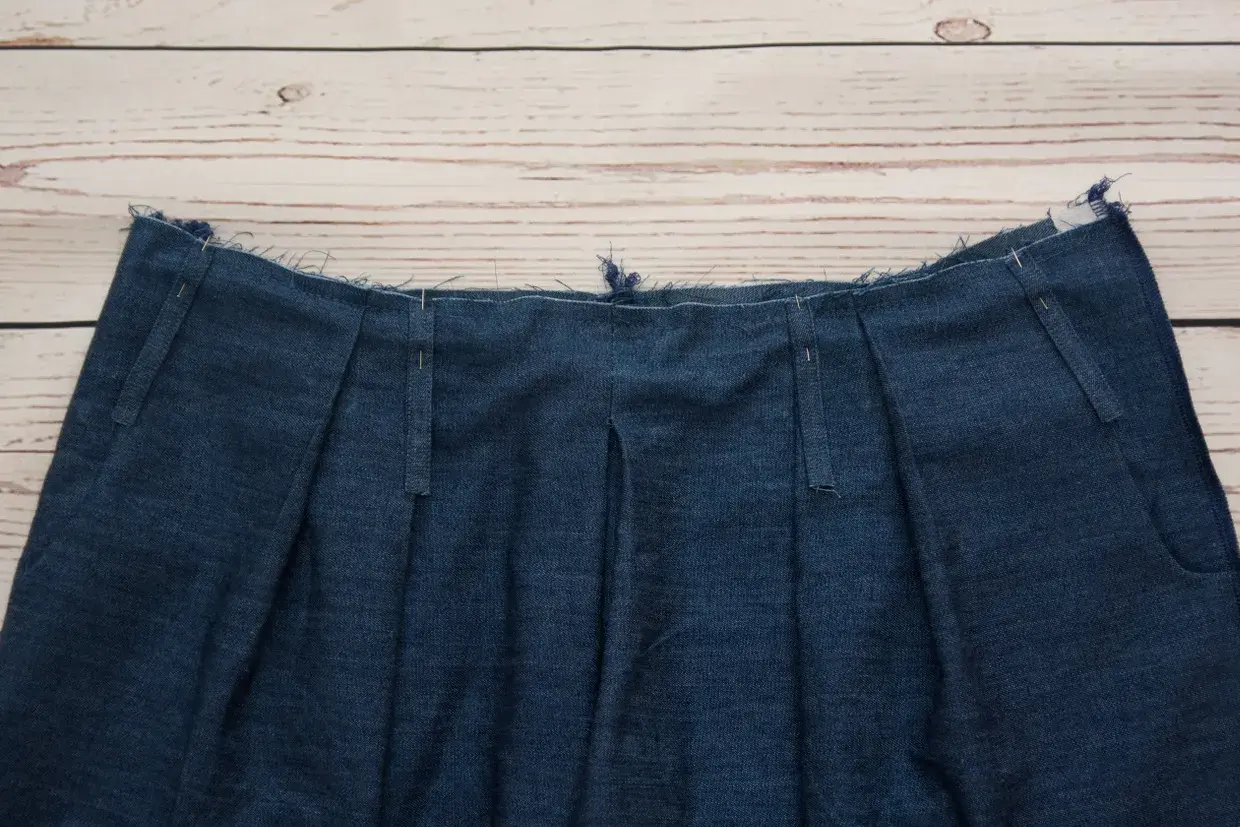
Belt loops look minor, but they change how a garment sits, whether a belt stays centred, and how finished the whole piece feels. In this guide I break down the main types of belt loops, when each one makes sense, and how I sew them so they hold up in wear rather than hanging on by a few hopeful stitches. I’m focusing on the construction choices that matter most in sewing basics: fabric weight, reinforcement, placement, and the trade-offs between a clean finish and pure durability.
What matters most when choosing a belt loop style
- I start with the fabric first: light, fluid cloth needs a softer loop than denim or wool.
- Thread loops work well on dresses and sashes; self-fabric loops suit trousers and skirts.
- Reinforcement matters as much as shape if the loop will carry real strain.
- Loop spacing should follow belt width and garment shape, not just a pattern diagram.
- Where possible, I catch the lower end into the waistband seam for a cleaner finish.
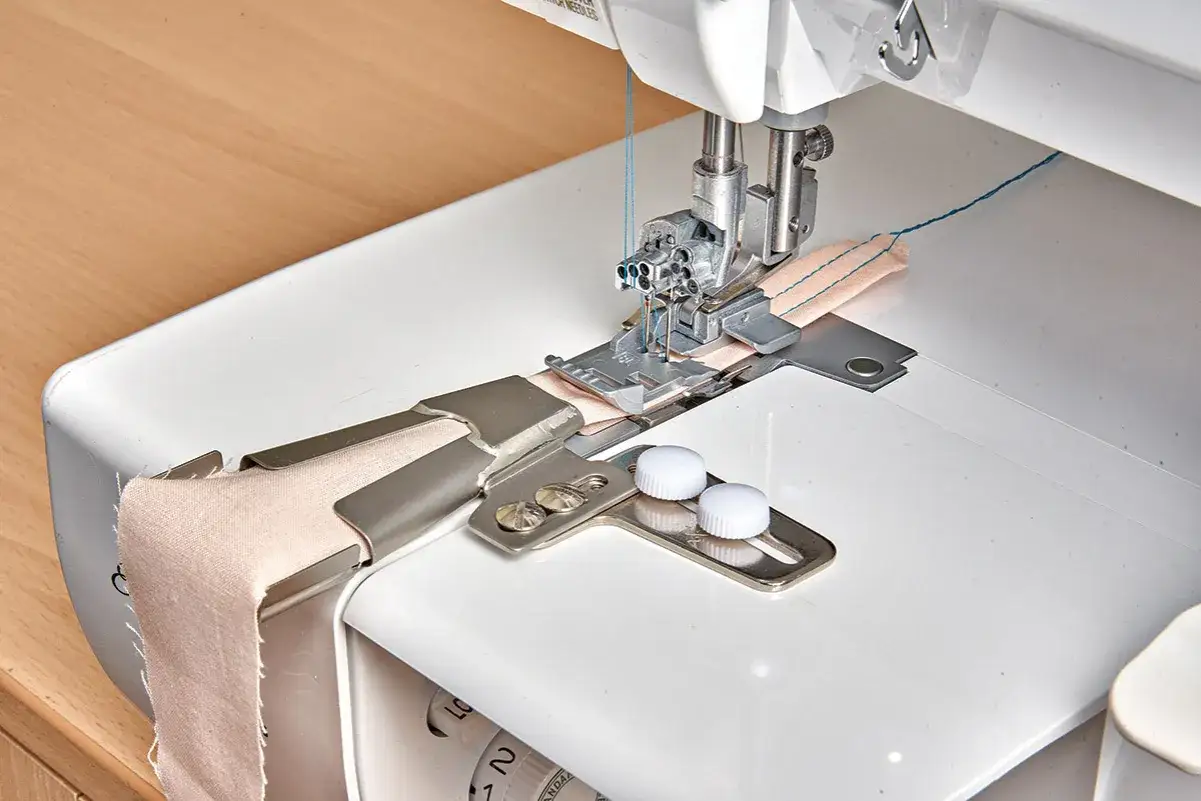
The main constructions I reach for most often
I group belt loops by how they are built, because that usually tells me more than the label on a pattern sheet. Some are almost invisible, some are deliberately visible, and some are made to handle a lot of wear without looking bulky. Once you know the difference, it becomes much easier to match the loop to the garment instead of forcing one solution onto everything.
| Construction | Look | Strength | Best use | Why I choose it |
|---|---|---|---|---|
| Self-fabric folded loop | Classic and visible | High | Jeans, trousers, skirts, coats | I want durability and a finish that feels ready-to-wear. |
| Thread loop or chain loop | Very discreet | Low to medium | Dresses, wrap styles, sash belts | Bulk would spoil the drape, so I keep the loop light. |
| Inset loop | Clean and tailored | High | Tailored trousers, workwear | I can build it into the waistband seam for a neat finish. |
| Contrast loop | A deliberate feature | Medium to high | Design-led garments | The loop is meant to be seen, not hidden. |
| Fusible-backed lightweight loop | Flat and tidy | Medium | Light to medium woven fabrics | I need less bulk, but I still want a fabric loop rather than thread alone. |
For lightweight garments, I often favour a thread loop because it keeps the belt with the dress without adding a stiff tab that fights the drape. On the other end of the scale, a self-fabric loop with proper bar tacks is the safer choice when the belt actually carries weight. That contrast matters, and it leads straight into the question of what to use where.
How I match the loop to the garment
Trousers and jeans
For trousers, I usually reach for self-fabric loops or inset loops. They sit flat against the waistband, survive repeated pulling, and suit belts that do more than decorate. On ready-to-wear trousers, five loops is common, and seven is still a sensible tailoring convention when the waistline is larger or the belt needs extra support. The exact count matters less than even spacing and solid anchoring.
Skirts and dresses
Skirts and dresses ask for a lighter touch. If the belt is there to define the waist rather than hold the garment up, I like thread loops or small fabric carriers at the side seams. They keep the belt in place without adding too much visual weight. For a wrap dress or a dress with a sash, that usually gives the cleanest result.
Coats and wrap styles
Coats need a loop that can handle thickness. A belt on a coat often gets tugged, tightened, and retied, so I avoid anything fragile. Wider self-fabric loops, sometimes cut from a less bulky contrast fabric, work better than tiny narrow tabs. If the coat fabric is heavy, I also think about how the loop will lie over seam allowances and facings, because bulk shows quickly at the waist.
Read Also: Sewing Podcasts - Learn Faster, Stitch Better
Delicate or sheer fabrics
On delicate fabrics, I usually avoid thick folded loops altogether. A chain of thread, or a very narrow loop backed with fusible web, can do the job with far less strain on the cloth. That choice is not just cosmetic. It helps the garment keep its shape, which is exactly what you want when the fabric itself is already doing enough work.
Once I know the construction, I move on to the making process. A good loop is not complicated, but it is unforgiving of sloppy cutting, weak anchoring, or rushed pressing.
How I sew a clean loop strip
- I start by deciding the finished loop width from the belt width. As a practical rule, I allow the belt itself plus about 25 mm (1 in) for the loop length, and a little more if the fabric is thick.
- For several loops, I cut one long strip rather than separate little pieces. For medium-weight cloth, I usually make the strip about four times the finished loop width; for heavier fabric, I keep an eye on bulk and trim back where needed.
- I fold and press the strip carefully. The classic method is to fold the long edges inwards, enclose the raw edge, and topstitch along both sides. On lighter fabric, I sometimes use fusible web instead of extra rows of stitching.
- I cut the strip into individual loops only after it is stitched and pressed flat. That keeps every loop consistent, which matters more than people think once the garment is worn.
- I turn in about 6 mm (1/4 in) at each end before attaching. If I can insert the lower end into the waistband seam, I do that and finish the top end afterwards. It gives a cleaner inside finish and reduces the chance of pull-out.
- I secure the ends with a narrow zigzag or a bar tack. A bar tack is simply a short, dense zigzag that spreads the strain across a tight area instead of relying on one line of straight stitching.
That workflow sounds simple because it is, but the small details matter. Pressing before and after stitching gives a flatter loop, and consistent cutting keeps every keeper the same length. From there, the real work is in placing them where the belt can actually do its job.
Placement and reinforcement that stop loops from failing
This is where loop construction becomes pattern thinking. A beautifully sewn loop placed in the wrong spot still fails to hold the belt properly, and that is usually the mistake I see first.
- I start with the side seams and then space the remaining loops evenly between them and the centre front and back.
- On trousers, I still think in terms of five to seven loops. That range keeps the belt stable without crowding the waistband.
- On skirts and dresses, two side-seam loops may be enough for a sash or a light belt, especially when the belt is more about shape than support.
- If the garment has pleats, pockets, or a side zip, I move the loop rather than forcing it across a bulky intersection.
- I reinforce soft or loosely woven fabric with interfacing or a small backing patch so the loop is not stitching into weak cloth alone.
I also keep a close eye on belt ease. If the loop hugs the belt too tightly, it twists the waistband and wears out faster. If it is too loose, the belt slides around and the garment looks underfinished. I prefer a small amount of ease so the belt can move without wobbling.
Mistakes that make good loops look homemade in the wrong way
Most belt-loop problems are small, but they are obvious once the garment is worn. I tend to look for the same handful of errors every time.
- A loop that is too narrow for the belt will distort the waistband and make threading awkward.
- A thread loop used on a heavy belt will wear out faster than it should.
- Loops that are not pressed properly twist or stand away from the garment.
- Stitching too close to the edge on bulky fabric can cause tunnelling and an uneven finish.
- Loops placed without checking pocket bags, darts, or a zip often end up looking accidental rather than intentional.
Sometimes the right answer is to skip loops altogether and use side adjusters, a self-belt, or a plain waistband instead. I would rather leave a garment clean than add hardware that fights the shape. That judgment call matters as much as the stitching itself, because not every waistline needs the same solution.
The finishing details that make belt loops look deliberate
When I want loops to look properly made, I treat them like a visible part of the garment, not an afterthought. That usually comes down to a few finishing choices that cost almost no extra time.
- I match the thread to the garment when I want the loops to blend in, and I use contrast thread only when I want the stitching to be seen.
- I keep the loop lengths consistent across the whole garment, because uneven loops are noticeable the moment a belt goes on.
- I trim and grade seam allowances where needed so the waistband stays flat instead of building a ridge under the loop.
- I test the belt through the loop before the final stitching. A few millimetres off at this stage becomes very obvious in wear.
- I press the loop after attaching it, not just before, so the finished result sits close to the garment and looks intentional.
When I get the loop shape, reinforcement, and placement right, the rest of the garment immediately looks more considered. The best belt loops are the ones you stop noticing because they simply do their job.
