
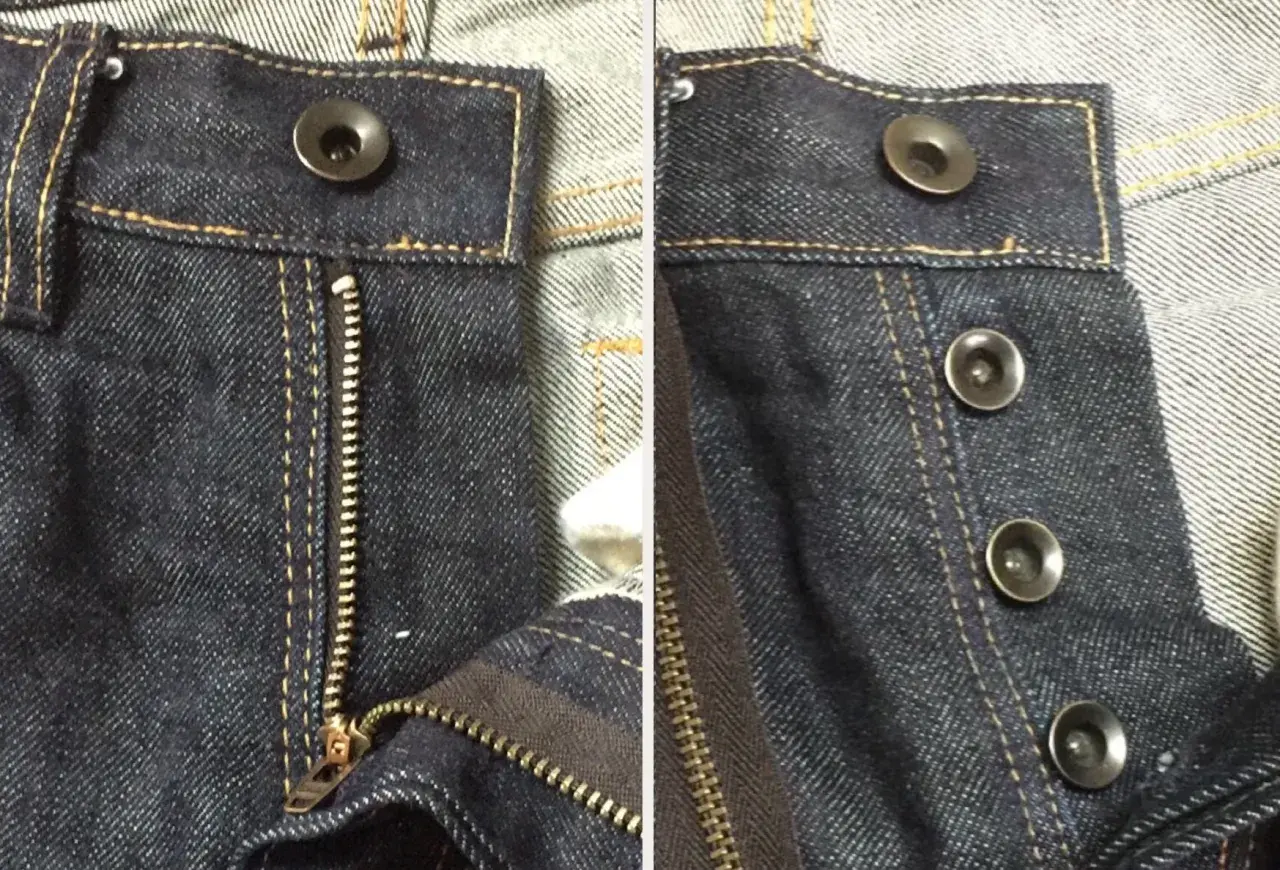
Key things to know before replacing a jeans button
- A jeans button is usually a two-part metal fastener: a visible cap and an internal tack.
- For standard denim waistbands, 17 mm is a very common replacement size in UK sewing shops.
- If the old hole is more than about 3 mm wider than the tack, reinforce the area before fitting a new one.
- Rivets strengthen stress points, but they do not replace the main waistband closure.
- A hammer, mallet, or setting tool can work, but a hard support surface makes the cleanest result.
What a jeans button does in real life
In construction terms, the waistband button is not decoration. It is the point that has to hold the front closure in place every time the wearer sits, bends, or pulls the jeans on quickly. That is why the hardware is usually metal and why it is made as a two-part fastener rather than a simple sew-on button.
The outside cap spreads pressure across the fabric, while the tack on the inside locks the cap in place. On a good pair of jeans, that small piece of hardware feels almost invisible when it works properly. When it fails, though, you notice immediately because the waistband loses both security and shape.
How it differs from rivets and ordinary sew-on buttons
People often mix up denim buttons and rivets, but they are used for different jobs. The waistband button closes the jeans. Rivets reinforce stress points such as pocket corners or seams. A normal sewn button, by contrast, relies on thread and fabric alone, which is usually too weak for a heavy denim waistband.
| Fastener | Main job | Best use | What to watch for |
|---|---|---|---|
| Jeans button | Closes the waistband | Main front fastening on jeans and denim jackets | Needs the right tack length and a firm setting surface |
| Rivet | Reinforces stress points | Pocket corners, seam ends, areas that take repeated strain | Does not fasten the waistband itself |
| Sew-on button | Creates a closure with thread | Lighter trousers, shirts, and some fashion denim details | Can fail faster on thick waistbands if the thread wears out |
| Temporary waist adjuster | Tightens the waist without permanent sewing | Short-term fit tweaks or maternity-style adjustments | Usually less durable and more visible |
Levi Strauss & Co. traces the riveted jean back to the 1873 patent for stronger work trousers, which is a useful reminder that denim hardware was built for hard use from the start. That is why the button and the reinforcement details still matter so much in modern jeans.
How to choose the right replacement for your denim
When I choose a replacement, I start with three things: thickness, size, and finish. A button that is too small can look lost on heavyweight denim, while one that is too large can sit awkwardly and pull the waistband out of line. For standard jeans, 17 mm is a common and safe starting point, and a UK benchmark I checked was a Prym 8-pack at £4.15 from Jaycotts, which gives you a sense of the typical hobby-sewing price range.
Material matters too. Brass is common because it is sturdy and takes plating well. Nickel, antique silver, black, and matte finishes are useful if you want the repair to blend into the garment rather than scream “replacement”. If the jeans are worn daily, I would prioritise a secure fixing system over a decorative look every time.
- Match the weight of the denim. Heavy raw denim needs a stronger tack than soft fashion denim.
- Check the waistband thickness. A thick seam allowance or multiple layers may need a longer post.
- Choose the right finish. Keep the hardware in line with other metal details on the jeans.
- Buy a proper set. Button and tack should be designed to work together, not mixed from random kits.
- Inspect the old hole first. If the fabric is already torn or stretched, the repair needs reinforcement, not just a new button.
That choice stage saves more time than it looks like it should, and it leads naturally into installation, which is where many repairs go wrong.
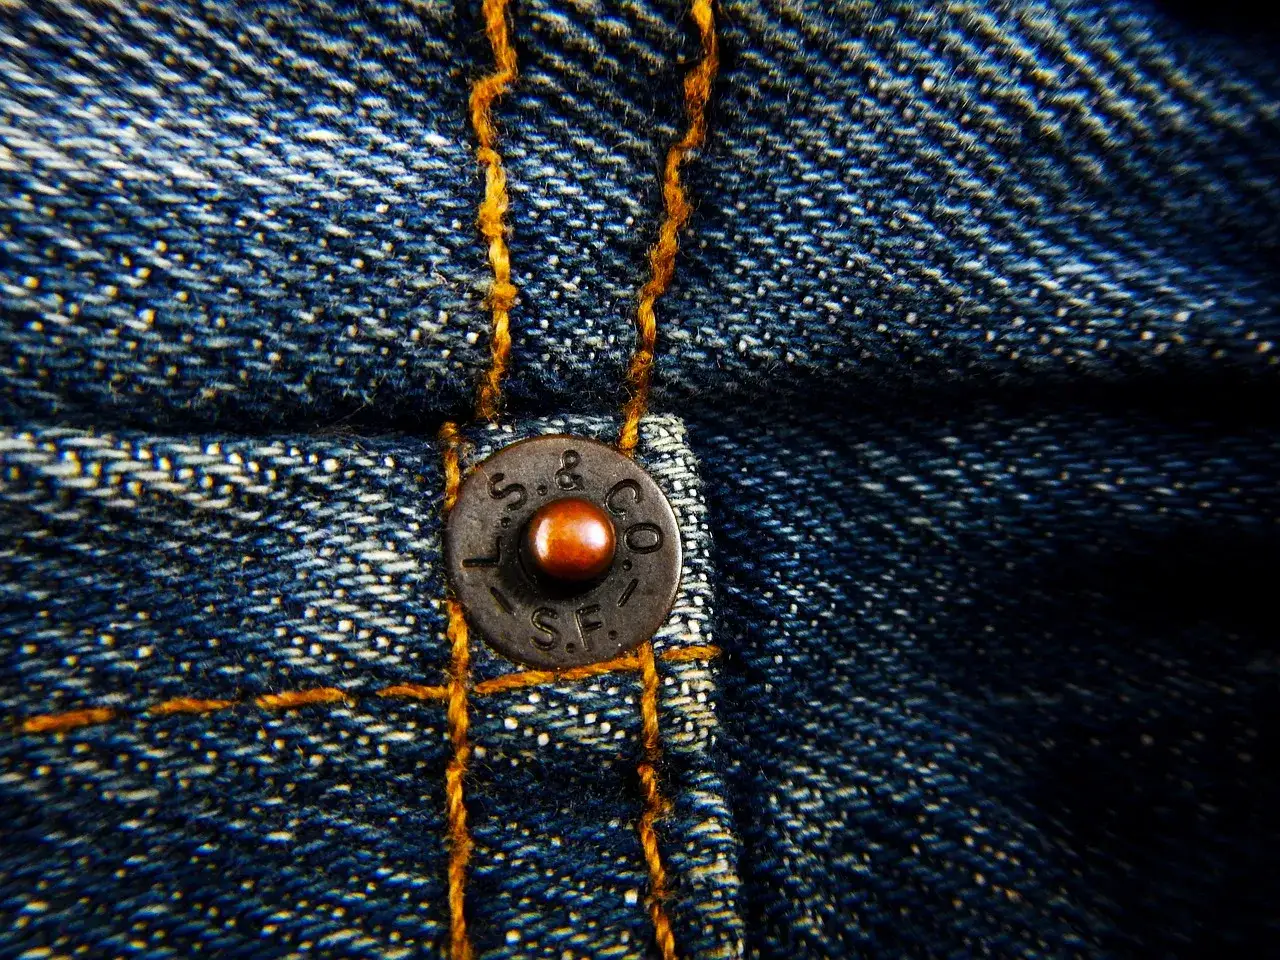
How I fit or replace a jeans button cleanly
If the old button has fallen off, I always inspect the hole before touching the new hardware. A clean hole, a stable waistband, and the correct tack length make the difference between a neat repair and a button that works loose again in a few wears.
- Remove any remaining metal from the old button and clear loose fibres from the hole.
- Check whether the fabric around the hole is frayed or enlarged. If the opening is more than about 3 mm wider than the tack, patch or reinforce it first.
- Mark the exact position so the new button lines up with the buttonhole and sits flat when closed.
- Push the tack through from the inside of the waistband. On thicker denim, I usually start the hole with an awl rather than forcing the metal through.
- Place the cap over the tack, then support the garment on a hard surface such as a bench top or anvil block.
- Set the button with a firm hammer blow or a proper setting tool until the parts lock together snugly.
- Test the closure several times before wearing the jeans out. The waistband should close without twisting or gaping.
One thing I keep repeating to people is this: a soft surface ruins good hardware. If the force from the hammer goes into the workbench instead of the fastener, the button can sit loose, bend, or distort the denim around it.
The mistakes that shorten the life of the button
Most failed repairs are not caused by bad denim. They come from small setup errors that are easy to avoid once you know what to look for.
- Using the wrong tack length. Too short and it will not grip; too long and it can wobble or distort the cap.
- Setting it on a soft surface. That is one of the fastest ways to end up with a loose or uneven finish.
- Ignoring worn fabric. If the hole has started to tear, the new button will simply repeat the failure.
- Mixing up buttons and rivets. Rivets are for reinforcement, not waistband closure.
- Over-hammering. One or two controlled strikes are usually better than repeated force.
- Using decorative hardware on workwear. It may look fine for a while, but it usually does not last as well on heavy denim.
There is also a detail many people miss: some jeans-button tacks are ridged to grip the cap, while rivet posts are often smooth. That small difference matters because the wrong post can feel like it fits at first and still fail under wear.
When to repair, replace, or choose another closure
A missing button is not always just a missing button. Sometimes it is a sign that the waistband itself is tired. If the fabric around the hole is sound, a direct replacement is the right move. If the edge is frayed, layered, or torn, I would repair the fabric first and then fit the new hardware.
If you only need a one- to two-inch waist tweak, a temporary adjuster can be useful, especially for jeans that already fit everywhere else. But if the garment is meant for regular wear, a proper metal tack is the more reliable choice. It gives the front closure the firmness denim expects, and it keeps the line of the fly tidy rather than lumpy.
For a lot of repair work, the real decision is not “button or no button”. It is whether the waistband can still support a proper fastening. Once you answer that honestly, the rest of the repair becomes much simpler.
The small hardware choice that makes jeans feel finished
When I repair jeans, I treat the button as part of the garment’s structure, not an afterthought. If I match the size to the fabric, the finish to the rest of the hardware, and the tack to the thickness of the waistband, the repair usually disappears into the original design.
That is the useful way to think about denim fasteners: the best one is the one you stop noticing because it holds securely, sits flat, and survives regular wear. If the waistband is already damaged, reinforce it first. If the closure is simply missing, choose a proper metal set and install it on a hard surface. The result is not just a functioning button, but a cleaner pair of jeans overall.
