
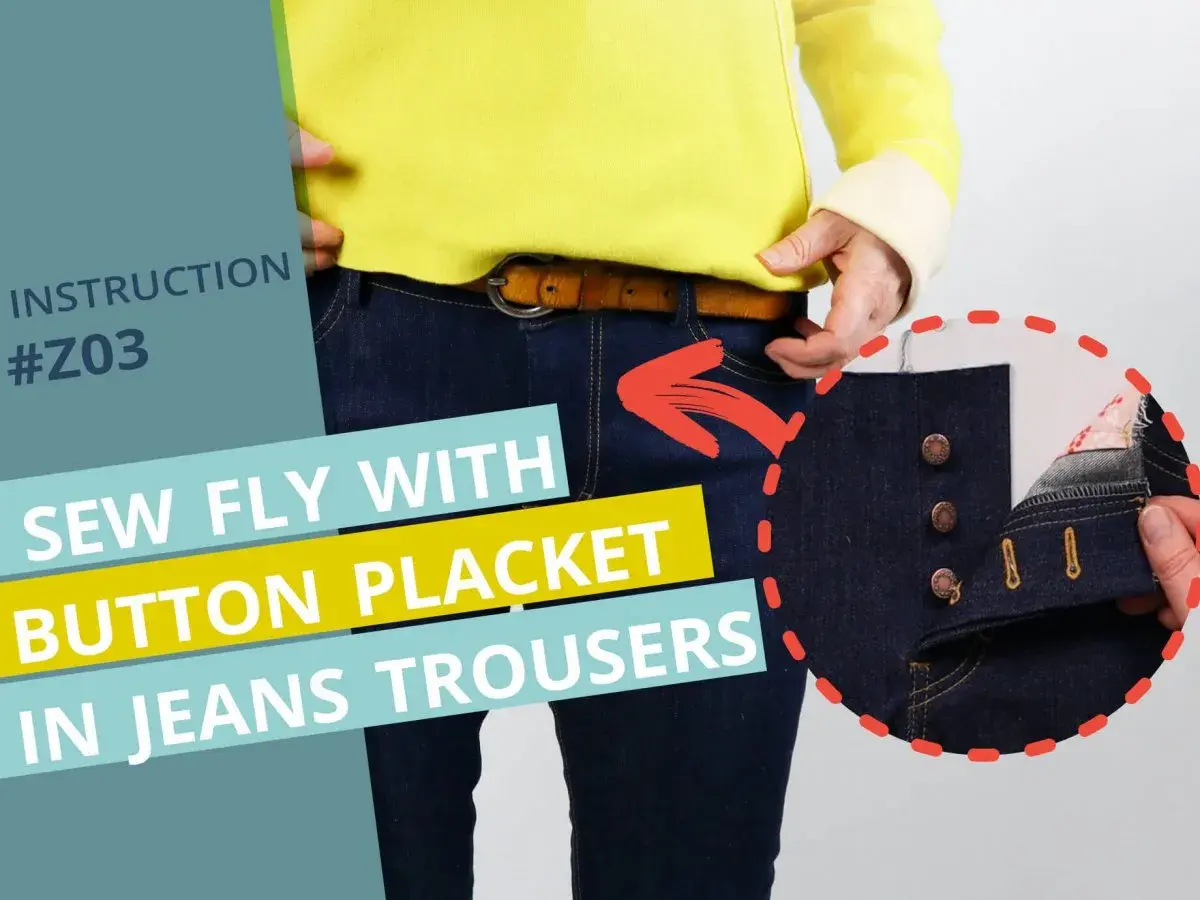
A loose or missing waistband button is one of the easiest clothing repairs to handle at home, and it can save a perfectly good pair of trousers or jeans from sitting unworn. This guide explains how to sew a button on pants, how to choose the right thread and button type, and what to do when the fabric around the opening has already started to tear. I also cover the denim case separately, because a jeans button is usually fixed differently from a stitched trouser button.
What you need to know before fixing a waistband button
- For sewn-through trousers, a doubled thread and a small thread shank give the button room to fasten without cutting into the fabric.
- For jeans, the original button is often a metal tack, so the repair is a setting job rather than a stitch-by-stitch repair.
- If the hole around the fastening is stretched or torn, reinforce it first or the new button will fail again.
- Use the old thread marks or the buttonhole itself to keep the new position aligned with the fly.
- A toothpick, pin, or spare needle is useful as a spacer so the button does not sit flush against thick waistband fabric.
What to fix before you thread a needle
I separate waistband repairs into three groups before I do anything else. A light pair of trousers usually needs a standard sewn button, tailored trousers may need a neater finish on the inside, and jeans often need a replacement metal tack button rather than a stitched one. That distinction matters, because the wrong method can make the waistband stiff, misaligned, or weak at the exact point that gets the most strain.
| Button type | Where it appears | Best fix | Why it matters |
|---|---|---|---|
| Two-hole or four-hole sew-through button | Most trousers and many casual trousers | Hand-sew it with strong thread and a small shank | The button needs room to fasten without pulling the waistband flat |
| Shank button | Some dress trousers and tailored garments | Sew through the attachment point, not across the face | The built-in loop already creates the lift needed for closure |
| Jeans tack button | Denim and heavy casual trousers | Insert and set the tack, then hammer it in place | It is a metal fastener, not a button that is sewn on by thread |
| Torn waistband hole | Worn denim or heavy cotton | Patch or reinforce first, then attach the button | A damaged hole will keep ripping unless the stress is spread out |
Once that is clear, the repair gets much simpler, because the rest is mostly about control, not force.
Gather the right tools before you start
I keep the kit small and practical. For most trousers, I use a needle, 45 to 50 cm of strong thread, small scissors, and the replacement button itself. For heavier fabric, I prefer polyester thread or button thread rather than a soft cotton thread, because it holds up better under repeated fastening. A toothpick, straight pin, or second needle also helps, because it creates just enough space under the button to keep the closure comfortable.
- Needle - a sharp hand-sewing needle that passes easily through the waistband without forcing the fibres apart.
- Thread - strong polyester thread for everyday repairs; button thread for heavy denim or hard-wearing trousers.
- Replacement button - match the size and style of the original if possible, especially on visible front closures.
- Scissors - small, sharp scissors for trimming thread cleanly at the end.
- Marker or chalk - useful if the original stitching has disappeared and you need to mark a fresh position.
- Spacer - a toothpick, pin, or spare needle to create the small gap that becomes the shank.
- Patch material - a scrap of matching fabric or denim if the hole is already weakened.
- Jeans repair tools - a replacement tack button, pliers, and a small hammer or mallet if you are working on denim.
I usually cut thread to a sensible length rather than trying to save time with a long strand. Anything much longer tangles faster than it helps, and a knot in the middle of the repair is rarely worth the compromise. With the tools laid out, the next job is to mark the correct position before the first stitch goes in.
Mark the button position and prep the waistband
If the old stitches are still visible, I use them as a map. If the button fell off cleanly, the tiny holes in the fabric usually still show where it belonged. On trousers, I zip the fly fully first, lay the buttonhole where it naturally closes, and check that the waistband sits comfortably before I commit to a new position.
- Use the original stitch marks if they are still readable.
- Zip the trousers fully so the buttonhole sits in its real working position.
- Mark the centre of the buttonhole with chalk or a washable marker if the old position is gone.
- If you are moving the button to tighten the waist slightly, shift it only a few millimetres and test the fit immediately.
- If the fabric around the hole is frayed, stop and reinforce it before sewing anything through it.
I am careful here because a button placed even a little too far off centre changes how the trousers sit. Too close to the fly, and the waistband feels tight; too far out, and the closure looks awkward and strains the fabric every time it is fastened.
Sew the button by hand without making the waistband stiff
For a standard trouser button, I prefer a double strand of thread with a secure knot at the end. I bring the needle up from the back, make a tiny anchor stitch in an X shape, and then position the button on top of that anchor. A spacer under the button is important on thicker fabric, because the finished button needs a little room to sit above the waistband rather than pinning it flat.
- Thread the needle with about 45 to 50 cm of thread and knot the end securely.
- Bring the needle from the inside to the outside at the marked point and make a small anchor stitch in the shape of an X.
- Set the button on top of the anchor and slide a toothpick or spare needle underneath it as a spacer.
- Pass the needle through the first hole, then back down through the opposite hole.
- Repeat that stitching pattern 6 to 8 times so the button is held firmly.
- If the button has four holes, work one pair first, then the other pair, keeping the stitches neat and balanced.
- On the final pass, bring the needle up between the button and the fabric, wrap the thread around the threads beneath the button 4 to 6 times to form a shank, then finish on the inside with two small knots.
The shank is the small thread stem under the button, and it is what keeps a trouser waistband from feeling over-tight. I do not pull every stitch fully flat, because a button that sits too tightly against the fabric is harder to fasten and wears out faster. Once the button is secure, the denim version needs a different approach, so I switch methods rather than forcing thread through metal hardware.
Treat a jeans button as a tack, not a stitch
Jeans buttons are usually installed as two-piece metal fasteners, so I do not sew them on with thread unless I am repairing the fabric around them. The original button is normally held in place by a tack, and if that tack has torn out, the waistband hole often needs reinforcement before a new one will hold properly. That is the point where many repairs fail: people replace the button but ignore the weakened denim around it.
- Unzip the fly and remove every remnant of the old button or tack.
- Check the hole in the waistband. If it is more than about 3 mm larger than the new tack, patch or reinforce it first.
- Push the tack in from the back of the waistband until it sits flush.
- Place the button piece over the tack and hold both parts aligned.
- Set the jeans face down on a soft flat surface such as leather or soft wood, with a cloth underneath if the button has a logo or finish you want to protect.
- Use pliers to steady the tack, then tap the button straight down with a small hammer or mallet until it is firmly seated.
- Test the repair by buttoning the jeans and pulling lightly on the waistband. The button should not spin or wobble.
If the hole is badly torn, I prefer to sew a small denim patch behind the opening and then set the new tack through the reinforced area. That extra step takes longer, but it is the difference between a temporary fix and one that survives regular wear.
What usually makes the repair fail early
Most button repairs do not fail because the stitching was mysterious or difficult. They fail because the repair ignored the pressure points that trousers and jeans take every day: the strain of sitting, bending, pulling, and fastening. When I see a repair come apart early, it is usually one of these issues.
- Using thread that is too weak for the fabric weight.
- Skipping the spacer, which leaves the button too tight against the waistband.
- Attaching a button over torn or stretched fabric without reinforcement.
- Putting the button back in the wrong place, so the closure pulls sideways.
- Leaving short, insecure knots inside the waistband.
- Hammering a jeans button on a hard surface, which can bend the hardware or damage the finish.
I also pay attention to the way the waistband feels after the repair. If fastening it takes unusual effort, the button is probably too low, too high, or too tight to the cloth. That is the easiest time to correct the problem, before the next wear turns a small mistake into a torn hole.
A small repair kit saves the next pair too
The smartest habit is not the repair itself, but the way you prepare for the next one. I keep a spare button with the garment if there is room, and I store the matching thread colour with my sewing kit so I do not have to improvise later. For jeans, I also keep a couple of replacement tack buttons and a scrap of denim, because those two pieces solve most waistband failures before they become bigger alterations.
If a button starts to loosen, I re-stitch it straight away instead of waiting for it to fall off completely. That small bit of maintenance keeps trousers wearable for longer, and it saves the waistband from the kind of damage that turns a five-minute fix into a proper alteration job.
