
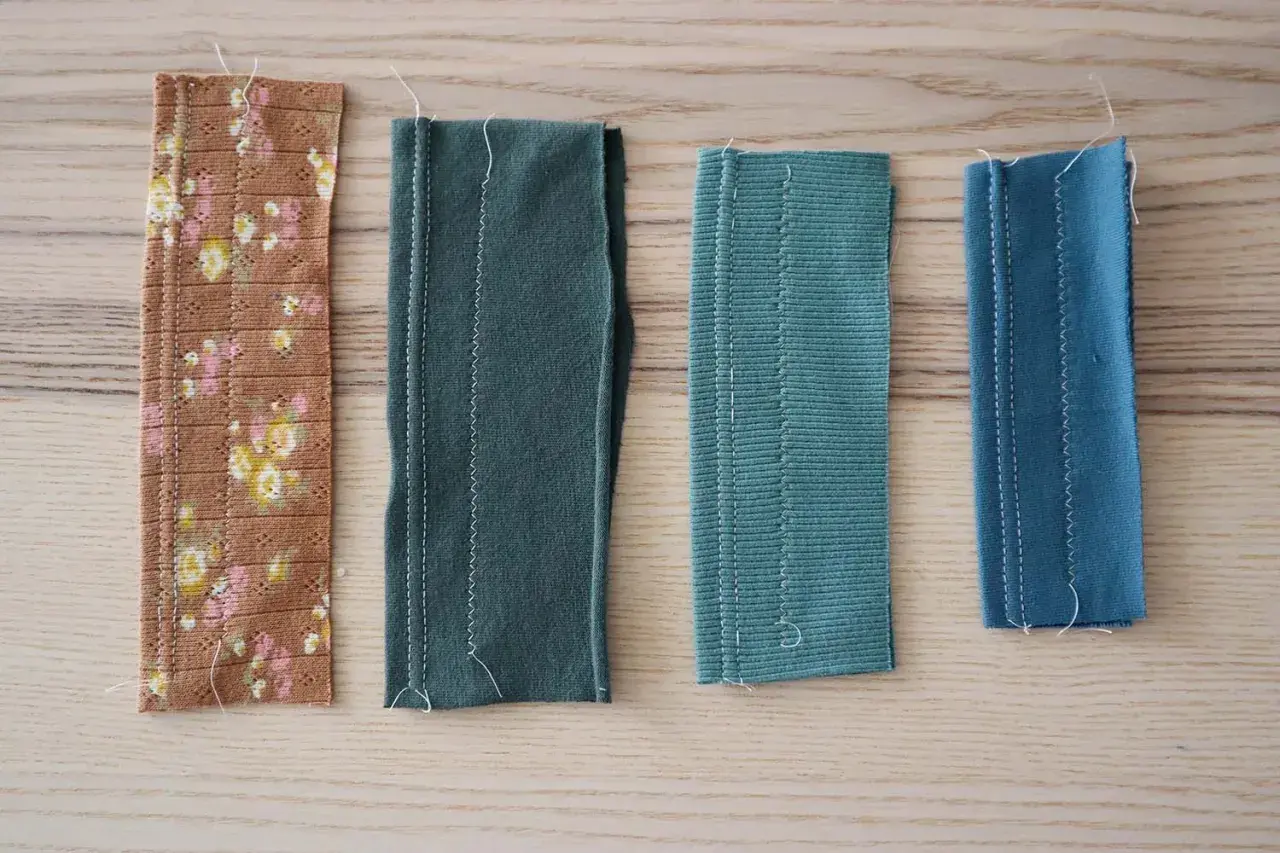
Cut and sew knits usually means garments made from pre-knitted fabric that is cut into panels and stitched together, rather than formed directly on a knitting machine. That distinction matters because the fabric stretches, and the seams must stretch with it, or the garment starts to pop, ripple or lose shape. In this guide, I focus on the production flow, the sewing basics that keep knits stable, and the small decisions that make a big difference in fit and finish.
What matters most before you start sewing knits
- The method is flexible rather than universal: fabric is made first, then cut and sewn into garment pieces.
- A ballpoint or stretch needle is the safest starting point for most knit fabrics.
- Stretch-friendly seams, not a straight stitch, are what keep a knit garment moving comfortably.
- The biggest mistakes are pulling the fabric, skipping test swatches and cutting while the cloth is stretched out.
- Stable knits such as interlock, ponte and rib behave differently from soft jersey, so the fabric type should guide the method.
What this construction method actually is
In the workshop, the order is simple: the fabric is knitted in rolls, finished or dyed, inspected, laid out, cut and then sewn into the garment. I like this route because it gives the designer or maker room to choose colour, print, weight and stretch level without redesigning the knitting process itself. The trade-off is that the seams now carry the load, so the garment depends on stitching that can move with the fabric.
Jersey, rib, interlock, ponte, French terry and fleece all sit in this family, but they behave differently. Jersey drapes, rib recovers, interlock feels more controlled, and ponte gives a cleaner, more structured look. I think of this method as flexible rather than universal: it is brilliant when you want repeatable sizing, fast sampling and design freedom, but it still demands disciplined seam work.
| Method | How it is made | Best for | Main compromise |
|---|---|---|---|
| Cut and sew | Fabric is knitted first, then cut into pattern pieces and sewn together. | T-shirts, leggings, polos, sweatshirts and most jersey-based basics. | More seam and cutting waste, but the most design flexibility. |
| Fully fashioned / knit-to-shape | The garment shape is built during knitting. | Sweaters and premium knitwear with a more engineered look. | Less waste, but less freedom in pattern changes and small adjustments. |
| Seamless / whole-garment | The garment is knitted mostly in one piece on specialised equipment. | Technical knitwear and some advanced fashion pieces. | Special machines, tighter design limits and higher technical demand. |
That is why people talk about negative ease: the finished measurement is often smaller than the body because the cloth is expected to stretch. Once you know where this method sits, the next question is how the garment moves through the workshop.
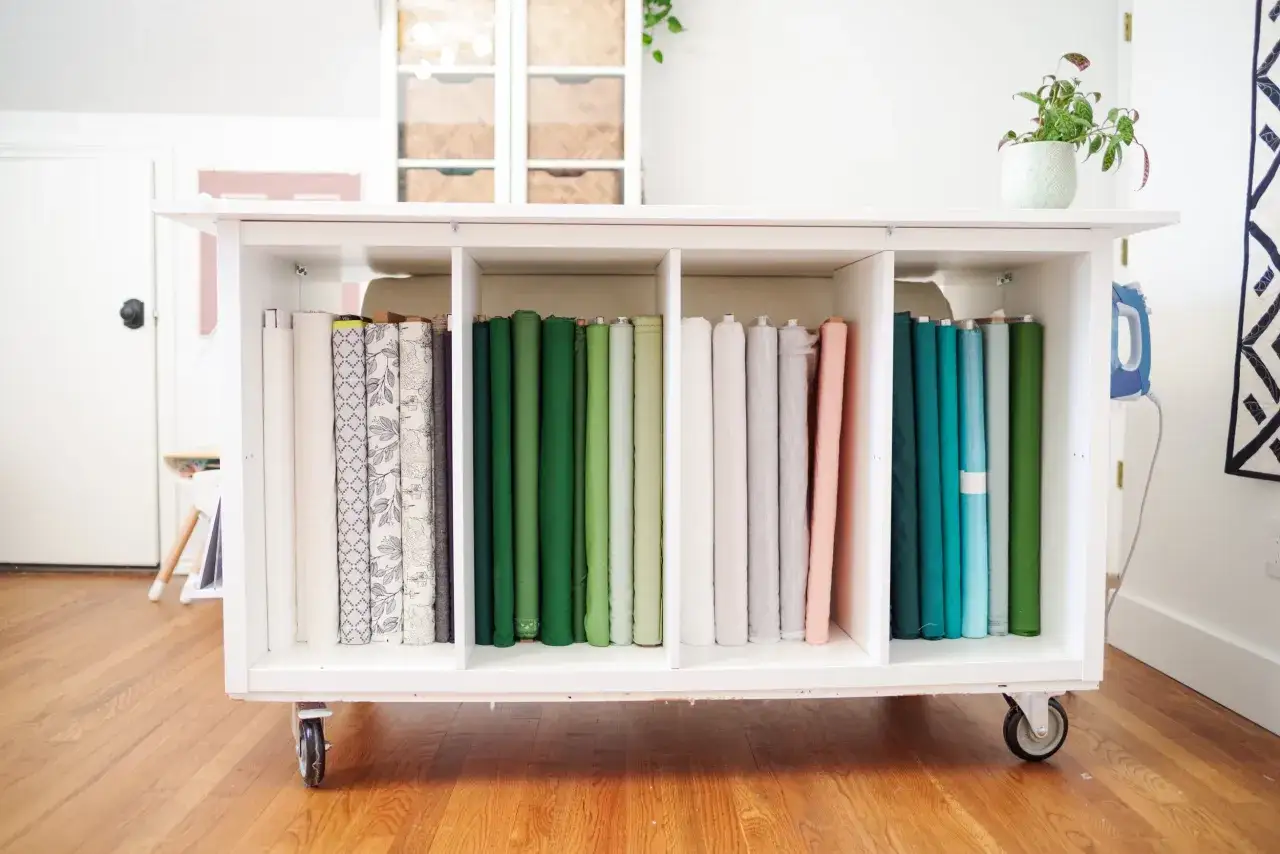
How the production flow works from roll to garment
I think of the process as a chain of small controls. If one link slips, you see it later as twisted legs, wavy hems or a neckline that no longer sits flat.
- Choose the fabric for the job. Stable rib or ponte is easier for close-fitting garments; softer single jersey suits drape and layering.
- Let the cloth relax before cutting. Knit fabric can shift after coming off the roll, so I avoid cutting the moment it lands on the table.
- Lay out with the greatest stretch running across the body and the least stretch running vertically, unless the pattern specifically asks otherwise. The horizontal rows are the courses and the vertical columns are the wales, and once you can read those lines the fabric starts to tell you how it wants to be cut.
- Mark, cut and notch accurately. In production, marker placement decides fabric yield; in a small studio, it decides whether the garment pieces actually match.
- Assemble and finish in a controlled order. Seams come first, then hems, then final pressing, because pressing too early can distort the shape.
A useful technical term here is recovery: how well the fabric springs back after being stretched. A knit with poor recovery may feel fine on the table and then bag out at the elbows or knees after one wear. Once you understand that, the rest of the sewing choices start to make sense.
The needles and stitches that make or break the finish
I rarely blame the fabric first. Most seam failures come from a mismatch between the needle, thread and stitch. A straight stitch is fine for basting or decorative topstitching on a stable knit, but I do not use it as the main seam on anything that has to move.
The good news is that you do not need a complicated setup to get a clean result. An overlocker is useful, but it is not essential. A regular sewing machine with the right needle and a stretch-friendly stitch can handle far more than most beginners expect.
| Tool or stitch | Where I use it | Why it works | What to watch for |
|---|---|---|---|
| Ballpoint needle | Most jersey, interlock and rib | Pushes between loops instead of piercing them | Can skip on very elastic fabrics if the needle is old |
| Stretch needle | Elastane-rich fabric, activewear, swimwear | Reduces skipped stitches on highly elastic cloth | Test thread tension on scraps |
| Narrow zigzag | Regular machine seams | Stretches with the fabric | Too wide looks bulky and can distort light jersey |
| Stretch or lightning stitch | Seams that need extra give | Better recovery than a plain zigzag on some machines | Some versions are awkward to unpick |
| Twin needle | Hems and edge topstitching | Gives a neat ready-to-wear finish with stretch underneath | Can tunnel on thin knits without stabiliser |
| Overlocker | Seam construction and edge finishing | Fast, clean and flexible | Settings still need testing; the machine does not solve bad cutting |
How I cut and assemble knits without stretching them out
The cutting stage is where a lot of knit problems begin. I keep the cloth flat, avoid dragging it over the table edge and use pattern weights or fine pins instead of letting the fabric hang and grow while I work.
- Cut on a stable surface. A rotary cutter and mat help, especially on soft jersey that loves to shift.
- Respect the stretch direction. The greatest stretch usually goes around the body; the least stretch should run lengthwise unless the pattern says otherwise.
- Prewash when the finished garment will be washed. Shrinkage and recovery change after laundering, and I would rather discover that on a swatch than on a finished tee.
- Stabilise only where it earns its keep. Necklines, shoulder seams, pocket openings and hems often benefit from clear elastic, stay tape or wash-away stabiliser.
- Let the machine feed the cloth. Pulling from the front or back stretches seams out of shape and creates ripples that show up after pressing.
- Press gently. I lift and lower the iron instead of dragging it, because slide-and-press can distort a soft knit almost as quickly as an aggressive seam.
For home sewing, a 6 mm to 15 mm seam allowance can work well depending on the pattern and the machine setup, but I care more about consistency than about chasing a magic number. In production, that consistency is even more important because small cutting errors get multiplied across the whole batch. Once the pieces are cut cleanly, the real test is whether the first sample reveals any weak points.
The mistakes that show up first in knit samples
When a sample goes wrong, the symptoms are usually obvious. What takes time is connecting the symptom to the real cause, so I use a simple cause-and-fix mindset instead of guessing.
| Problem | What is usually happening | What I change first |
|---|---|---|
| Popped seams | The seam cannot stretch as much as the fabric | Switch from a straight stitch to a stretch stitch or overlocker seam |
| Wavy seams or hems | The fabric was stretched while sewing or pressing | Lower presser foot pressure if possible, stop pulling the fabric and check differential feed |
| Skipped stitches | Wrong needle, blunt needle or poor thread match | Change to a fresh ballpoint or stretch needle and retest |
| Tunnelled hems | The hem is too tight or unsupported | Reduce tension and use a twin needle with a stabiliser backing |
| Twisted or distorted necklines | The piece was overhandled or cut before it relaxed | Stabilise earlier and recut only after the fabric settles |
The biggest beginner mistake is assuming every knit behaves the same. A stable ponte, a soft single jersey and a high-stretch activewear knit all ask for different handling, and they do not forgive the same errors. If I see the same fault twice in a row, I stop sewing and retest on scraps; that habit saves more garments than any clever trick. That is also why choosing the right setup matters before you start a production run.
The setup choices that save the most time later
If I were setting up a small studio, I would spend money in this order: needles, test fabric, thread, then machine extras. A decent overlocker is helpful, but clean samples come from matching the fabric, stitch and handling method, not from buying more gadgets.
- Keep jersey, stretch and twin needles in 70/10, 80/12 and 90/14 so you can match weight quickly.
- Use polyester thread as a reliable default for seams and hems.
- Build a test library of swatches showing the stitch, tension and presser-foot setting that worked.
- Standardise your cutting and pressing order so every piece is treated the same way.
- For repeated styles, document the fabric type, seam type and hem finish so the next run starts from a known good setting.
- Wash-test the first sample before approving the whole run, because recovery and shape retention only become obvious after laundering.
The longer I sew knits, the more I trust repeatable process over instinct. If the fabric is allowed to relax, the seam is allowed to stretch and the first swatch is treated like a real sample, cut-and-sew knitwear becomes a predictable process rather than a frustrating one.
