
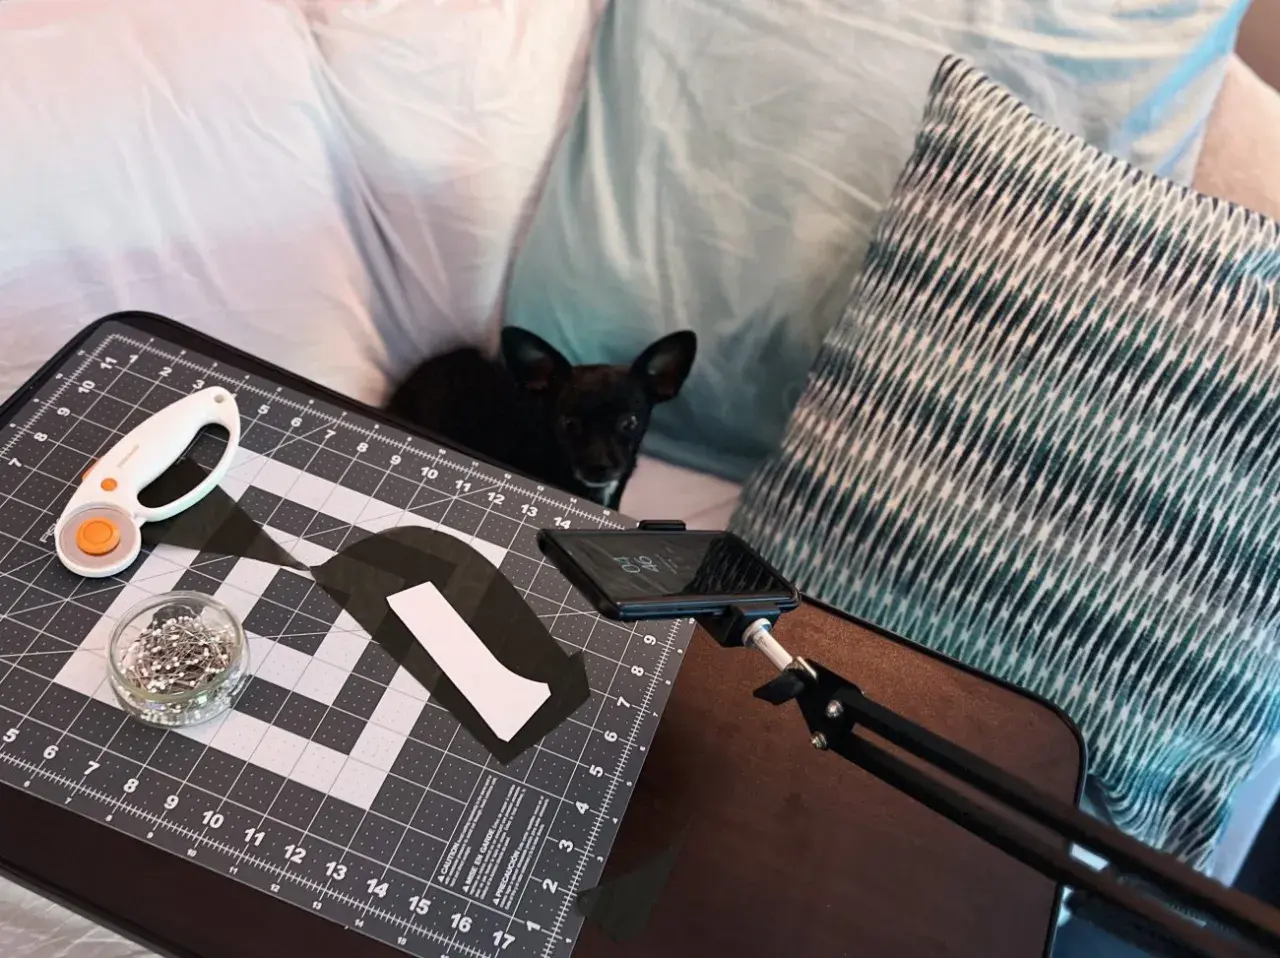
Sewing becomes much more satisfying when the awkward parts stop draining your hands, eyes, or shoulders. The right adaptive sewing tools can remove the bottlenecks around threading, cutting, measuring, and holding fabric steady, so the craft feels creative again instead of exhausting. In this guide I focus on the tools that genuinely change the sewing experience, how to choose them for different needs, and how to build a practical UK-friendly setup without overspending.
The quickest wins are threading help, safer cutting, and a stable work surface
- Start with the task that causes the most friction, not with the most expensive specialist product.
- Threaders, tactile tape measures, and self-opening scissors solve a surprising amount of everyday sewing difficulty.
- Fabric support matters as much as hand strength; non-slip mats and workstands can reduce strain fast.
- Low vision and reduced grip need different fixes, so it helps to match the aid to the barrier.
- UK prices vary a lot, from small aids around £4 to specialist controls that are quoted individually.
What these aids actually change
I usually divide sewing difficulty into four practical problems: getting thread into the needle, keeping the work still, cutting accurately, and seeing what is happening at the seam or machine. If one of those steps is tiring or painful, the whole hobby starts to feel slower and more frustrating than it should.
- Threading is often the first barrier when eyesight or fine motor control is limited.
- Cutting and unpicking become difficult when grip strength is low or the hand tires quickly.
- Measuring and marking get unreliable when standard tape marks are hard to see or hard to read by touch.
- Stabilising fabric matters when one hand is doing most of the work or when tremor makes the material shift.
- Operating the machine becomes the issue when pedals, knobs, or reach demand more than the body can comfortably give.
That is why accessible sewing is rarely about one miracle product. It is usually about removing two or three tiny obstacles that add up to fatigue, and once you see the problem that clearly, the right fix is much easier to choose.
Which tools I would choose first
If I had to build a beginner-friendly accessible kit from scratch, I would start with a threader, a better cutting tool, and a tactile measure. Living Made Easy’s sewing listings are a useful snapshot of the UK market: basic threaders, tactile tape measures, workstands, self-opening scissors, lighted seam rippers, and specialist machine controls all sit in the same small ecosystem, which tells you something important. You often do not need a full overhaul to make sewing workable.
| Problem | Best starting aid | Why it helps | Typical UK spend |
|---|---|---|---|
| Needle threading | Needle threader or self-threading needle | Reduces the tiny, precise hand movement that causes most frustration | About £4 to £7 |
| Measuring by touch | Tactile tape measure | Marks can be felt as well as seen, which helps when vision or concentration is variable | About £4 to £15 |
| Cutting with weak grip | Self-opening scissors or mounted table-top scissors | Reduces squeeze demand and can support one-handed use | About £7 to £31 |
| Ripping out stitches | Lighted seam ripper | Gives better visibility and a safer, more controlled blade position | About £9 |
| Keeping fabric stable | Non-slip mat, workstand, or clamp support | Stops the work from sliding while you pin, mark, or stitch | Often £10 to £40+, or POA |
| Machine control | Specialist remote or variable-speed control | Removes dependence on a standard foot pedal or awkward reach | Usually POA |
My rule is simple: choose the aid that removes the most effort from the most repetitive task. If threading is the daily headache, fix threading first; if cutting is the problem, do not spend money on a machine control before you solve the scissors.
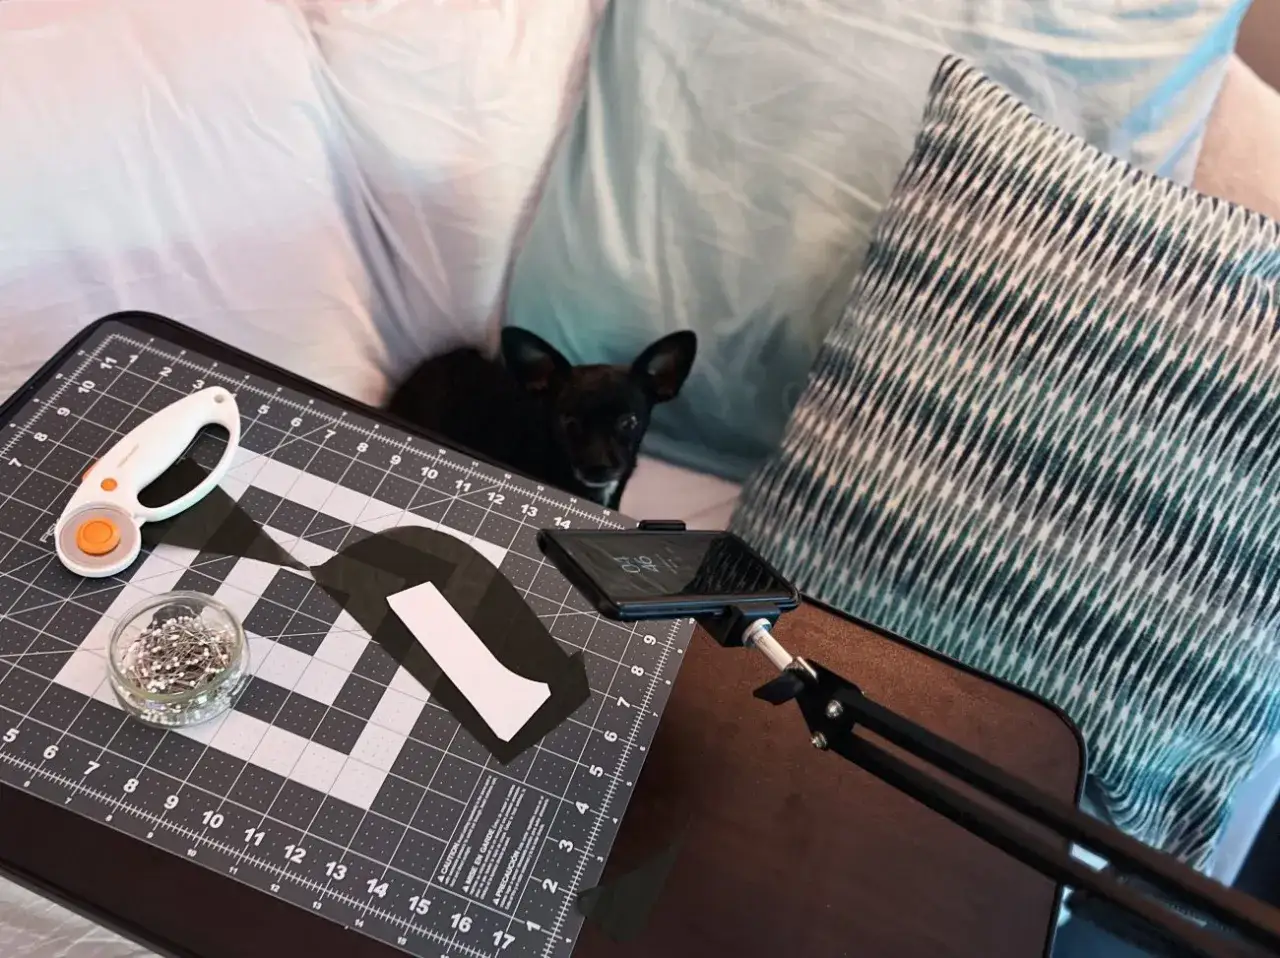
Building a workspace that does not fight you
A good sewing station should reduce movement, not just look tidy. I prefer to arrange the room so the tools sit inside a short reach zone, the fabric does not slide around, and the strongest light falls exactly where the needle and seam line are.
- Keep the chair and table at a usable height so shoulders are not lifted or hunched for long stretches.
- Use a non-slip mat or workstand when you need fabric to stay put while you thread, pin, or mark.
- Place the most-used tools on one side only so you are not hunting across the table every minute.
- Add task lighting for threading, seam ripping, and top-stitching; overhead light alone is rarely enough.
- Label storage by touch or contrast so bobbins, needles, clips, and rulers stay easy to sort without guessing.
If the workspace is set up well, you can spend your energy on the actual sewing rather than on the choreography around it. That is also why the next layer matters: the sewing methods themselves should be adjusted to fit the body, not the other way around.
Sewing techniques that stay practical when access is limited
Tools help, but technique is where the gains stick. The habits below lower the number of precision moves you need to perform, which matters whether the issue is pain, tremor, low vision, or limited reach.
Make threading and marking less demanding
- Pre-cut thread lengths before you start, so you do not keep stopping for the same small job.
- Use a needle threader consistently, even if you can sometimes do it by hand; saving energy early keeps the whole session smoother.
- Choose thread and fabric with strong contrast when vision is limited, because matching tones make errors harder to spot.
- Mark seam starts, stops, and right sides clearly with tactile dots, clips, or high-contrast markers.
Cut and sew in ways that reduce strain
- Prefer self-opening or table-top scissors if squeezing is the main problem.
- Keep a medium stitch length, roughly 2.5 to 3 mm, when you are practising; it is easier to control than tiny stitches and easier to unpick if needed.
- Use clips instead of pins if pinning hurts your hands or if reduced sensation makes sharp points less safe.
- Baste first on tricky seams so you can check alignment before committing to a permanent stitch.
Read Also: Essential Sewing Tools - Start Smart, Sew Better
Work by touch when vision or concentration fluctuates
- Lay tools in the same order every time so your hands learn the layout.
- Keep the seam ripper in a fixed, safe spot rather than loose in a box.
- Use simple pattern pieces first, because complex curves ask for more visual checking and more corrections.
- Pause before a long run of stitching to realign the fabric, especially if fatigue makes fine adjustments less reliable.
These are small changes, but they make sewing more predictable. Once the technique is calmer, the real question becomes cost: what should a practical setup actually budget for in the UK?
What I would budget for in the UK
Price is where expectations often drift. A few of the most useful aids are inexpensive, but the moment you move into machine control or fully bespoke adaptation, the numbers change quickly. GOV.UK is clear that VAT relief applies to goods designed solely for disabled people, not ordinary tools that merely happen to be easier to use, so the design matters as much as the function.
| Budget band | What it usually covers | My read on the value |
|---|---|---|
| Under £15 | Needle threaders, tactile tape measures, lighted seam rippers, clips | Best place to start if you want a quick win with very little risk |
| £15 to £40 | Self-opening scissors, push-down scissors, task lighting, better storage aids | Good for reducing strain in the cutting and setup stages |
| £40 to £100 | Talking tape measures, stronger lighting, more robust supports | Worth it when low vision or fatigue is the dominant issue |
| POA / specialist quote | Wireless machine controls, custom machine setups, installed adaptations | Only worth chasing once you know the simpler aids are not enough |
For a small starter basket, I would expect roughly £20 to £50 to make a noticeable difference. A more serious accessible sewing station can land much higher once you add lighting, support, and machine-level aids, so I would always test the cheaper fixes first before commissioning anything custom.
The setup I would build first if I were starting from scratch
If the goal is simply to sew again with less friction, I would not buy everything at once. I would choose one tool for threading, one for cutting, and one for stabilising the fabric, then live with that combination for a week or two before adding anything else.
- First choice is a needle threader or self-threading needle.
- Second choice is self-opening scissors or a mounted table-top cutter if one hand is doing most of the work.
- Third choice is a tactile tape measure plus a non-slip surface or workstand.
- Only after that would I add machine controls, magnification, or bespoke mounting.
That approach keeps the setup affordable and prevents overbuying the wrong aid. The best accessible sewing room is the one that lets you stay on task, keep your hands calm, and spend more attention on the fabric than on the workaround.
