
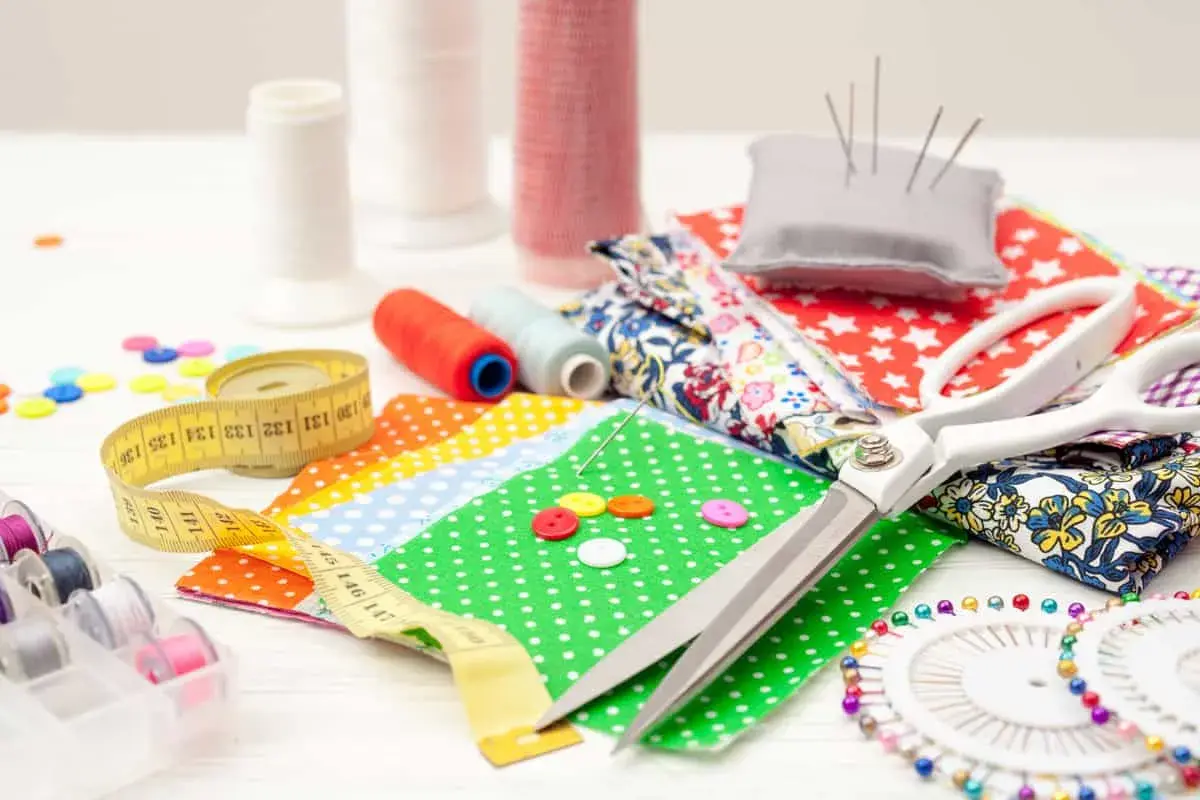
Every beginner sews faster when the tools are simple, clear, and chosen for actual use rather than novelty. This guide to 10 sewing tools with names covers the essentials I would put in a beginner's sewing box, plus what each item actually does at the table or machine. I am keeping it practical: the goal is to help you measure accurately, cut cleanly, mark fabric properly, fix mistakes without panic, and build habits that make sewing less frustrating.
The essentials at a glance
- The core tools are dressmaker's shears, a tape measure, seam ripper, tailor's chalk, and pins.
- Tools like a pin cushion, needle threader, seam gauge, and thimble make the basics easier, especially for hand sewing.
- Choose tools with clear metric and imperial markings if you sew in the UK.
- For a workable starter kit, I would budget roughly £25-£60 depending on quality and whether you buy in a bundle.
- A seam ripper is not a sign of failure; it is part of sewing cleanly and correcting work properly.
The ten tools I would put in a beginner sewing box
I treat a sewing kit as a workflow, not a random shopping list. These are the ten tools I would start with because they cover measuring, marking, cutting, holding, stitching, and fixing mistakes without forcing you to buy a pile of extras you do not need yet.
| Tool name | What I use it for | Why it matters |
|---|---|---|
| Dressmaker's shears | Cutting fabric cleanly and accurately | A sharp dedicated pair gives you neater edges and less fraying. |
| Tape measure | Measuring body sizes, pattern pieces, and finished garments | A flexible tape is essential when flat rulers cannot follow shape. |
| Seam ripper | Unpicking stitches and removing mistakes without damaging fabric | It saves time, fabric, and a lot of frustration when something goes wrong. |
| Tailor's chalk | Marking hems, darts, seam lines, and placement points | Clear temporary marks are safer than guessing once you start stitching. |
| Sewing pins | Holding layers in place before and during stitching | They keep seams aligned and reduce shifting on slippery fabric. |
| Pin cushion | Storing pins where I can reach them quickly | It keeps sharp points controlled and stops pins from disappearing into the table. |
| Hand sewing needles | Basting, repairs, finishing, and small hand-sewn details | Even if you use a machine, hand needles solve a surprising number of problems. |
| Needle threader | Threading small needle eyes more easily | It is a small tool, but it saves time and eye strain, especially with fine thread. |
| Seam gauge | Checking hems, seam allowances, button spacing, and small measurements | It is more precise than eyeballing short distances. |
| Thimble | Protecting a finger when pushing a needle through dense fabric | It helps with thicker materials and makes hand stitching more comfortable. |
If you sew mostly by machine, you will still use almost all of these. The main difference is that hand needles, a threader, and a thimble move into a support role rather than disappearing altogether. Keep one rule in mind: fabric shears should stay for fabric only, because cutting paper or packaging with them dulls the blade faster than most beginners expect. Once the kit is in place, the next question is how to choose versions that feel good in the hand and do not waste money.
How I decide which tools earn a place
I look for three things: control, readability, and comfort. A tape measure should be easy to read in both centimetres and inches, because UK sewing patterns and haberdashery often mix the two systems. A pair of shears should cut without forcing your hand open, and a seam ripper should feel precise rather than flimsy.
Hobbycraft currently lists a 150cm metric and imperial tape measure at £2.80, tailor's chalk at £3.80, a seam ripper at £2, and fabric scissors at £11, which is a useful reminder that beginner tools do not need to be expensive. In practice, I would rather see a learner buy a few reliable basics than a large mixed set where half the pieces never leave the box.
- Buy sharp cutting tools before decorative extras.
- Prefer tools with clear metric and imperial markings if you sew in the UK.
- Choose pins that suit your fabric; fine pins are kinder to delicate cloth.
- Keep a simple storage system so needles and pins do not vanish between sessions.
- Skip oversized bundles unless you know you will use most of the pieces.
That approach keeps the kit focused, and it also makes the tools easier to learn by feel. Once you know what belongs in the box, the real value comes from using them in the right order on an actual project.
How I use them on a real project
On a typical beginner project, I start with the tape measure and seam gauge, because accuracy at the beginning prevents avoidable problems later. Then I mark the fabric with tailor's chalk, pin the pieces together, and cut with dressmaker's shears. If I need to test a fit first, I use basting stitches, which are temporary stitches that hold pieces together before the final seam goes in.
- Measure the body, pattern, or fabric piece with the tape measure.
- Check smaller distances with the seam gauge, especially hems and seam allowances.
- Mark placement lines with tailor's chalk so the stitching has a clear guide.
- Pin the layers so they stay aligned while you sew.
- Cut fabric with shears, keeping the blade on cloth only.
- Use hand sewing needles for basting, quick repairs, or detail work.
- Thread fine needles with a needle threader when the eye is too small or the thread is slippery.
- Reach for the seam ripper if the line of stitching needs to come out cleanly.
- Use a thimble when the fabric is thick enough to make pushing the needle uncomfortable.
This sequence matters because each tool solves a different problem, and they work best as a set rather than as isolated gadgets. If you follow that order, the next issue is not technique but the mistakes that quietly make sewing harder than it should be.
Mistakes that waste time and fabric
The most common beginner mistake is using the wrong cutting tool. Paper scissors on fabric will dull quickly, and dull shears produce jagged edges that make later stitching harder. The second mistake is marking with something that does not come out cleanly, especially on light or delicate cloth.
- Using paper scissors for fabric cuts.
- Buying blunt shears because they look fine in the shop.
- Marking with a pen that leaves a permanent stain.
- Pinning too loosely, which lets slippery fabric shift out of shape.
- Pinning too aggressively on delicate fabric, which can leave holes.
- Guessing seam allowances instead of checking them with a seam gauge.
- Waiting too long to use the seam ripper and then trying to force a bad seam into place.
I see one more mistake often: people buy lots of novelty accessories before they own the basics that make sewing easier every day. A cleaner, smaller kit usually produces better results because you know exactly where each tool is and what it is for. That is the point where building a first kit becomes much simpler.
What I would buy first for a lean starter kit
If I were starting again in the UK, I would buy five items first: dressmaker's shears, a 150cm tape measure, sewing pins, tailor's chalk, and a seam ripper. Those five cover the essentials of measuring, marking, cutting, holding, and correcting, which is enough for most beginner projects. After that, I would add hand sewing needles, a needle threader, a pin cushion, a seam gauge, and a thimble in the order that matched the kind of sewing I was actually doing.
That order also keeps spending under control. A sensible first kit usually sits somewhere in the low tens of pounds rather than turning into a big purchase, and it can grow naturally as your projects get more precise. For machine sewing, I would still keep the hand needles and seam ripper close; for hand sewing, I would move the thimble and needle threader much higher on the list.I prefer that lean approach because it teaches the order of sewing, not the habit of collecting gadgets. A small kit that you know by touch will help you more than a crowded box full of tools you barely recognise.
