
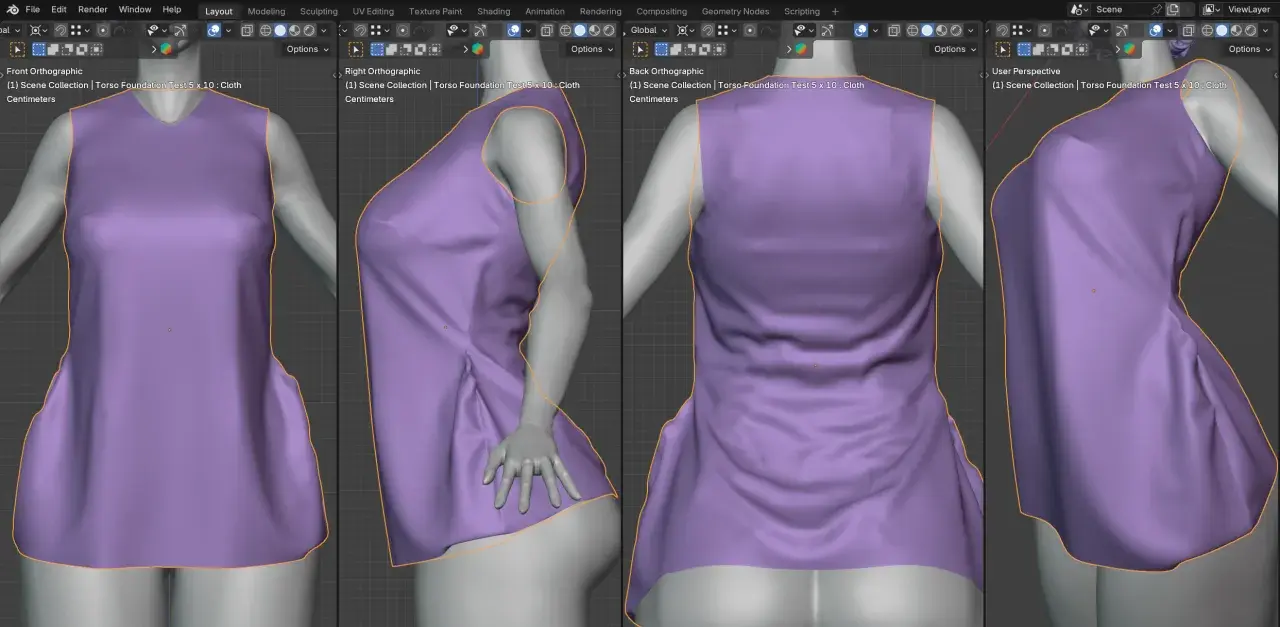
Garment side seams do more than join fabric panels: they shape the body line, influence how a skirt or top hangs, and often decide whether a garment feels polished or slightly off. In this guide I look at what they do, how to sew them cleanly, which finishes suit different fabrics, and how to fix the fit problems that show up when the line is not quite right. The focus is practical, so you can use the same advice at the machine, at the pressing board, and during fitting.
What matters most before you start sewing
- The side seam is a fitting line as much as a construction line.
- Accuracy at the notches, grainline, and seam allowance matters more than speed.
- Pressing is not optional; it changes how the garment hangs.
- Woven fabrics, knits, and sheer fabrics usually need different seam finishes.
- Many fit issues show up first at the side line, not at the neckline or hem.
What the side seam actually does in a garment
A side seam sits on the outer edge of a garment where the front and back panels meet. On a dress, skirt, shirt, or pair of trousers, it helps turn flat fabric into something that follows the body without feeling boxed in. I treat it as one of the most useful balance lines in sewing, because it tells me quickly whether the pattern is hanging evenly or drifting out of alignment.
That matters because a garment can be technically sewn together and still look wrong. If the line swings forward, backward, or ripples, the eye reads that as poor fit even when everything else is neat. In other words, the seam is doing structural work and visual work at the same time, which is why I pay attention to it long before the final hem goes on.
Once you see it as both a join and a reference point, the actual sewing becomes much easier to judge.
How I sew a clean side seam on the machine
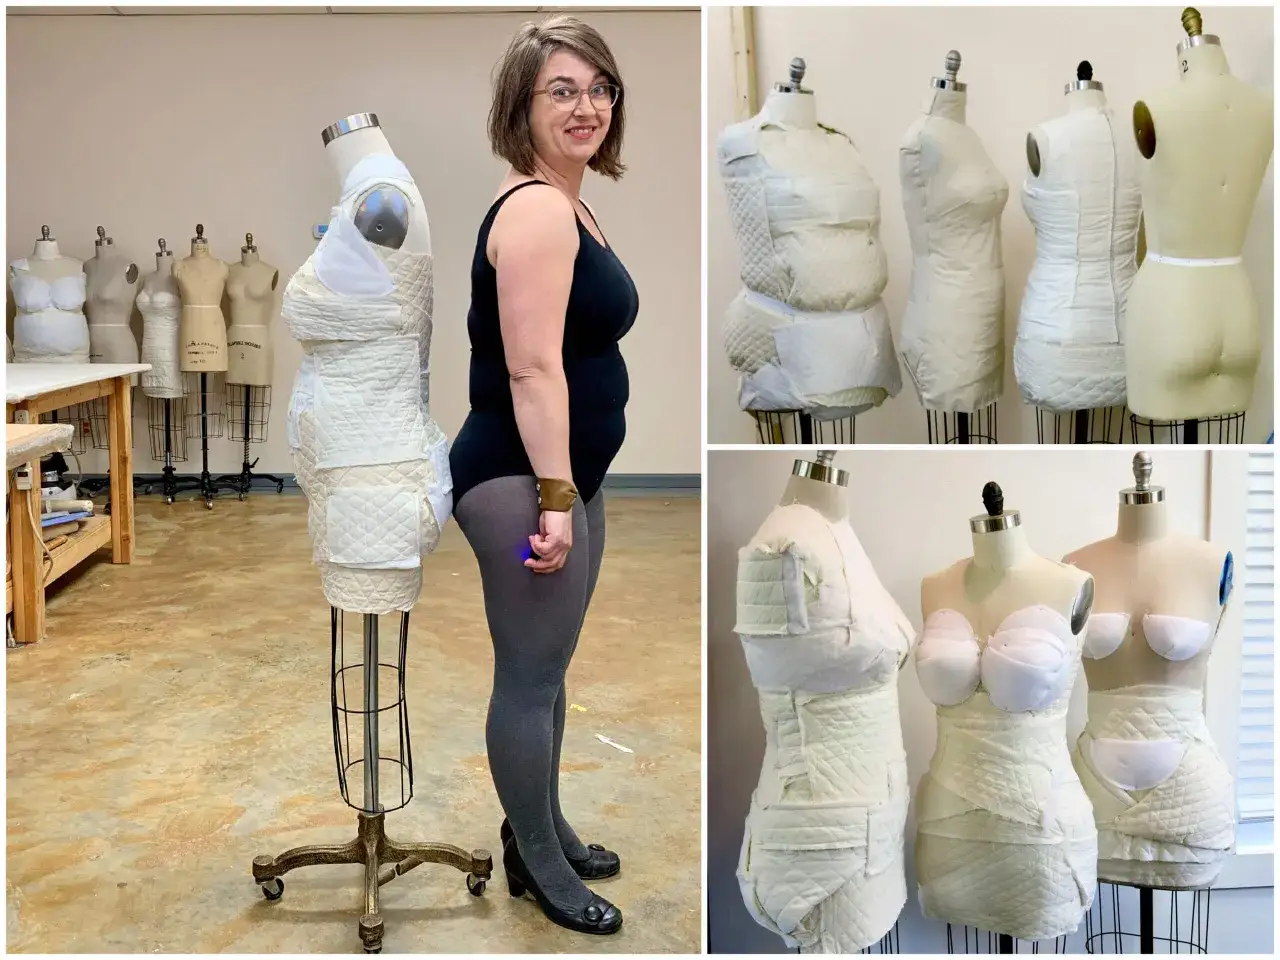
For most garments, I start by placing the fabric pieces right sides together and matching the notches before I touch the machine. If the fabric is slippery or the shape is curved, I pin more often than feels necessary; it is faster than unpicking a drifting seam later. Most commercial patterns in the UK use a 1.5 cm seam allowance, so I check that my stitch line stays consistent from top to hem.
- Match the notches, raw edges, and waist or hip marks first.
- Pin or clip every few centimetres so the fabric cannot creep.
- Sew a test line on a scrap if the fabric is new to you.
- Use a straight stitch for woven fabric, usually around 2.5 mm long.
- Backstitch at the start and end unless another seam will secure the edge.
- Press the seam before you decide whether it is correct.
For woven fabric
Woven cloth usually behaves best with a standard straight stitch and a fresh universal needle. I keep the presser foot pressure light enough that the layers do not shift, but not so light that the feed dogs stop controlling the fabric. If the cloth is crisp, like cotton poplin or linen, I press the seam open only after I have checked that the stitching line is truly even.
Read Also: Sew a Visible Zip - Make it a Design Feature, Not a Flaw
For knits
With jersey or rib knits, I reach for a stretch stitch, a narrow zigzag, or an overlocker, depending on the fabric weight and the garment style. I do not pull the fabric while sewing, because that is one of the quickest ways to end up with a wavy edge. A ballpoint needle and a slightly longer stitch usually give a cleaner result than forcing the fabric to behave like a woven.
When the stitching is sound, the next decision is how to finish the inside cleanly without adding bulk.
Which seam finish suits the fabric best
The right finish depends on the fabric, the amount of wear the garment will take, and how much bulk I can afford inside the seam. A quick overlocked edge is ideal for many everyday garments, but it is not always the most elegant answer. For delicate or high-end makes, I often choose a finish that looks as considered on the inside as the outside.
| Finish | Best for | Strengths | Limits |
|---|---|---|---|
| Overlocked edge | Most everyday woven and knit garments | Fast, neat, and flexible | Not the cleanest choice for sheer fabrics |
| French seam | Lightweight silk, voile, and other fine fabrics | Encloses raw edges and looks refined | Too bulky for thick cloth or sharp curves |
| Flat-felled seam | Denim, workwear, and hard-wearing pieces | Very strong and durable | Adds bulk and takes more time |
| Zigzag or turned-and-stitched finish | Projects without an overlocker | Simple and accessible | Less robust than an overlocked or felled seam |
I usually choose the simplest finish that still suits the fabric. A delicate blouse does not need the same treatment as a pair of jeans, and over-engineering the inside often creates more bulk than durability. The key is matching the finish to the job rather than defaulting to whatever machine is closest.
How fit problems show up along the seam line
If a garment looks fine on the hanger but awkward on the body, I check the side line before I blame the neckline or sleeve. That seam is often the first place where a fitting issue appears, because it reveals whether the front and back panels are sharing the body evenly. A small shift there can change the whole silhouette.
- If the line swings toward the front, the garment may need more room over the bust or more balance through the back.
- If it swings toward the back, the opposite is often true, or the garment may be hanging off grain.
- If the hem rises at one side, the side length or hip balance is probably off.
- If diagonal drag lines point from bust or hip toward the seam, the garment is either too tight or being forced into the wrong shape.
My usual fix is simple: I baste first, stand the wearer naturally, and adjust only one change at a time. On skirts and trousers especially, I measure from the floor to the hem on both sides, because the eye can miss a mismatch that a tape measure catches instantly. Once the fit is balanced, the garment usually looks far more expensive without any extra decoration.
That leads straight to the problems that happen after stitching, because a good fit can still be ruined by poor handling.
Common problems and the fixes I reach for first
Most seam issues are not mysterious. They usually come from one of four places: the needle, the stitch settings, the way the fabric was handled, or the way the seam was pressed. I start there before I make the pattern more complicated than it needs to be.
| Problem | Likely cause | What I do |
|---|---|---|
| Puckering along the seam | Wrong needle, tension too tight, or stitching too close to the edge | Change the needle, test the tension, and press gently rather than dragging the iron |
| Wavy knit seam | Fabric stretched while sewing | Use a stretch-friendly stitch, reduce handling, and support the fabric as it feeds through |
| Bulk at the hip or underarm | Too much seam allowance trapped in one place | Trim, grade, and press in stages before adding topstitching |
| Seam twisting after washing | Fabric cut off grain or stretched before stitching | Check grainline, prewash appropriately, and let the garment relax before hemming |
When I see repeated trouble in the same place, I stop treating it as a stitching mistake and start treating it as a pattern or fabric issue. That shift saves a lot of time, especially on garments made in a fabric with obvious stretch or bounce.
The finishing habits that make the garment look deliberate
The small routines are what separate a competent make from one that feels genuinely polished. None of them are dramatic, but each one removes a little friction from the process and improves the final drape.
- Press after each seam, not just at the end.
- Trim and grade seam allowances where several layers meet.
- Stay-stitch or stabilise lightweight areas before they stretch out of shape.
- Use the same seam allowance on both panels so the line stays true.
- Test your stitch settings on a scrap before sewing the actual garment.
- Choose the needle type for the fabric instead of relying on a general-purpose one forever.
I also like to check the garment from both the inside and the outside before I call it finished. If the seam lies flat, the balance looks even, and the fabric feels comfortable when moved, the construction is doing its job. When the seam line is accurate, the whole piece reads as intentional rather than improvised.
