
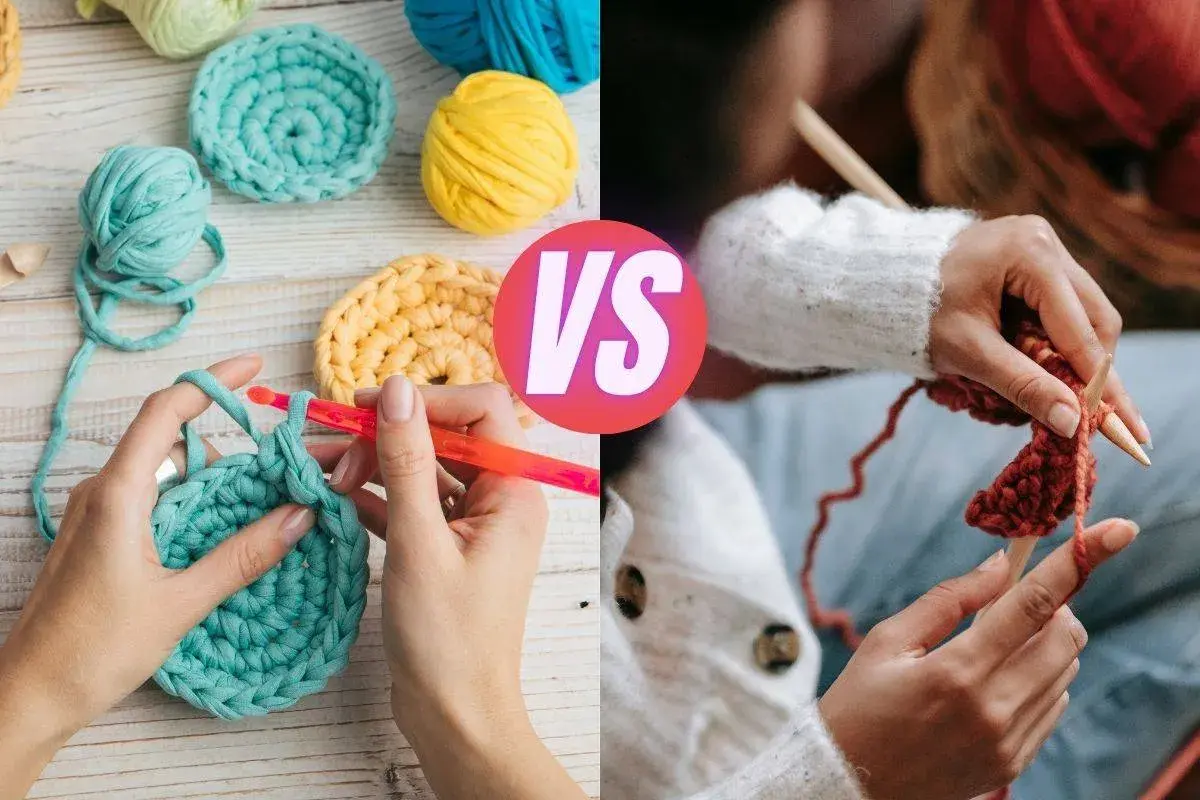
What this comparison helps you decide
- When a project is better suited to knitted fabric, sewn fabric, or a mix of both.
- Which tools matter most when you move between yarn, cloth, thread, and seams.
- How to avoid the most common beginner problems, from stretched seams to puckered joins.
- Which sewing basics improve knitted projects, especially when pieces need finishing or assembly.
- How to build a simple workflow that keeps mixed-craft projects tidy from start to finish.
How the two crafts differ and why that matters
The fastest way to understand the relationship between these crafts is to look at what each one creates. Knitting builds fabric one loop at a time, so the result usually has more stretch, softness, and drape. Sewing starts with existing fabric and shapes it with seams, darts, facings, topstitching, and finishing methods. That means the first decision is not “which craft is better?” but “what kind of fabric behaviour do I need?”
| Area | Knitting | Sewing | Why it matters in practice |
|---|---|---|---|
| How fabric is made | Loops are formed into cloth | Pre-made cloth is cut and joined | Knitting creates the fabric; sewing shapes it |
| Typical feel | Stretchy, elastic, often softer at the seam line | More structured, often sharper at the edges | Choose based on whether you want flexibility or precision |
| Mistake recovery | Often reversible if caught early | Usually fixed by unpicking and resewing | Both reward patience, but the repair process is different |
| Best known uses | Sweaters, scarves, socks, blankets | Shirts, trousers, bags, linings, tailored garments | Helps you match the method to the finished item |
For mixed projects, that difference is useful rather than limiting. A knitted garment can still be assembled with seams, and a sewn garment can still use knitted trims, cuffs, or inserts. Once you think in terms of fabric behaviour, the rest becomes much easier to judge.
Where they meet in real projects
The overlap is more practical than theoretical. I see it most clearly in pieces that need both comfort and control: garments with knitted sections and sewn closures, homeware that mixes materials, and repairs where the goal is to preserve an item instead of replacing it. The two crafts are not competing methods; they are often stages in the same project.
- Knitted panels with sewn seams give you the softness of knitted fabric and the tidy finish of proper assembly. This is common in sweaters and cardigans, where shoulder shaping and side seams improve the final fit.
- Sewn garments with knitted trims can feel more wearable because cuffs, neckbands, and waistbands benefit from elasticity. A sewn top with a knitted collar, for example, holds its shape better than a fully rigid finish.
- Visible mending often uses both approaches. Sewing repairs structure the damaged area, while a small knitted patch or darn restores texture and strength.
- Homeware projects such as cushion covers, throws, and toy pieces often mix methods for appearance and practicality. A sewn base with knitted decoration is usually easier to maintain than an all-knitted item in a high-wear setting.
- Hybrid fashion pieces use seams, facings, and knit inserts together. This is a smart way to combine structure at the shoulders or side seams with flexibility where the body needs it most.
The key lesson here is simple: when a project fails, it is often because the fabric choice and the construction choice are fighting each other. The next step is to look at the tools that help those choices work together.
The tools that make both crafts easier
You do not need a huge kit to work well across both disciplines, but a few tools make a noticeable difference. In mixed projects, the best tools are the ones that help you measure accurately, join cleanly, and avoid damaging stretch or texture.
| Tool | Why it helps | What I watch for |
|---|---|---|
| Soft measuring tape | Checks body measurements, fabric width, and finished length | Use it for both knitted swatches and sewn pattern pieces |
| Tapestry needle | Useful for seaming knitted pieces and weaving in ends | Choose a blunt tip so it slides between loops rather than splitting them |
| Ballpoint or stretch sewing needle | Reduces skipped stitches when sewing jersey and other knit fabrics | Match the needle to the fabric, not just the machine |
| Pins or clips | Hold fabric layers in place before stitching | Clips are often kinder to very stretchy or delicate knits |
| Seam ripper | Makes corrections less stressful | Use it carefully on both yarn and cloth so you do not nick the fabric |
| Iron and pressing cloth | Sets seams and improves accuracy in sewn work | Press, do not drag, especially on stretch fabrics |
For sewing projects, I also like keeping a ruler, dressmaking scissors, and a walking foot close by. For knitting, stitch markers and blocking mats earn their keep quickly, especially when a piece needs consistent shape before assembly. The point is not to buy everything at once; it is to choose tools that make your next join cleaner than the last one.
Sewing basics every knitter should know
If you already knit, learning a few sewing basics pays off fast. The most useful techniques are the ones that help you assemble, reinforce, and finish fabric without fighting its stretch. In UK pattern work, seam allowances are often around 1.5 cm unless the pattern says otherwise, so accurate stitching starts with reading that detail carefully.
- Backstitch gives a strong hand-sewn seam. I use it when I want more strength than a running stitch can provide.
- Basting is temporary stitching that holds layers together before the final seam. It is especially useful when curves need to line up exactly.
- Pressing shapes a sewn piece after each stage. It is not optional if you want a tidy finish, because seams behave better when they are pressed open or to one side.
- Stretch stitches and narrow zigzags are safer than a standard straight stitch on jersey. A straight stitch can pop when the fabric stretches.
- Seam finishing keeps edges from fraying. Pinking shears, zigzag stitching, binding, and overlocking all solve different problems, so I choose based on fabric weight and wear.
- Stay stitching stabilises curved edges before they distort. This matters on necklines, armholes, and other areas that are easy to stretch out of shape.
One practical habit makes all of this easier: test on scraps before touching the real project. A 2.5 to 3 mm stitch length may be fine for woven cloth, but jersey often needs a different setting. That small check can save a lot of unpicking later.
Knitting habits that make sewn finishes cleaner
Knitting also has habits that improve the finished sewn result. The biggest one is consistency. A neat knitted edge is much easier to seam than a loose, uneven one, and a properly blocked piece usually behaves better during assembly than one that is still curling or shifting.
- Swatch before you commit. I always treat a 10 x 10 cm swatch as the minimum when size or drape matters. It tells you more than a pattern photo ever will.
- Keep edge stitches tidy. A consistent selvedge makes mattress stitch, mattress-style seaming, and other joins far less frustrating.
- Bind off with enough give. If the edge will be seamed, a tight bind-off can make the whole piece feel stiff and awkward.
- Leave sensible yarn tails. A tail of roughly 10 to 15 cm is usually enough for weaving in securely or using in a seam.
- Block before final assembly. Blocking helps the fabric settle into its real shape, which means your sewn joins line up more cleanly.
- Think about stretch direction. If a piece needs movement across the body, the seam should support that stretch rather than freeze it.
This is where knitting and sewing become genuinely complementary. Knitting gives you the fabric personality; sewing gives you the finishing logic. Once both parts are controlled, the garment or accessory stops looking handmade in the weak sense and starts looking intentionally made.
How to choose the right method for each project
I decide between knitting, sewing, or a combination by asking one question first: what must the item do in use? A fitted blouse needs different behaviour from a chunky cushion cover, and a sock needs different construction from a tote. The best technique is the one that serves the final job, not the one that looks simplest on paper.
| Project | Best starting point | Why it works |
|---|---|---|
| Tailored jacket | Sewing | Structure, shaping, and finishing matter more than stretch |
| Cardigan with set-in seams | Knitting plus seaming | Knitting gives the fabric, sewing controls the final shape |
| Stretch jersey T-shirt | Sewing with knit-friendly techniques | Stretch stitch, correct needle choice, and pressing keep the garment wearable |
| Scarf or blanket | Knitting | Continuous fabric and soft drape are usually the priority |
| Tote bag with decorative panels | Combined approach | Sewn structure handles the load while knitted panels add texture |
| Repair or alteration | Sewing first, then knitting if needed | Stabilise damage before adding texture or reinforcement |
If you are unsure, start with the material’s behaviour. Does it need stretch, recovery, and softness? Knitting probably belongs somewhere in the plan. Does it need crisp edges, shaping, or a strong closure? Sewing should lead. Once that choice is clear, the mistakes are much easier to avoid.
Common mistakes that cause disappointing results
Most frustrating results come from small mismatches, not major failures. The fabric is right, but the seam is wrong. The technique is sound, but the tension is off. I see the same problems again and again, and they are all fixable once you know what to watch for.
- Using a straight stitch on stretchy fabric can make seams snap when the garment moves. A stretch stitch or narrow zigzag is usually safer.
- Choosing the wrong needle leads to skipped stitches, puckering, or damaged fibres. Ballpoint or stretch needles are often the better choice for knits.
- Skipping blocking or pressing leaves the final shape less accurate than it should be. Fabric behaves better when it has been set properly.
- Pulling seams too tight distorts both knitted and sewn edges. A seam should join, not strangle, the fabric.
- Ignoring fabric weight makes joins look clumsy. A heavy woven insert can overwhelm a fine knit, and the reverse can look flimsy.
- Rushing the test sample usually means redoing the final piece. A scrap test is faster than repair.
The real skill is not perfection. It is noticing when the fabric and the method are out of sync, then adjusting before the mistake becomes permanent.
A simple workflow I use for mixed craft projects
When I want a project to feel polished instead of improvised, I follow the same sequence every time. It keeps me from skipping the boring steps that actually determine the finish.
- Decide whether the fabric needs stretch, structure, or both.
- Choose the dominant craft first, then add the second one only where it improves the result.
- Make a swatch or scrap test and check how the fabric behaves after pressing or blocking.
- Pick the seam or joining method before cutting or casting on the full project.
- Assemble in stages, checking alignment after each major step rather than waiting until the end.
- Finish edges only after the piece has settled into its true shape.
That approach works whether I am making a garment, a home accessory, or a repair. Start small if you are still building confidence: a cushion cover with a knitted panel, a simple cardigan with clean seams, or a sewn project that uses knitted trim at the edge. Once the basics are comfortable, the boundary between the two crafts stops feeling like a barrier and starts becoming a useful design choice.
