
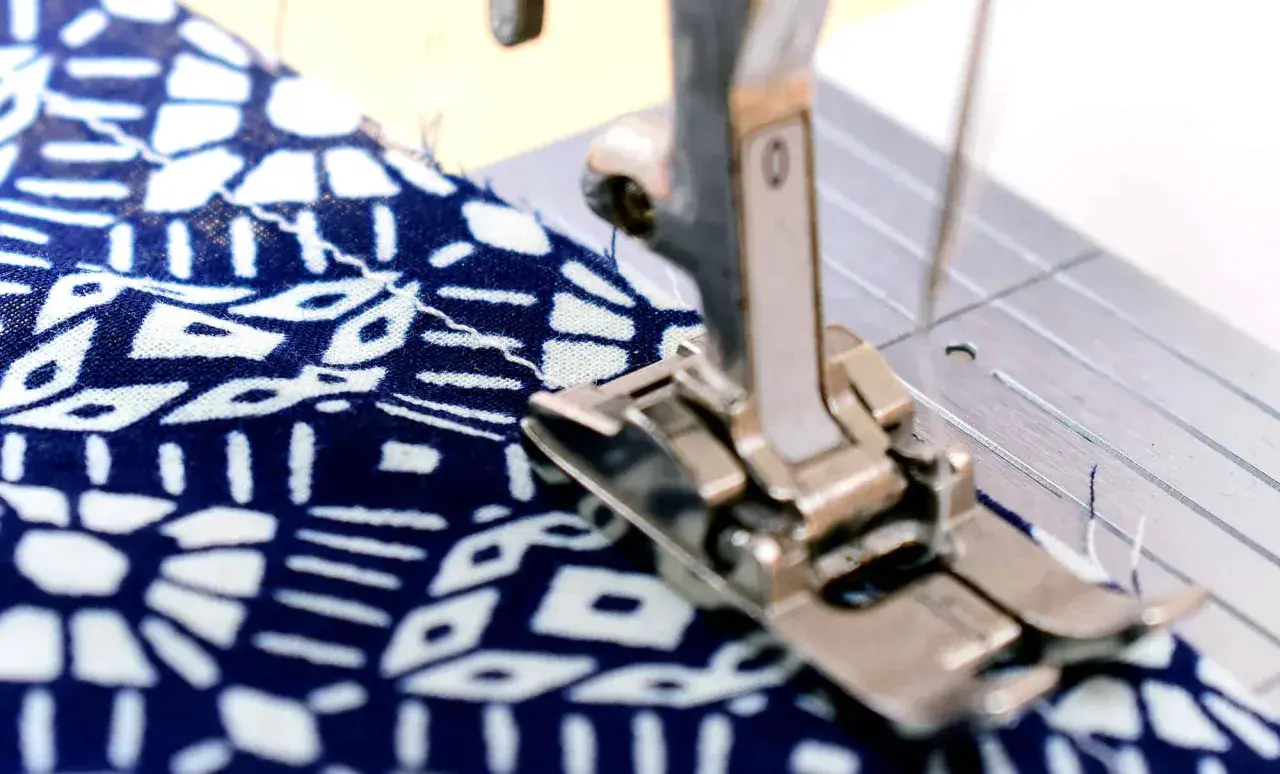
A fine hem can make a lightweight garment look deliberate instead of improvised. A narrow hem is one of the cleanest finishes for scarves, blouse sleeves, ruffles, and other edges where bulk would spoil the drape. In this article I cover what it is, which fabrics cooperate, how I sew it by machine, and what to do when curves or bulky seams make the job harder.
The quickest route to a clean, almost invisible edge
- Best results come from lightweight fabrics and careful pressing, not from forcing the edge to behave.
- For most projects, I start with a first fold of 3-6 mm and a second fold that fully encloses the raw edge.
- A fresh 60/8 or 70/10 sharp or microtex needle and a short stitch length make the finish much easier to control.
- Curves usually need staystitching, small pressing sections, or a little stabilising help.
- If the cloth is heavy, thick, or already bulky at the seam, a wider finish is usually the smarter choice.
What makes this finish worth using
I reach for this finish when the edge needs to disappear into the garment instead of competing with it. Think chiffon sleeves, scarf ends, ruffles, flounces, circle-skirt hems, and lightweight blouse hems where even a few extra millimetres of bulk can change the drape. Some sewists call it a baby hem or rolled edge finish, and that is a useful way to think about it: the goal is a tiny, tidy edge, not a heavy fold.
It is less forgiving on thick cloth. A dense denim hem, a heavy coating, or a bulky seam junction usually needs a wider turn, a facing, or a bound finish. That is not a failure of the technique; it is just the wrong tool for the job.
- Best on lightweight fabrics such as lawn, voile, chiffon, silk, viscose crepe, and fine cotton.
- Useful when you want the edge to stay flat, light, and visually quiet.
- Poor choice for thick wool, canvas, or anything that already has a lot of seam bulk.
- Possible on some stable light knits, but I would test first rather than assume it will behave.
Once you know the right projects, the fabric and tools become much easier to choose.
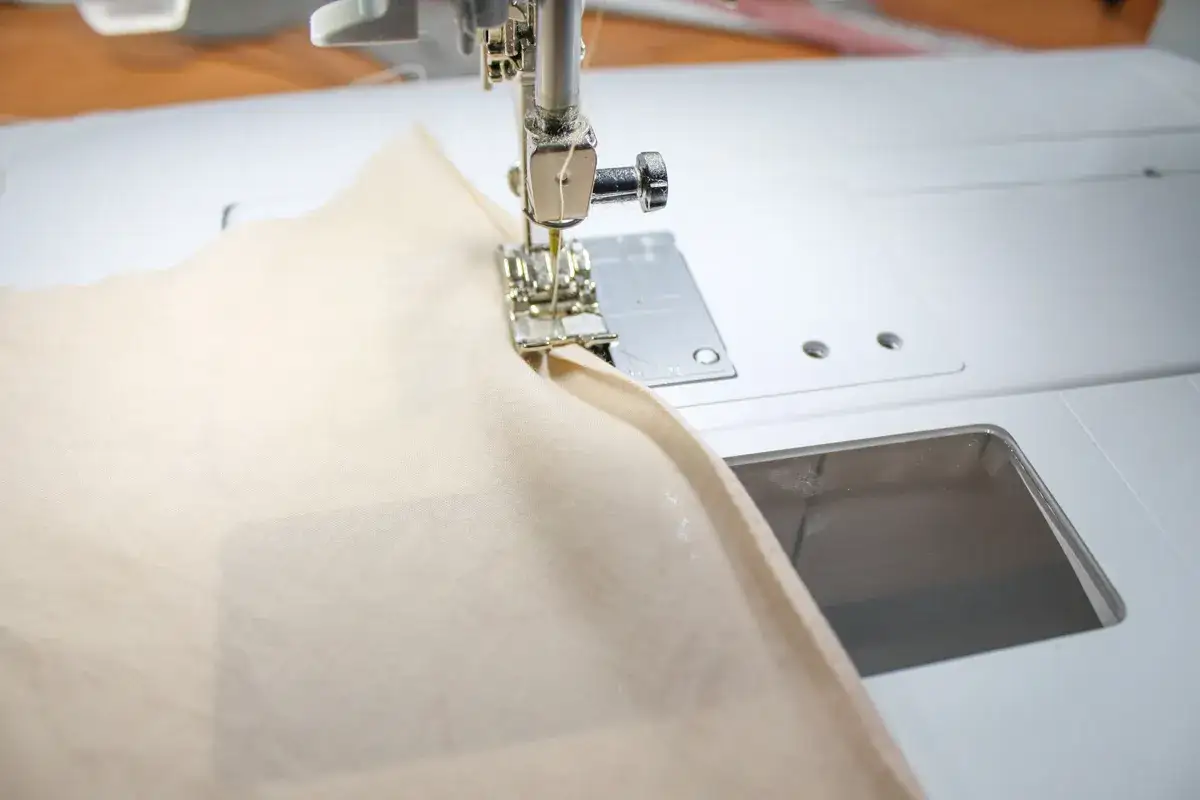
The fabric and tools that make it easier
Light fabrics reward control. I use a fresh microtex or sharp needle in size 60/8 or 70/10 for most delicate woven cloth, and I move up only when the fabric truly needs it. Fine polyester thread is the safest all-round choice; it is strong enough for repeated washing without adding much bulk.
If the garment will be washed, I prewash the fabric before cutting. A tiny hem that looks perfect on unwashed cloth can end up too short after the first wash, and that is one mistake that is almost too easy to avoid.
- Needle: 60/8 or 70/10 sharp or microtex for fine wovens.
- Stitch length: around 1.8-2.2 mm on delicate cloth, a little longer only if the fabric is more stable.
- Pressing: low-to-medium steam, plus a pressing cloth for synthetics or very sheer fabrics.
- Trim tools: small sharp scissors or appliqué scissors for close, controlled trimming.
- Optional helpers: a rolled hem foot, fine pins, light starch, or removable stabiliser.
The most underrated prep step is pressing the raw edge before you stitch. Even a good technique struggles when the edge is already stretched or uneven. I also mark the hem depth before I start, because once the fold is tiny, guessing by eye gets sloppy fast.
The next step is the actual stitching sequence, and this is where the finish either becomes neat or starts to wander.
The machine method I trust most
For a clean edge, I prefer a two-stage method: stitch a guide close to the edge, then fold, trim, and stitch again. It sounds fussy, but it is what keeps the hem even on thin fabric.
- Mark the finished hem line and, if needed, sew a guide line about 6 mm (1/4 in) from the raw edge.
- Fold to that line and stitch about 3 mm (1/8 in) from the pressed edge.
- Trim the allowance close to that stitching, leaving only enough fabric to turn under cleanly.
- Fold again so the raw edge is enclosed, then stitch about 1-2 mm from the inner fold.
- Press the hem flat and let it cool before moving the garment.
If I use a rolled hem foot, I treat it as a helper rather than a shortcut. It can speed up long, stable edges, but I still test it on scrap first because not every cloth feeds evenly through one.
I do not pull the fabric through the machine. I guide it. That difference matters more than most people expect, because tension in your hands shows up as ripple in the hem.
From here, the hardest part is no longer the straight stitch. It is the places where the shape changes.
Curves, corners, and slippery cloth need a different rhythm
A straight hem behaves one way; a curved one behaves like a memory test. On a circle skirt or flounce, the outer edge is longer than the inner edge, so the fabric has to be eased rather than forced.
For curves
Staystitching, a line of stitches sewn just inside the seam line to stop stretching, helps keep curved edges under control before I press them. On convex curves, I often use it on anything that is cut on the bias or likely to grow while I handle it. Then I press the fold in small sections, letting each section cool before I move on.
If the curve is very deep, I sometimes make tiny clips into the first allowance after the guide stitch. The clips should stop short of the stitching line; if they cut too close, the hem can fray or pull open later.
For corners
A mitered corner is a folded point that removes bulk from the tip, and I prefer it whenever a square edge would otherwise stack into a lump. It takes a little more thought at the pressing stage, but the payoff is a flatter, cleaner point.
Read Also: Knitting vs. Sewing - Master Both Crafts for Better Projects
For slippery fabrics
Chiffon, satin-backed crepe, and similar cloth often behave better with a light spray starch or a removable stabiliser. I use just enough support to calm the edge, not enough to turn the fabric into card. That balance is the difference between neat and stiff.
Once the edge is under control, the real question becomes which finishing method suits the project best.
When I switch to hand sewing or a serger
I do not treat every edge the same way. The neatest result comes from matching the method to the fabric and the shape, not from insisting on one favourite tool.
| Method | Best for | Strength | Trade-off |
|---|---|---|---|
| Two-turn machine finish | Most light wovens and gentle curves | No special foot, very neat once mastered | Slower and needs careful trimming |
| Rolled hem foot | Long edges on compatible fabrics | Fast and consistent | Can fight bulky seams or very slippery cloth |
| Hand-rolled finish | Sheer fabric, formalwear, visible edges | Maximum control and a soft, elegant look | Time-consuming |
| Serger (overlocker) rolled edge | Quick finishing on light to medium cloth | Efficient and durable | Less precise on corners and not ideal for every fabric |
My own rule is simple: if the fabric is sheer and the edge will be seen up close, I am happy to slow down and hand finish it. If I need speed on a long stable hem, the machine or overlocker usually wins. Either way, the choice is about control, not habit.
Even the right method fails if the setup is sloppy, which is why the mistakes matter more than the machine itself.
The mistakes that create ripple, bulk, and uneven width
- Cutting first and measuring later. I mark the hem depth before trimming, especially on curves, so I do not lose control of the final length.
- Making the first fold too wide. If the first turn is bulky, the second turn never lies flat.
- Using a long stitch. Long stitches can leave the edge loose and wobbly; I usually stay around 1.8-2.2 mm on fine cloth.
- Pressing by stretching. Ironing should flatten the edge, not drag it longer.
- Forcing a thick seam junction. Side seams, zips, and facings often need a different finish or a carefully graded allowance.
- Skipping a test scrap. One minute on scrap fabric usually saves far more time than redoing a wavy hem.
My rule is simple: if the hem looks messy before the final press, it will not magically fix itself afterwards. A quick unpick and a calmer second pass are usually faster than pretending not to notice the problem.
That is the point where judgement matters more than patience, and it leads to the last decision every sewist has to make: whether this is the right finish at all.
The choice that matters before the first fold
What makes this small finish worth learning is not the technique itself, but the freedom it gives you. When you know how to make a light, almost invisible edge, you can use it on scarves, sleeves, flounces, and dress hems without adding weight or stiffness.
I would still choose a facing, binding, or wider turn if the fabric is heavy, the curve is extreme, or the seam junction is already bulky. That is the honest part of the craft: a neat result comes from matching method to material, not from forcing one trick onto everything.
When the fabric is light and the edge needs to vanish, this is the finish I trust most. It is small work, but it changes how the whole garment hangs, and that is usually where good sewing shows itself first.
