
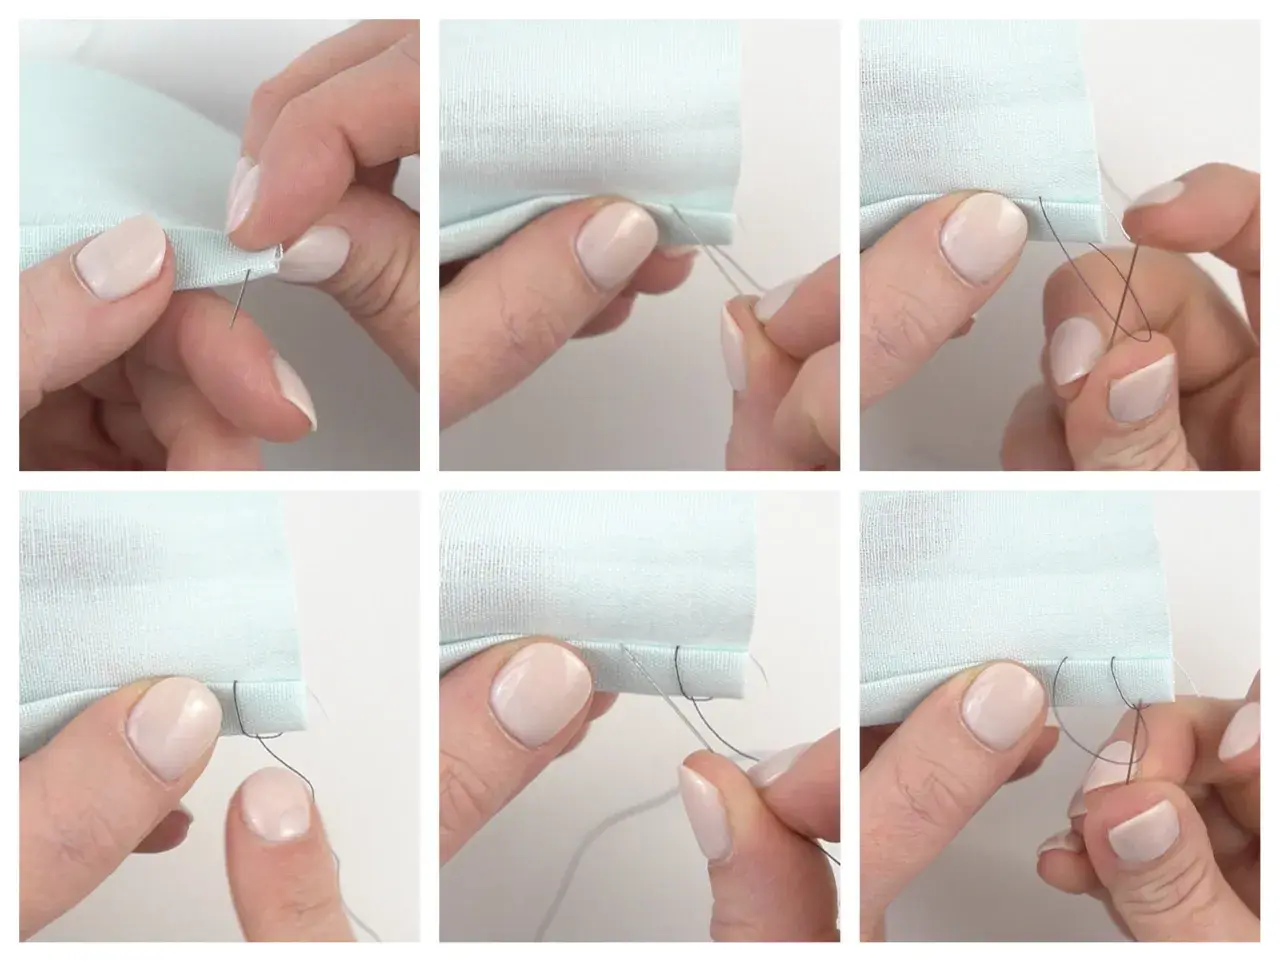
Learning how to sew is less about talent than about giving your hands a simple, repeatable system. The basics are plain enough: choose forgiving fabric, thread the needle cleanly, keep tension even, and match the stitch to the job. Once those pieces click, mending, hemming, and simple construction become far less mysterious.
The quickest route to neat stitches and stronger seams
- Start with stable woven cotton rather than slippery or stretchy fabric.
- Keep your first kit small: needles, thread, scissors, pins, chalk, and an unpicker.
- Learn three stitches first: running stitch, backstitch, and slip stitch.
- Do not pull thread tight; even tension matters more than speed.
- Finish every seam by securing the end and pressing it flat.
- Begin with a small project such as a hem, a cushion opening, or a simple patch.
The essentials you need before the first stitch
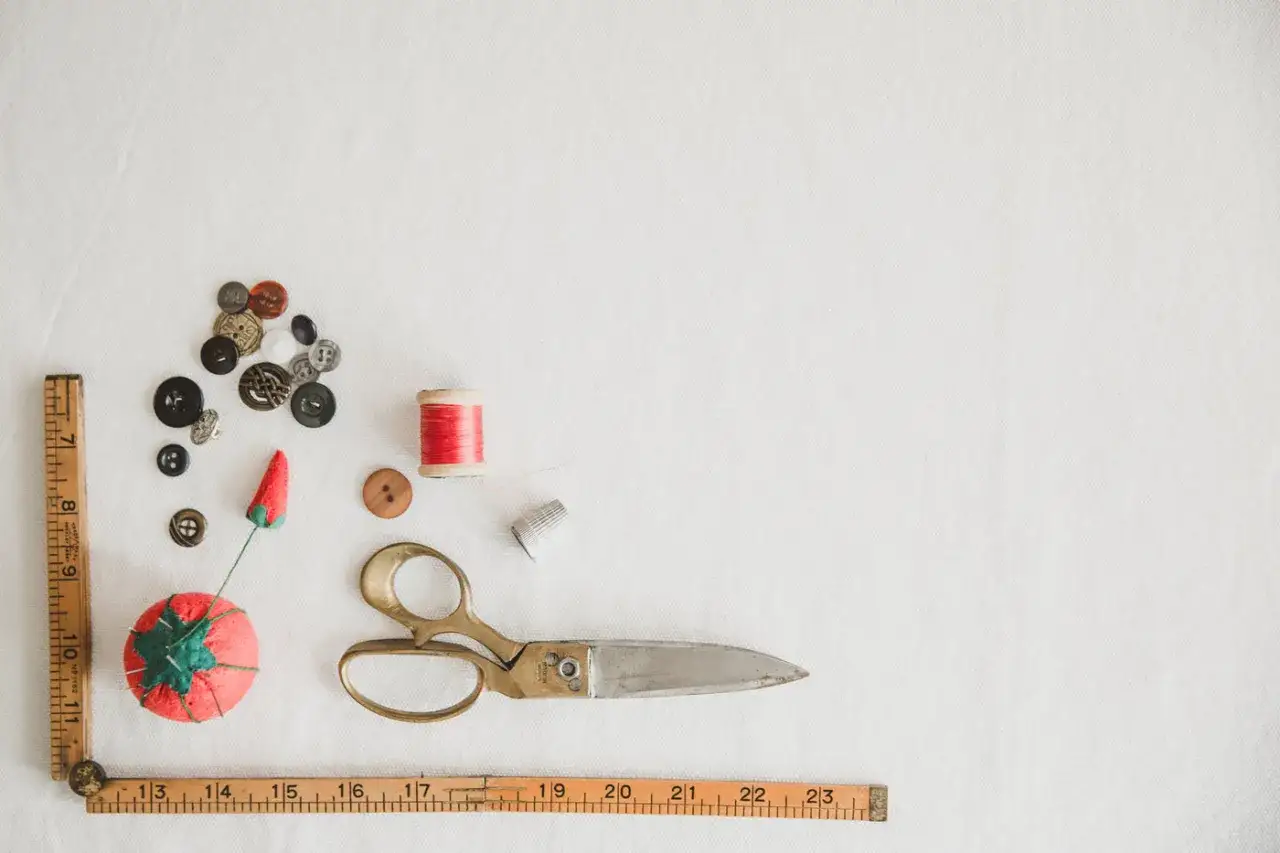
I usually tell beginners to keep the kit small. A few reliable tools are better than a drawer full of supplies you do not know how to use yet. At minimum, you need hand-sewing needles, thread, sharp fabric scissors, dressmaking pins or clips, tailor’s chalk or a washable marker, a tape measure, and an unpicker, which many people call a seam ripper.
For hand sewing, I also like to cut the thread to about 40 to 50 cm. Longer lengths twist, knot, and wear out faster, which creates problems before you have even started sewing. If you are working on thicker fabric, add a thimble and choose a needle with a slightly larger eye so the thread passes through without force.
- Needles should match the fabric weight; medium hand needles suit most beginner work.
- Thread should be strong, smooth, and not too fuzzy. Polyester thread is forgiving for general use.
- Scissors must stay sharp and reserved for fabric only, because blunt blades distort the edge.
- Pins or clips keep layers aligned while you sew, especially on straight seams.
- Marking tools help you see the seam line instead of guessing at it.
The point is not to own everything at once. The point is to remove friction so your attention stays on the stitch. Once the tools are sorted, the next decision that matters is the fabric itself.
Pick fabric that forgives mistakes
Some fabrics help you learn. Others fight you from the first minute. If I were teaching a complete beginner, I would start with plain woven cotton, calico, or quilting cotton. These fabrics stay where you put them, show your stitches clearly, and do not collapse into the needle the way stretch or silk fabrics can.
| Fabric | Why it helps or hinders | Best use for beginners |
|---|---|---|
| Calico or muslin | Stable, inexpensive, and easy to mark | Practice seams, samples, and stitch exercises |
| Quilting cotton | Smooth, predictable, and easy to cut | First cushions, tote bags, and simple pouches |
| Linen blend | Still manageable, but with a little more texture | After a few basic seams |
| Jersey knit | Stretches and shifts under the needle | Later, once you understand tension and grain |
| Silk or satin | Slippery, delicate, and unforgiving of uneven stitching | Much later, when you want a challenge |
| Denim or canvas | Strong but bulky, so the hands work harder | Repairs or heavier projects after practice |
A useful rule of thumb is simple: if the fabric moves when you touch it, it will move even more once the needle enters it. Start with something that stays honest. That makes the stitch easier to understand, which is exactly what you want before you move on to thread and knots.
Threading, knots, and direction matter more than speed
This is the part many beginners rush, and it is usually where the frustration starts. A clean start makes the whole seam feel calmer. Trim the thread end at an angle, flatten any frayed fibres if needed, and pull the thread through the needle eye without forcing it. If the eye is small, use a threader rather than wrestling with it.
When I teach this stage, I focus on one simple habit: keep the knot and the first stitches on the wrong side, which means the inside or back of the fabric. That hides the anchor and makes the finished work look neater. The same idea applies to the end of the seam. If the thread is secured on the wrong side, the seam holds better and looks cleaner.
A simple way to start and finish
- Thread the needle and tie a small knot at one end.
- Bring the needle up from the wrong side of the fabric so the knot stays hidden.
- Take two tiny backstitches, or make a small anchor knot if the fabric is loose.
- Sew with steady, even movements rather than fast, sweeping pulls.
- Finish with two or three backstitches or a secure knot on the wrong side.
- Trim the tail to a short length, usually a few millimetres.
If the knot slips through the fabric, the fabric is probably too open-weave for the thread, or the knot is too small. If the thread keeps twisting, it is usually too long. Once that start-and-finish habit feels natural, the stitch choice becomes much less intimidating.
The first stitches I would teach any beginner
You do not need a dozen stitches on day one. I would start with five because they cover most simple sewing jobs and teach different kinds of control. Once you understand them, the rest of hand sewing becomes variation rather than mystery.
| Stitch | Best for | What it teaches you |
|---|---|---|
| Running stitch | Basting, gathering, and quick practice seams | Rhythm, spacing, and even tension |
| Backstitch | Strong seams and repairs | How to build a secure line that holds weight |
| Whip stitch | Joining edges and finishing raw seams | Edge control and compact stitching |
| Slip stitch | Invisible hems and closing openings | Discretion; the stitches stay hidden from the outside |
| Ladder stitch | Closing cushions, toys, and turned openings | How to hide a join neatly across two folded edges |
Join fabric by hand without puckers or gaps
Once the stitch is clear, the seam itself is straightforward. Start by aligning the right sides together. That means the sides that will show on the outside when the project is complete. Pin the raw edges so they do not drift apart, and mark a seam line if the edge is curved or if you want more accuracy.
For practice, a seam allowance of about 1 to 1.5 cm is comfortable on medium-weight cotton. That gives you enough space to work without crowding the edge. On a real project, always follow the pattern or repair line in front of you, because seam allowances vary more than beginners expect.
- Place the fabric pieces right sides together and match the key points first.
- Pin every 5 to 7 cm so the layers stay aligned.
- Mark the seam line if the project demands precision.
- Start with a secure anchor on the wrong side.
- Sew small, even stitches, keeping them roughly 3 to 4 mm apart on woven cotton.
- Hold the thread firm, but do not pull it tight; tight stitching causes puckers.
- Finish with a backstitch or secure knot, then trim the thread and press the seam.
Common mistakes that make sewing feel harder than it is
Most beginner problems are not really about sewing skill. They are usually about a few habits that fight the fabric. Once I point them out, people often improve within minutes, because the work stops battling their own tension and tools.
- Using thread that is too long - the thread twists, tangles, and abrades faster.
- Pulling every stitch too tightly - the fabric puckers and the seam loses shape.
- Starting with slippery fabric - satin, silk, and jersey are poor first choices.
- Skipping a test swatch - a 10 cm practice seam tells you more than guessing ever will.
- Ignoring the wrong side - seams look messier when the anchor and knots are left visible.
- Trying to rescue a bad line for too long - if the seam drifts, unpick early and reset it.
I also see beginners try to make every stitch identical on the first attempt. Consistency does matter, but it comes from repetition, not from perfection. If one seam is uneven, that does not mean you are bad at sewing; it means you have reached the point where the next seam will teach you something specific. With those errors out of the way, a first project becomes much more useful.
A first-project path that builds real confidence
The best first projects are small enough to finish and plain enough to teach one skill at a time. I prefer projects that give visible feedback: if the seam is neat, you can see it immediately; if the tension is off, you can feel it straight away.
- Sew two small squares of cotton together with backstitch so you can practise strength and spacing.
- Turn the sample right side out and press it flat so you can see how the seam sits.
- Hem a tea towel, napkin, or scrap rectangle using slip stitch or a simple folded hem.
- Close a cushion opening with ladder stitch to learn invisible finishing.
- Mend a split seam on a shirt pocket or tote bag so you practise repair work rather than pure practice.
If you can join two squares neatly, finish a hem without rippling, and close a small opening without visible knots, you already understand the core of sewing by hand. After that, bigger projects are just the same ideas repeated on more fabric, with better judgement and steadier hands. Once the basics are in place, the needle and thread stop feeling like obstacles and start behaving like tools you can trust.
