
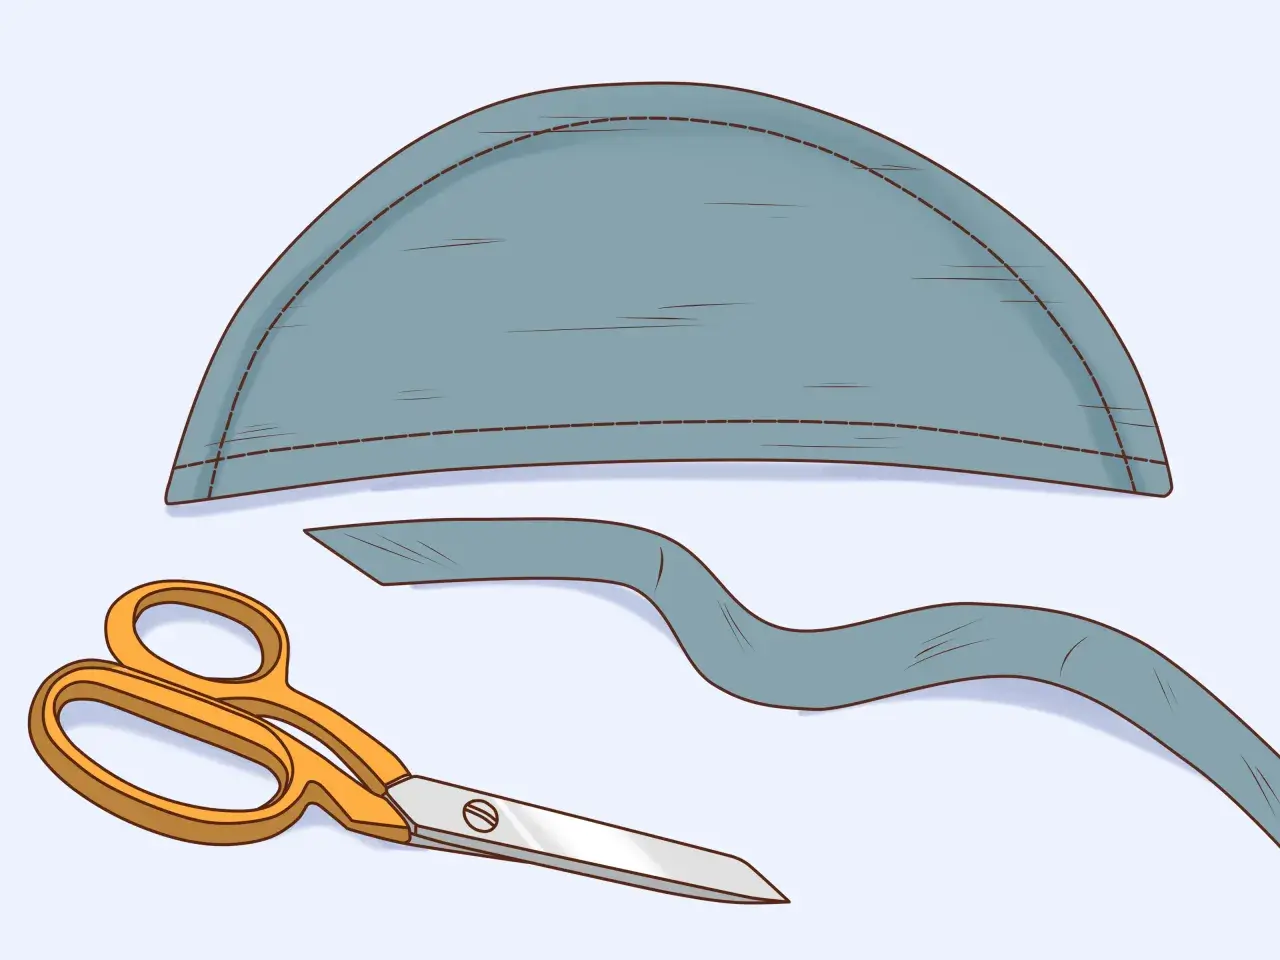
Shoulder pads are one of those small tailoring details that change a garment far more than people expect. A good pad can level a sloping shoulder, support a sleeve cap, and give a blazer or dress a cleaner line without making it look oversized. This guide shows how to make shoulder pads, choose the right shape and thickness, and sew them in so the result looks deliberate rather than bulky.
The key decisions before you cut the first layer
- For most garments, a finished thickness of 1/8 to 1/4 inch gives structure without obvious bulk.
- Tailored jackets usually need a straighter pad, while blouses, dresses, and raglan styles often need softer, more curved shapes.
- Wool felt, batting, fleece, and lightweight foam are the most useful DIY materials, depending on the finish you want.
- Hand stitching keeps the pad softer and more flexible than tight machine stitching.
- The pad should sit on the shoulder seam and ease slightly into the sleeve, not sit too far back or too high.
- For structured jackets, a sleeve head roll can do as much as the pad itself.
What a shoulder pad actually needs to do
Before I cut anything, I decide what the shoulder is supposed to achieve. In a blazer or coat, the pad is there to create a stable foundation so the fabric does not collapse at the shoulder line. In a blouse or dress, it may only need to add a little lift, balance a sloping shoulder, or smooth the transition into the sleeve.
The important distinction is this: a shoulder pad should support the garment, not dominate it. The best ones disappear into the silhouette. If you can see the shape before you notice the garment itself, the pad is probably doing too much. Once that goal is clear, choosing the right shape becomes much easier.
Choose the right shape and thickness for the garment
I usually start with the garment type, because a blazer, a summer dress, and a costume jacket do not want the same shoulder treatment. A full tailored pad is longer and more directional; a dress pad is usually smaller and more symmetrical; a raglan version needs a more curved profile so it follows the sleeve line instead of fighting it.
| Garment type | Typical shape | Usual thickness | What it does well |
|---|---|---|---|
| Tailored jacket or blazer | Straight edge with a defined sleeve side | About 1/2 inch for a stronger line, or 1/4 inch for a softer one | Adds a crisp shoulder line and supports heavier fabric |
| Blouse or dress | Smaller, more symmetrical shape | Usually 1/8 to 1/4 inch | Gives light structure without changing the garment’s character |
| Raglan or dolman sleeve | Curved shape that sits over the shoulder | About 1/2 inch if the design needs definition | Helps the sleeve hold a clean line where the armhole is softer |
For a standard set-in sleeve, I like to think in metric as well as imperial: a common starting point is roughly 26 to 28 cm long and 12 to 14 cm wide, then trimmed to suit the body and the pattern. If I want a lighter result, I work with a smaller outline and keep the thickness low. If I want a more dramatic shape, I add the structure by layering instead of forcing a single thick piece to do everything. After shape comes material, because the same outline behaves very differently depending on what it is made from.
Materials that give structure without stiffness
The best DIY shoulder pads are usually built from soft materials that can be layered. I reach for wool felt, quilt batting, cotton wadding, thick fleece, or thin foam depending on the garment. Wool felt is the easiest to shape into something tidy. Batting and wadding are softer and better for subtle support. Foam gives a clearer outline, but it can feel too rigid if you overdo it.
| Material | Best use | Strengths | Watch out for |
|---|---|---|---|
| Wool felt | Blazers, coats, structured dresses | Stable, easy to layer, easy to hand stitch | Can become bulky if you use too many layers |
| Quilt batting or wadding | Soft shaping, subtle lift | Light, flexible, easy to build up gradually | Can flatten if stitched too tightly |
| Thick fleece | Casual jackets, costumes, softer tailoring | Springy and comfortable to wear | Less crisp than felt |
| Thin foam | More pronounced shoulder lines | Gives clear definition with fewer layers | Can feel stiff if the pad is too thick |
| Lining fabric or lightweight knit | Covering unlined pads | Creates a neater finish and stops fibres showing | Needs the edges finishing if the fabric frays |
For most home sewing, I prefer layered padding over one dense chunk of foam. It moves better with the body, and it is easier to fine-tune. A pair of pads can be made from scraps if you already have the right materials, which is why this is one of those projects that teaches a lot without requiring a big shopping list. Once the materials are chosen, the next job is cutting pieces that actually match each other.
Draft and cut the pad cleanly
I like to draft shoulder pads directly from the garment shape rather than guessing from a generic template. That way the pad follows the shoulder line the pattern already wants. If I am making a first version, I sketch a half-oval or half-circle shape, then refine it against the garment or dress form before committing to the final cut.
- Measure the shoulder seam from neck point to sleeve cap so you know how much of the shoulder the pad needs to support.
- Decide the finished thickness first, because that changes the outline more than people expect.
- Draw the outer shape with a flatter edge for the sleeve side and a softer taper toward the neckline.
- Cut a mirrored left and right pad so the pair behaves the same way in the garment.
- Test the cut piece against the shoulder before building the full pad. A small trim now saves a lot of unpicking later.
If you are building thickness by layering, think in steps rather than in one block. Two layers usually give a light 1/8-inch pad; four layers are a better starting point for a 1/4-inch result. I find that method much easier to control, especially when I want the shoulder to taper gently instead of staying uniformly thick. Once the pieces are cut cleanly, the build is what decides whether the pad feels luxurious or lumpy.
Build it by hand so it stays soft
Hand stitching matters here more than most people expect. Machine stitching can compress the loft and make the pad feel flat. A long running stitch or a loose whip stitch keeps the layers together while preserving the softness that makes the shoulder look natural on the body.
- Stack the layers in the order you want them to build up, then clip or pin them so they do not shift.
- Stitch from one end to the other with a loose rhythm, keeping the tension relaxed.
- Do not pull the thread tight. The pad should hold together, not be cinched into a hard ridge.
- If you are making a tiered pad, add each layer gradually and check the curve as you go.
- Shape the pad over a tailor’s ham, sleeve roll, or even a rolled towel so the curve settles before fitting.
That last step is not decorative. It helps the padding take on the roundness of a real shoulder instead of sitting flat on the table and then folding awkwardly inside the garment. I also mark the left and right sides as soon as I am happy with the shape, because once the cover is on, the pair can look frustratingly similar. After the pad holds its own shape, it is time to place it where the garment can actually use it.
Attach the pad to the garment without showing it
The cleanest method is to align the pad’s centre with the shoulder seam, then let the sleeve-side edge extend slightly into the sleeve cap. On a jacket, that extension is often around 1/2 inch; on a blouse or dress, I usually keep it smaller. The pad should be secured to the seam allowance with loose hand stitches at the shoulder seam and at each end so it can move with the garment instead of pulling against it.
- Position the pad on the wrong side of the garment and check the shoulder line before stitching.
- Secure it only in the seam allowance, not through the visible outer fabric.
- Try the garment on or place it on a dress form before finishing the stitches.
- If the shoulder looks high or distorted, reposition the pad rather than forcing the shape.
- For unlined garments, cover the pad first so the edge looks intentional and neat.
If the sleeve cap still looks a little empty after the pad is in place, a sleeve head roll can help more than adding extra bulk. The pad gives the shoulder its foundation; the roll fills the top of the sleeve and smooths the transition. On jackets and coats, that combination usually looks far better than simply making the pad thicker. Even a well-made pad can look wrong if the placement is off, which is why the final check matters.
The mistakes that make shoulder pads look homemade
Most problems come from doing too much, too fast. The shoulder area is sensitive, and a small change in width or height can alter the whole silhouette. I have found that the most convincing shoulder pads are the ones built with restraint and then adjusted after a fitting, not the ones treated as a one-size-fits-all insert.
- Making the pad too thick. If the shoulder starts to look square or top-heavy, remove one layer and test again.
- Using one shape for every garment. A blazer pad and a blouse pad are not interchangeable.
- Sewing too tightly. Tight stitches flatten the loft and create hard edges.
- Ignoring the sleeve head. On structured garments, a pad alone may not smooth the sleeve cap.
- Attaching through the fashion fabric. Visible stitching makes the work look improvised rather than tailored.
- Choosing the wrong material for washing. Soft batting can clump if it is washed hard, so a more stable build is better for frequently laundered pieces.
The safest rule is simple: match the structure to the fabric, not to the trend. A wool blazer can carry more shape than a cotton shirt, and a stage costume can tolerate a much bolder shoulder than a day dress. Once you start making those distinctions, the whole process becomes far more predictable.
A better shoulder line comes from balance, not bulk
If I were making my first pair today, I would start small, test the shape, and only add height if the garment clearly needed it. A well-made pad should solve a problem: a drooping shoulder, a collapsed sleeve cap, or a silhouette that needs a touch more authority. It should not announce itself as a separate object inside the clothes.
That is why I like this project for sewing basics and tailoring practice. It teaches proportion, layering, fitting, and hand finishing in one compact exercise. Once you learn to control the shoulder line this way, you have one more reliable tool for jackets, dresses, coats, costumes, and any garment that needs a cleaner silhouette at the top.
