
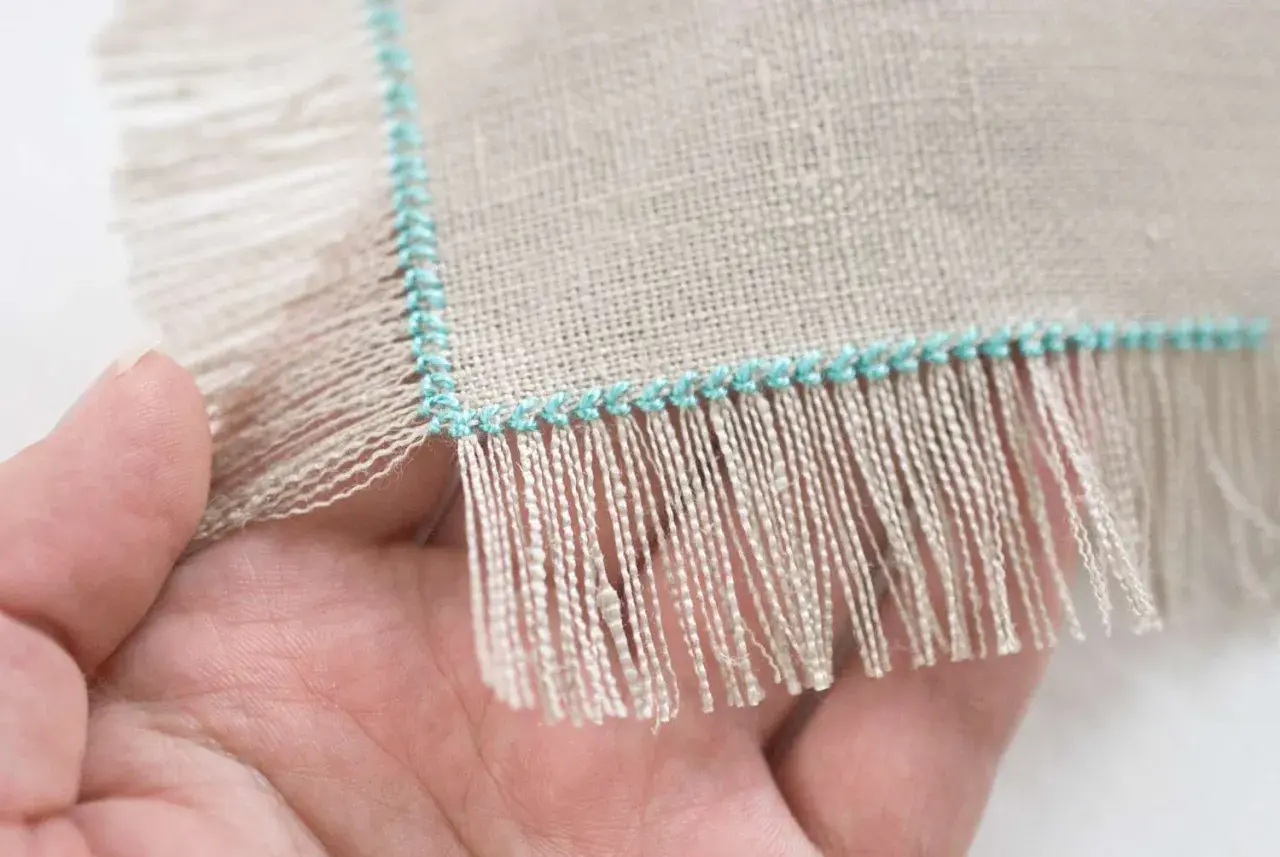
Learning how to sew fringe is mostly about control: the trim should move, but the stitching line should not. Whether you are adding it to a skirt hem, a sleeve, a bag, or a stage costume, the same principles apply: choose a fringe that suits the fabric, mark the edge accurately, and sew it so the tape disappears into the design. I’m focusing here on the practical version I’d use in a sewing room, with the small adjustments that matter for woven fabrics, knits, curves, and heavier trims.
The cleanest fringe starts with the right trim and a controlled stitch line
- Choose the trim for the fabric weight rather than picking the most decorative option.
- Test the stitch on scraps first so you can check tension, stitch length, and drape.
- Stitch through the header tape, not the fringe strands to keep the movement free.
- Use a different approach for knits and bulky trims; one setting rarely suits everything.
- Plan corners, joins, and side seams before you sew because that is where fringe usually looks messy.
- Finish lightly; pressing too hard can flatten the fringe and spoil the effect.
Choose the fringe that matches the fabric
The first decision is not colour or length, but weight. A light viscose dress can carry a narrow, soft trim; a denim skirt or jacket can handle something denser and more structured. If the fringe is heavier than the base fabric, the edge will sag and the seam will start looking tired long before the garment does.
| Fringe type | Best for | Why I would use it | What to watch |
|---|---|---|---|
| Sew-on trim with header tape | Hems, sleeves, skirts, bags | Fast to attach and easy to control | The tape can show if the stitching line sits too low |
| Self-fringe cut from the fabric edge | Boho hems, scarves, soft costume details | Blends into the garment and moves naturally | Needs careful securing so it does not unravel too far |
| Leather, suede, or beaded fringe | Jackets, bags, statement pieces | Creates strong movement and texture | Needs a sturdier base and a slower, more deliberate stitch |
As a rule, I keep the fringe visually aligned with the fabric’s character. Soft fabric wants soft movement; tailored fabric can take sharper definition. That simple match makes the whole finish feel deliberate, and it also makes the rest of the prep much easier.
Prepare the edge before you stitch
Most fringe problems start before the needle even goes down. I like to press the garment, check the edge for distortion, and mark exactly where the header tape will sit. If the fabric is stretchy or loose-woven, a narrow strip of interfacing or stay tape can stop the edge from waving while you sew.
- Prewash the fabric if the finished item will be washed later, so shrinkage does not distort the fringe after attachment.
- Press the edge flat and trim any unevenness before you measure the placement line.
- Mark the stitch line with tailor’s chalk, a fabric pen, or short basting stitches.
- Use clips instead of pins on bulky fringe, because pins can create extra drag and shift the tape.
- Prepare a scrap sample with the same fabric layers so you can test stitch length and tension.
I usually think in terms of the visible edge first and the seam allowance second. On a standard garment allowance of 1 cm to 1.5 cm, the seam itself should stay neat and stable, but the fringe needs enough room to hang freely without being trapped in the join. Once that line is clear, the actual sewing becomes much less risky.
Sew the trim on so it hangs cleanly
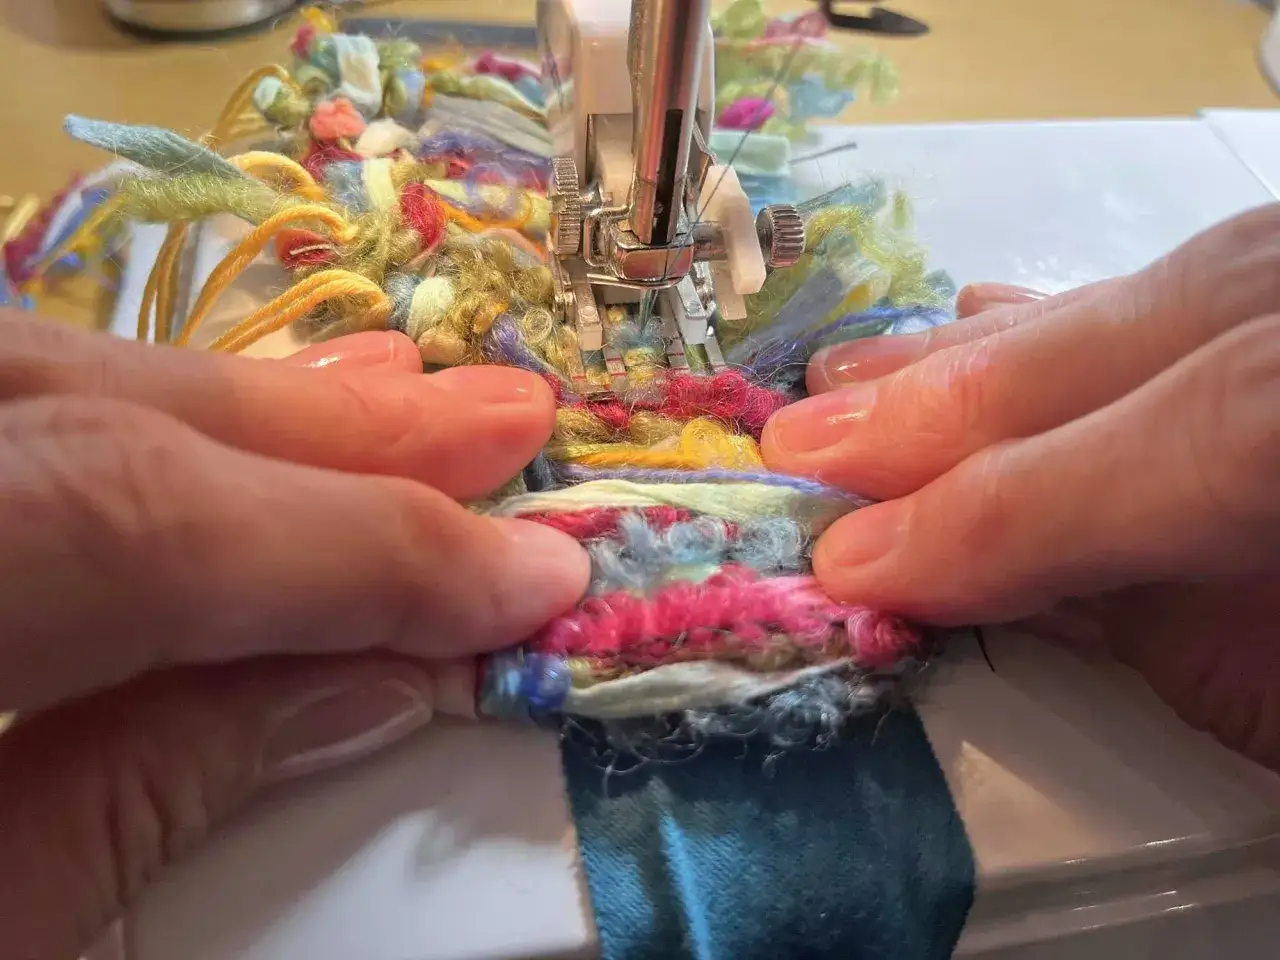
The goal is simple: secure the header tape, not the fringe strands. I place the trim so the fringe points away from the garment edge, then stitch slowly along the reinforced top of the tape. If the machine starts pulling the fabric, I stop immediately and reset the feed rather than forcing the seam.
- Lay the fringe in position and check that the direction of the strands suits the garment shape.
- Pin or clip the header tape every few centimetres so it stays flat.
- Use a straight stitch for stable woven fabric, usually around 2.5 mm to 3 mm in length.
- For knits, use a narrow zigzag or a double needle so the attachment can stretch without cracking.
- Slow down near thick joins or layered areas, because most skipped stitches happen there.
- Stop often and lift the fringe away from the seam line so you can check that none of the strands are caught under the foot.
| Situation | What I usually do | Why it helps |
|---|---|---|
| Light woven fabric | Regular straight stitch, moderate stitch length | Gives a clean line without overworking the cloth |
| Stretch knit | Double needle or narrow zigzag | Keeps the seam flexible when the garment is worn |
| Thick or bulky fringe | Walking foot, slower speed, longer stitch | Reduces creeping and helps the layers feed evenly |
| Slippery or layered fabric | Baste first, then machine stitch | Prevents the trim from shifting before it is secured |
If you want the cleanest result, keep the stitching line just inside the reinforced tape, not close to the fringe itself. That small difference is what lets the strands swing freely instead of being trapped or twisted. Once the main run is attached, the tricky part is usually not the straight line but the places where the garment changes direction.
Handle corners, curves and seams cleanly
Straight edges are forgiving; corners are not. The moment fringe has to turn, the tape starts to reveal whether you planned the shape properly. I find it much easier to break the trim into shorter runs than to force one long strip around a tight curve and hope it behaves.
- On outside corners, stop at the pivot point, clip carefully into the seam allowance, and overlap or fold the tape so it lies flat.
- On inside curves, ease the tape gradually and stitch slowly instead of pulling the fabric through the bend.
- At side seams, zip openings, or waistband joins, decide in advance whether the fringe stops short or continues across the seam.
- If the trim is thick, reduce bulk by trimming the seam allowance after stitching, not before.
- For a very sharp turn, hand-baste the section first so you can check the fit before committing to machine stitching.
For tailored garments, I often stop the fringe just before a major seam and finish the join by hand on the inside. That extra step takes a few minutes, but it keeps the outer line flatter and more polished. From there, the last job is protecting the finish so it still looks good after wear and washing.
Finish the edge so it survives wear and washing
Fringe does not like to be crushed. I press only from the wrong side, use a low heat, and keep a press cloth between the iron and the garment whenever the fringe or the base fabric feels delicate. After pressing, I let the piece cool flat so the edge settles instead of warping.
- Finger-comb or lightly brush the fringe so the strands separate evenly.
- Trim stray threads on the tape, but leave the actual fringe movement intact.
- If the trim sits on a weak point, secure it with a few hidden hand stitches rather than another visible machine line.
- Choose a gentle 30°C wash only if both the fabric and the fringe are washable; otherwise, spot clean or dry clean.
- For leather or beaded fringe, avoid soaking and test any cleaner on an unseen area first.
The final look is usually decided by restraint. A fringe edge that has been handled too much often loses the very movement that made you want it in the first place, so I keep finishing steps light and targeted.
The small fixes that make fringe look intentional
When fringe looks amateur, it is usually because of a few small problems stacking together rather than one big mistake. I see the same issues repeatedly: trim that is too heavy for the fabric, stitching that wanders into the strands, and joins that were never planned for the shape of the garment. The good news is that each one has a simple fix.
- Match the thread to the tape, not the fringe. The attachment line should disappear, even if the strands are highly visible.
- Use one clean run of stitching whenever possible. Multiple false starts tend to show through lightweight fabric.
- Keep the fringe slightly shorter than your first instinct. Too much length can overpower a small garment detail.
- Test the drape while the project is hanging. Fringe can look perfect flat on the table and wrong once it moves on the body.
- Layer narrow rows instead of adding one heavy strip. That approach gives movement without the drag of a single bulky edge.
The standard I aim for is simple: you should notice the movement before you notice the stitching. If the fringe hangs freely, follows the shape of the garment, and stays balanced after a gentle press, the finish has probably been handled the right way. That is the point where a decorative edge stops looking added on and starts feeling like part of the design.
