
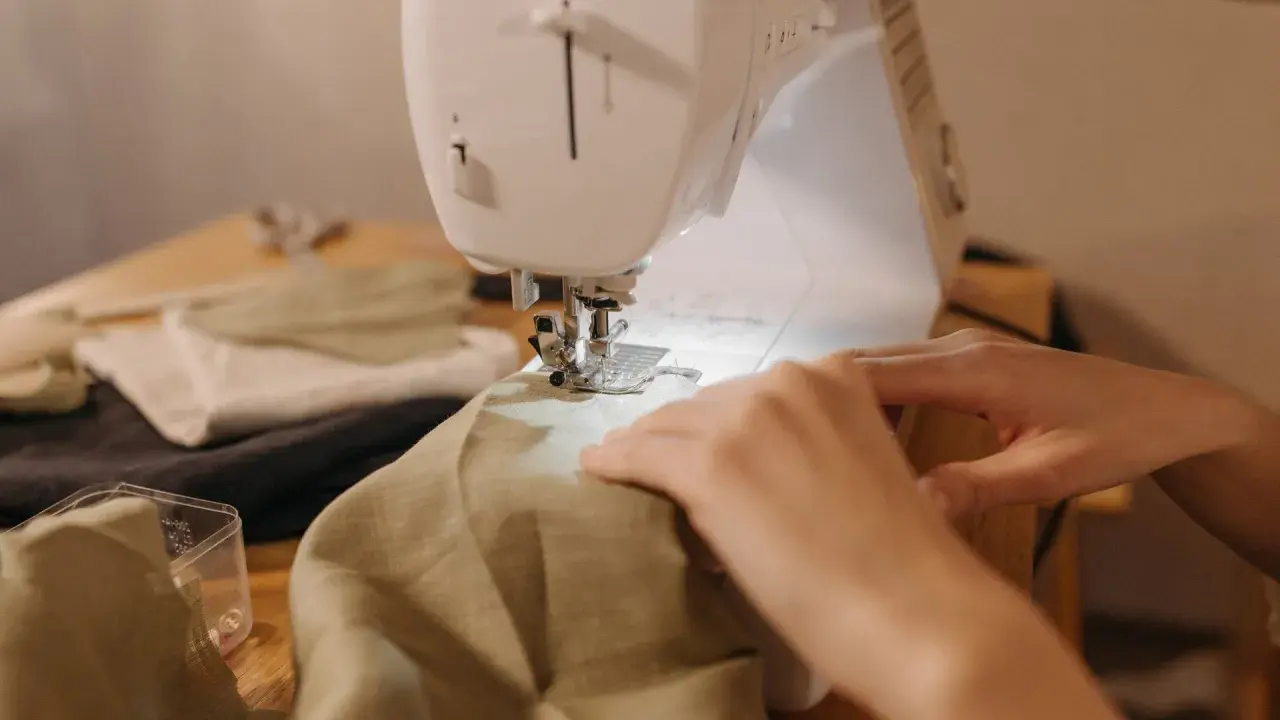
A sewing hobby is one of the few creative pursuits that gives you something useful almost immediately: a hem fixed, a cushion cover finished, a tote bag you actually use. The trick is not buying everything at once, but learning a small set of basics that make the work feel controlled rather than messy. In this guide, I’ll cover the tools worth having, the stitches and machine skills that matter first, beginner projects that build confidence, and the mistakes that usually waste time.
What matters most when you start sewing
- Begin with woven cotton and simple shapes; save slippery or stretchy fabrics for later.
- A short, practical tool kit matters more than a box full of extras.
- Learn seam allowance, grainline, straight stitching, backstitching, and pressing first.
- Use scraps to test needle choice, tension, and stitch length before cutting the real fabric.
- Start with projects that repeat the same seam several times, so the skill settles in.
Why sewing works so well as a leisure skill
What makes sewing different from many hobbies is that it sits between craft and utility. You can enjoy the rhythm of stitching, but you also end up with repairs, gifts, or home items that earn their place. I also like that it scales: if you only have 20 minutes, hand stitching a hem is realistic; if you have an evening, you can cut and assemble something larger.
The catch is that sewing rewards accuracy more than enthusiasm. A straight seam, a clean press, and the right needle do more for the result than a long list of gadgets. That is why the early stage feels so important: once the basics are automatic, everything else becomes easier. Next, I’d look at the setup that keeps the first few projects affordable and calm.
What to buy first without overbuying
I would keep the first purchase list short. If the goal is to enjoy the work, not build a studio, you only need enough to cut, mark, stitch, and press cleanly.
| Approach | Best for | What you learn first | Typical UK starting cost |
|---|---|---|---|
| Hand sewing | Mending, small projects, learning stitch control | Running stitch, backstitch, whipstitch, button attachment | £15-£40 |
| Machine sewing | Seams, bags, home accessories, faster finishing | Threading, bobbin winding, straight stitch, seam allowance | £120-£300 for a basic machine |
| Hybrid setup | Most beginners who want flexibility | Hand stitches for detail, machine stitches for long seams | £150-£350 |
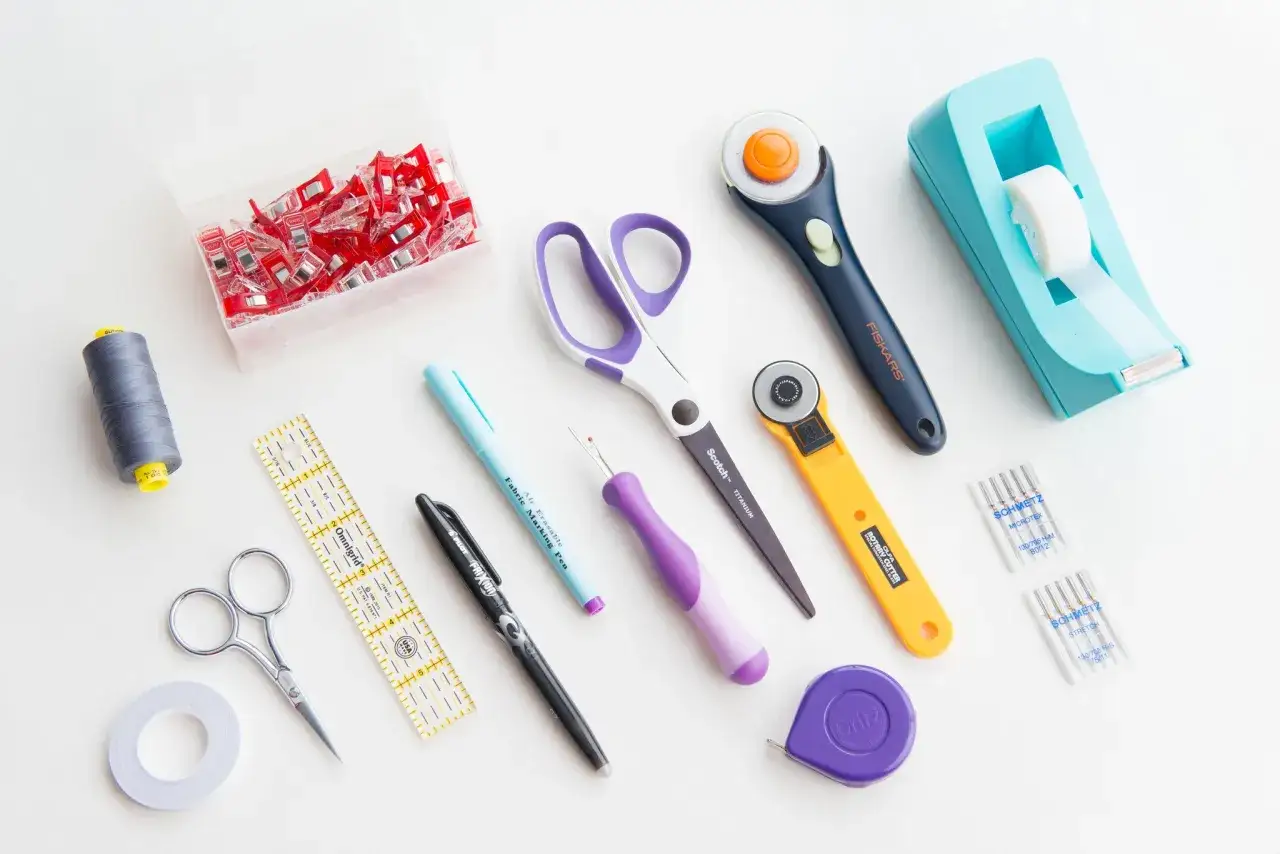
After that, I’d keep the actual kit tight: fabric scissors reserved for cloth, a tape measure in centimetres and inches, pins or clips, a seam ripper, universal needles, decent polyester thread, chalk or a washable marker, and an iron you already own. For a first setup, that is usually enough to begin for roughly £35-£80 if you sew by hand, or about £150-£350 if you add a basic machine. If I had to cut the list further, I would keep the scissors, tape measure, seam ripper, needles, and iron before I bought anything decorative. From there, the more interesting question is which techniques deserve your attention first.
The first techniques I would learn
Before chasing complicated projects, I would focus on a few techniques that solve real problems. In practice, that means learning how to control the stitch line, how fabric behaves under pressure, and how to finish a seam so the inside looks intentional instead of improvised.
Hand stitches that solve everyday jobs
The running stitch is the easiest to learn and is useful for basting, mending, and temporary holds. The backstitch is stronger and is the one I reach for when a seam needs to stay put. A whipstitch is useful for closing openings and joining edges by hand. These are not glamorous stitches, but they are the ones that make small repairs and simple projects possible without stress.
Machine basics that matter on day one
If you use a machine, learn threading, winding the bobbin, lowering the presser foot, and stitching a straight line before doing anything decorative. I usually set a beginner machine to a straight stitch around 2.5 mm, sew a sample on scrap fabric, and only then cut the real pieces. Most UK garment patterns use a 1.5 cm seam allowance unless stated otherwise, so keep that distance in mind when you line up your fabric. A universal 80/12 needle is a sensible starting point for medium-weight woven cottons; change the needle when the fabric becomes lighter, thicker, or stretchier. If the stitches pucker or the underside loops, tension or needle choice is usually the first thing I check.
Read Also: Sewing Wool - Master Techniques for Perfect Garments
Pressing and finishing make the work look deliberate
Pressing is not the same as ironing. Pressing means lifting the iron and setting the seam flat instead of dragging it around. On plain woven cotton, a simple press after every seam changes the result more than most beginners expect. When edges fray, a zigzag stitch, overlocker, or French seam keeps the inside neat; when pieces shift, pins or clips do more than forcing the fabric through faster. I also keep both a centimetre ruler and a small seam gauge near the machine, because tiny measurements add up quickly in dressmaking. Once those basics feel less awkward, you can start choosing projects that teach the same skills in a finished shape.
First projects that build confidence
The best first projects are small enough to finish, but not so trivial that they teach nothing. I prefer projects that repeat the same seam several times, because repetition is what turns a movement into a habit.
| Project | What it teaches | Why it works |
|---|---|---|
| Hemmed tea towel or napkin | Straight edges, corner turning, pressing | Low risk and genuinely useful, so the learning feels worthwhile |
| Drawstring pouch | Straight seams, casing, turning the fabric right side out | Small enough to finish in one sitting, with a tidy result |
| Envelope cushion cover | Measuring, long seams, neat corners | Feels like a real home project without fitting problems |
| Simple tote bag | Handles, topstitching, fabric handling | Practical, repeatable, and a good introduction to sturdier seams |
I would leave fitted garments, zips, and slippery fabrics for later. They are not impossible, but they add fit and handling problems before your hands know what a clean seam feels like. Medium-weight woven cotton is the easiest fabric to learn on because it cuts cleanly, presses well, and stays where you put it. Once a beginner project looks finished instead of merely assembled, the next challenge is avoiding the errors that create unnecessary unpicking.
The mistakes that slow beginners down
- Starting with the wrong fabric. Stretch jersey, satin, and very loose weaves can make a first project feel chaotic. I would choose a stable woven cotton until cutting and stitching feel predictable.
- Skipping scrap tests. Five minutes on a fabric offcut can save an hour of unpicking. Test stitch length, tension, and needle choice before you touch the main pieces.
- Ignoring the grainline. The grainline is the direction of the threads in woven fabric. If you cut against it without meaning to, garments and bags can twist or hang badly.
- Not pressing as you go. A seam that is pressed after stitching lies flatter, fits together better, and looks cleaner. This is one of the fastest ways to improve the final result.
- Buying too many tools too early. Specialty feet, rulers, and rulers for every niche job are tempting, but most beginners need fewer items than they think. I would add tools only when a project proves they will solve a real problem.
- Expecting the first item to look perfect. The first project is usually where you learn how your machine behaves, how your scissors cut, and how much patience your attention span really has. A finished object with a few wobbles teaches more than an abandoned attempt at perfection.
Most of these mistakes are small on their own; together they create the sense that sewing is harder than it really is. The fix is usually not more pressure, but a steadier routine. That is where the hobby starts to feel enjoyable instead of intimidating.
How I would keep the hobby enjoyable after the first few makes
The easiest way to lose momentum is to make every project feel like a test. I get better results when beginners treat early sewing sessions as practice with a finished object attached, not as a pass-or-fail exam.
- Work in 30-60 minute sessions so fatigue does not distort the stitches.
- Keep a small notebook of needle size, thread, fabric, and stitch length.
- Use one new technique per project instead of three.
- Save cotton offcuts for seam and tension tests.
- Choose projects you can use quickly, because utility makes the learning feel worthwhile.
If you like learning with other people, a local evening class or small workshop can remove a lot of guesswork in the first month. I have seen that make a real difference for people who keep unpicking the same mistake at home. A little structure is often enough to turn frustration into progress, and that leads neatly into the first month I would actually recommend.
The first month is enough to make it click
If I were starting from scratch, I would spend week one on threading, straight seams, and a few hand stitches on scraps. Week two would be one small item such as a pouch or tea towel hem, with pressing done properly. Week three would add a casing, topstitching, or an envelope back, and week four would repeat one of those skills on a different fabric so the technique sticks rather than the pattern alone.
That sequence keeps the learning curve honest: first control the stitch, then the seam, then the finish. Once those pieces click, you no longer feel like you are fighting the hobby; you are actually making things.
