
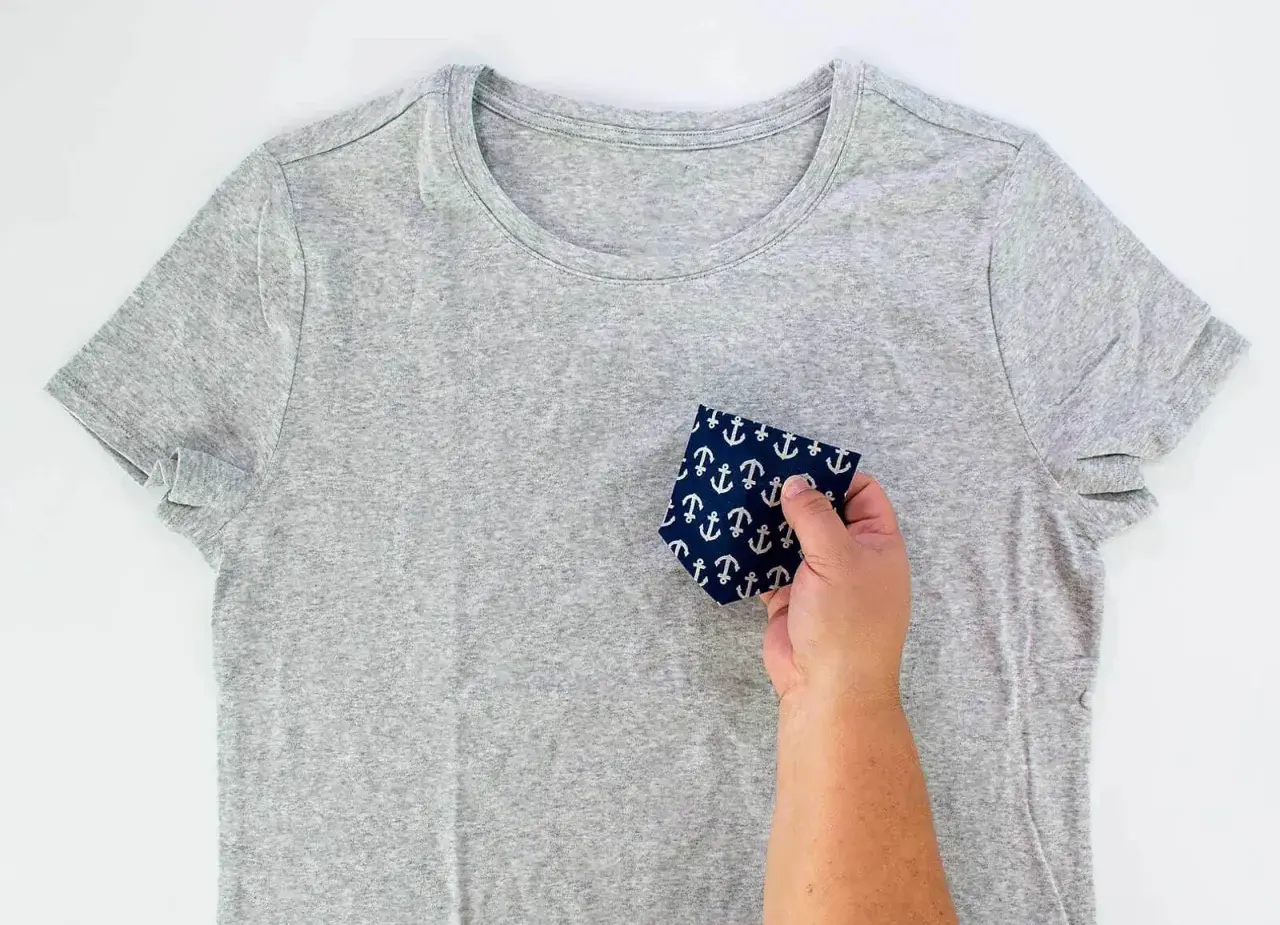
The essential pocket-building steps at a glance
- Choose a curved front hip pocket for most trousers and jeans unless you have a specific style reason to do something else.
- Draft the opening generously so it fits a hand comfortably after seam allowances are added.
- Stabilise the opening edge with interfacing before you sew, especially on denim, twill, and looser woven fabrics.
- Understitch or edge stitch so the facing stays hidden and the pocket mouth lies flat.
- Trim, grade, clip, and press at every curved seam; that is what keeps the pocket from looking homemade in the wrong way.
- Finish jeans and tailored trousers differently because the fabric weight and visible stitching rules are not the same.
Choose the pocket style that suits the trousers
Before I cut anything, I decide what kind of front pocket the garment actually needs. For most trousers and jeans, a curved front hip pocket is the most practical choice because it holds shape, feels natural in use, and sits cleanly into the front panel once pressed. If you want a simpler, more casual finish, a patch pocket is easier to sew; if you want a sharper tailored look, a bound or welt-style opening can work, but it asks for far more precision.
| Pocket style | Best for | Why I would choose it | Trade-off |
|---|---|---|---|
| Curved front hip pocket | Everyday trousers, jeans, chinos | Balanced between function, comfort, and a neat finish | Needs a facing, pocket bag, and careful pressing |
| Patch pocket | Casual trousers, utility styles, workwear | Simplest to sew and easy to place | Adds visible bulk and changes the look of the front leg |
| Bound or welt pocket | Tailored trousers | Sleek and refined when done well | Less forgiving and much harder to correct if the opening goes off grain |
I usually recommend the curved pocket first because it is the easiest to wear and the least likely to look improvised. Once you know which shape suits the garment, the next job is drafting the opening so the pocket bag has enough room to work properly.
Draft the opening and cut the pocket pieces
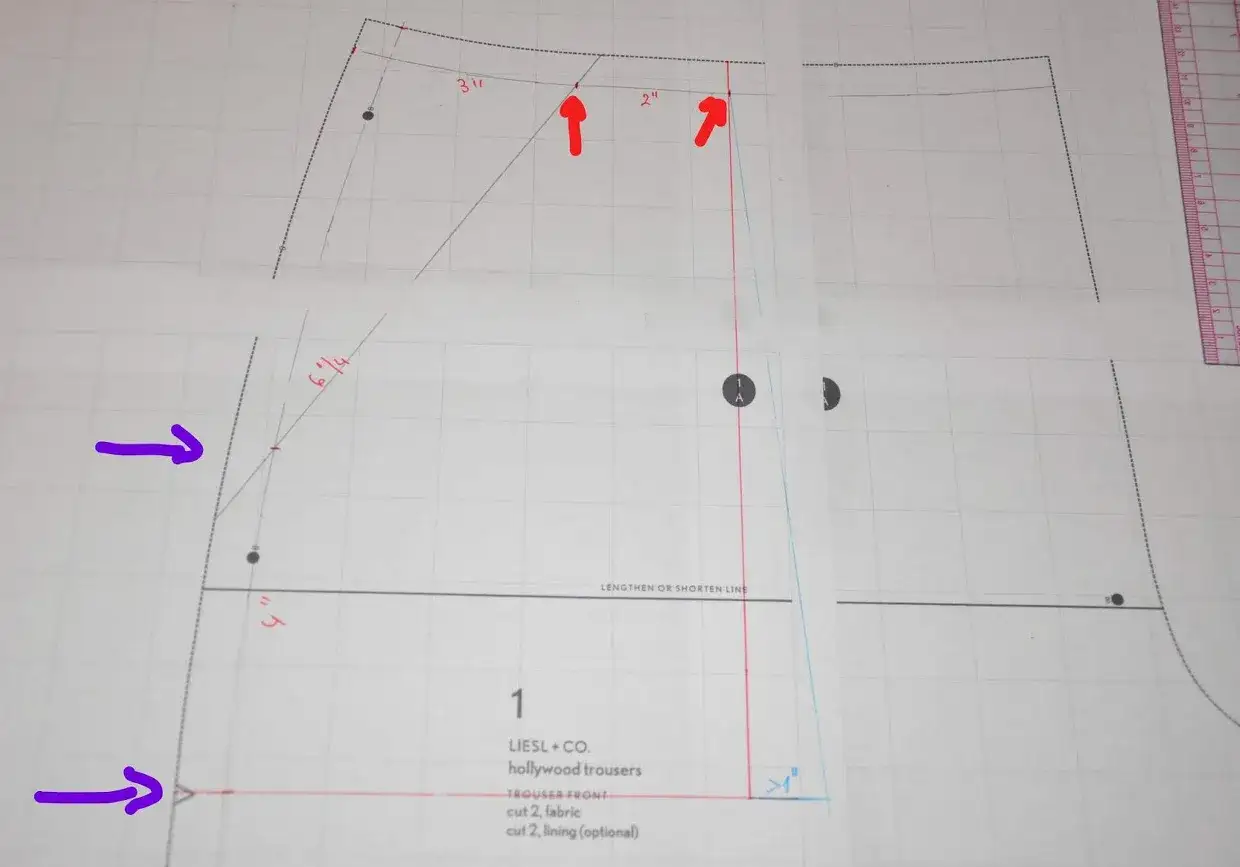
If I am starting from a trouser pattern, I trace the front leg first and mark the pocket opening on the seam line, not just the cutting line. A good starting point is an opening about 15-18 cm (6-7 in) long, with the top beginning roughly 4-5 cm (1.5-2 in) down from the waist at the side seam. That gives the hand room without letting the pocket mouth drift too low across the hip.
For the pocket bag, I prefer something deeper than most beginners expect. Aim for at least 20-25 cm (8-10 in) below the waistline so the pocket is actually usable. Round the lower corners rather than leaving them square; those corners collect lint and create stiffness for no useful reason. If the trousers are fitted, I also like a slightly curved bag shape that follows the front leg instead of hanging like a flat rectangle.
The pieces I normally cut are:
- The trouser front, with the pocket opening marked clearly.
- The pocket facing, which finishes the visible opening edge.
- The pocket bag, which carries the hand and the weight of whatever goes inside.
- Optional self-fabric upper sections if the style needs the pocket to peek out slightly for design reasons.
For tailored trousers, I reach for pocketing cotton, lightweight cotton lawn, or a smooth woven lining that will not add drag. For jeans and heavier cotton trousers, I want something sturdier. If the fabric is bulky already, I keep the pocket bag as smooth as possible so the hip area does not become overbuilt. The key is simple: the pocket should disappear into the garment, not compete with it.
Once the paper is right, the sewing becomes much easier, because the pocket will already be balanced against the shape of the front leg.
Stabilise the pocket mouth before you stitch
This is the stage I never skip. A pocket opening takes stress every time a hand goes in or out, and the edge will stretch quickly if it is left unsupported. I fuse a narrow strip of lightweight interfacing along the opening on the wrong side of the trouser front, usually about 2.5-4 cm (1-1.5 in) wide, depending on the fabric. On denim, that strip makes a visible difference; on wool or loosely woven linen, it prevents the mouth from growing before the garment is even finished.
If the opening has a curve, I staystitch it first. Staystitching is a short row of stitches just inside the seam line that stops curved or bias edges from stretching out while you handle the piece. If the front leg has pleats, I sew those before the pocket, because the pocket should sit against a finished front shape rather than trying to shape the leg for you later.
I also transfer every notch and mark at this stage. That sounds small, but a missing notch is one of the fastest ways to end up with a twisted pocket bag or mismatched left and right fronts. If your fabric frays heavily, finish the raw edges of the pocket bag and facing now while the pieces are still flat. It is much cleaner than trying to neaten them after the pocket has been assembled.
The rule here is straightforward: support first, stitch second. That order keeps the opening stable and saves you from fighting the fabric later.
Sew the facing and pocket bag in the right order
Once the pieces are cut and stabilised, I sew the pocket in a sequence that keeps the opening crisp and the bag flat. The exact order varies a little between patterns, but the logic stays the same: finish the opening first, then build the bag, then secure the whole unit to the trouser front so it cannot shift while the rest of the garment is assembled.
- Place the pocket facing right sides together with the trouser front and stitch the opening seam using the seam allowance given in the pattern. If you are drafting from scratch, 12-15 mm (1/2-5/8 in) is a common allowance.
- Trim the seam allowance, then grade it if the layers are thick. Grading means trimming the layers to slightly different widths so they do not build into a ridge at the edge.
- Clip the curve carefully so the seam can spread when you turn it to the inside. Do not cut through the stitches.
- Understitch the facing close to the seam line. Understitching is a row of stitching through the facing and seam allowance that helps the facing stay rolled to the inside instead of showing at the edge.
- Turn the facing to the wrong side and press the opening hard enough to set the curve, but not so hard that you flatten the fabric texture.
- Sew the pocket bag pieces together along the outer curved edge, then finish that raw edge with an overlocker, zigzag stitch, or another method that suits the fabric.
- Baste the upper and side edges of the completed pocket unit so it stays aligned when you sew the side seam or waistband later.
If the opening is meant to be visibly topstitched, I do that after pressing and before the pocket bag is fully enclosed. On tailored trousers, I usually keep that line subtle; on casual trousers and jeans, I am happy to use a stronger visible stitch because it matches the rest of the garment. Either way, the pocket should lie smooth from the waist to the hip, not buckle when you lift the front leg.
That sequence is the part most people want when they are learning the technique, because it is what turns separate pieces into a clean, usable front pocket.
Handle jeans and tailored trousers differently
Front pockets on jeans and front pockets on tailored trousers are built from the same basic idea, but they are not finished the same way. Jeans can carry more topstitching, firmer pocketing, and stronger reinforcement at the opening. Tailored trousers usually need less visible stitching and a softer internal finish so the front stays smooth. I always choose the finishing method to match the fabric and the final look, not the other way around.
| Feature | Tailored trousers | Jeans and casual trousers |
|---|---|---|
| Pocketing fabric | Lightweight pocketing cotton, lawn, or smooth lining | Sturdier pocketing, denim pocketing, or firm cotton |
| Visible stitching | Minimal, usually understated | More prominent topstitching is part of the look |
| Reinforcement | Interfacing and careful pressing are usually enough | Bar tacks or extra topstitching can help the opening stand up to wear |
| Bulk tolerance | Low; the front must hang cleanly | Higher; a slightly heavier pocket can work if the style supports it |
| Best visual result | Flat, quiet, and refined | Strong, durable, and clearly constructed |
The practical difference is simple: if I am making elegant trousers, I want the pocket to disappear into the silhouette. If I am making jeans, I expect the pocket to do a little more work structurally and visually. That is why the same construction can look right in one fabric and wrong in another.
Choosing the right finish for the fabric is the easiest way to avoid a pocket that feels either too delicate for jeans or too bulky for dress trousers.
Avoid the pocket problems I see most often
Most pocket problems are not mysterious. They come from a few predictable mistakes, and once you know them, they are easy to prevent. I see the same issues again and again, especially on first attempts or when someone is adapting a pattern without checking the pocket depth and opening shape.
- The opening is too small. The pocket looks neat on paper but feels unusable in real life. I fix this by checking the hand against the draft before I cut fabric.
- The pocket bag is too shallow. If the bag ends too high, keys and phones sit awkwardly and the front can pull. I prefer to go deeper than necessary rather than risk that problem.
- The curve was not clipped enough. The opening does not turn smoothly and the edge ripples. A few careful clips, spaced closely on tight curves, usually solve it.
- The facing was not understiched. The inner layer rolls out and shows on the front. This is one of the simplest problems to prevent and one of the most obvious when ignored.
- The left and right pockets are not mirrored properly. One side feels right, the other sits strangely. I always compare the two pieces before sewing the second side.
- The pocket bag was not basted in place. It shifts while the side seam is sewn, which creates drag and a twisted hang. A quick basting line saves a lot of frustration.
If a pocket feels bulky after pressing, I do not blame the pattern first. I check the seam allowances, the lining weight, and whether the curve was trimmed and graded cleanly. In most cases, the fix is in the handling rather than the shape.
Once those mistakes are out of the way, the pocket starts behaving like part of the garment instead of a separate add-on.
Give the finished pocket a proper fit check
Before I move on to the waistband, side seam, or hem, I always test the pocket by hand. I slide my hand in and out, check that the opening lies flat against the front leg, and make sure the bag hangs straight without dragging the waistline out of shape. If the opening waves or the edge feels stiff, I press it again and look for the cause rather than hoping it will improve later.
Then I check the garment in motion. I sit down, bend slightly, and see whether the pocket gapes or pulls. That matters more than a perfectly tidy flat-lay photo, because a pocket has to work while the trousers are worn, not just when they are on the table. For jeans, I may add bar tacks at stress points after the side seams are sewn. For tailored trousers, I usually rely more on careful interfacing and clean stitching than on heavy visible reinforcement.
If the pocket sits flat, feels secure, and does not distort the front leg, the construction is right. That is the stage where I stop making changes and move on to the rest of the trousers, because a well-set pocket is one of those details that quietly lifts the whole garment.
What matters most is not one perfect stitch line but the sequence: stabilise first, sew the opening cleanly, trim the bulk, and match the finish to the fabric. When those pieces line up, the pocket feels natural in use and looks built into the trousers rather than attached at the end.
