
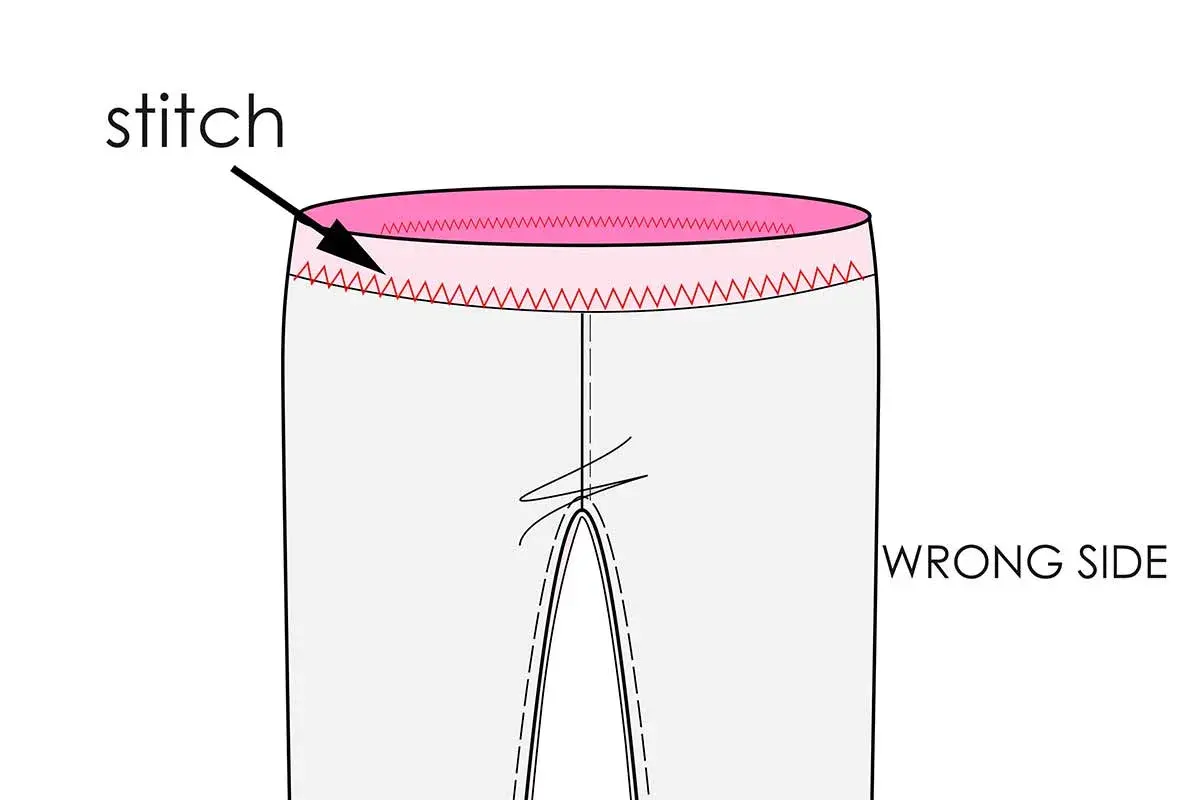
Casing sewing is one of the simplest ways to turn a raw edge into a working channel for elastic or a drawstring, but the difference between tidy and messy comes down to the details. I focus on three things every time: the width of the tunnel, the way the opening is finished, and whether the insert can move freely without twisting. In this guide, I’ll show you how to choose the right method, sew it cleanly, and avoid the mistakes that usually show up on the first attempt.
The essentials to get right before you stitch
- A casing is a sewn tunnel that holds elastic, cord, or both.
- The channel should be slightly wider than the insert so it can slide, gather, and recover properly.
- Fold-over hems are the quickest option; separate strips and seam casings give more control.
- Buttonholes, eyelets, or a seam opening are what make drawstrings usable, not just decorative.
- Most problems come from poor pressing, tight channels, or twisted elastic during insertion.
What a casing does and where it makes sense
A casing is simply a fabric tunnel, but that small idea does a lot of work. It lets elastic control fullness without showing on the outside, and it gives a drawstring somewhere to travel so the wearer can adjust fit. I use it constantly in waistbands, cuffs, pyjama trousers, bags, hoodies, and simple children’s clothes where comfort matters more than rigid structure.
The real advantage is flexibility. A casing gives you an adjustable finish without needing a separate waistband or an exposed elastic edge, and it is also easy to repair later if the elastic wears out. On a lined skirt, for example, it can keep the inside neat while still allowing enough give for sitting and movement. On a tote bag or laundry bag, it creates a clean closure that looks more intentional than a plain folded hem.
Where it matters most is fit. If a garment needs to expand and contract a little, a casing usually makes more sense than a fixed stitched waistband. Once you know the job it has to do, choosing the construction becomes much easier.
Choose the right construction for the project
| Method | Best for | Why I choose it | Main limitation |
|---|---|---|---|
| Self-folded hem casing | Lightweight cottons, simple waistbands, bags | Fast, neat, and uses the fabric already on the project | Needs enough depth in the edge to create a stable tunnel |
| Separate casing strip | Curved edges, structured garments, cleaner interiors | Gives better control over width and finish | Adds an extra seam and a little more bulk |
| Casing built into a seam allowance | Waist seams on skirts, trousers, and dresses | Uses what is already there and keeps the outside simple | Depends on having enough seam allowance to begin with |
| Dual channel | Elastic plus drawstring at the same waist | Combines comfort with adjustability | Takes more time and can feel bulky if the fabric is heavy |
My rule is simple: I use the least complicated version that still gives the insert enough room and the garment enough shape. If the edge is curved or the fabric is slippery, a separate strip usually behaves better. If the garment already has spare seam allowance, a built-in casing is often the cleanest and quickest choice. That leads straight into the part that matters most in practice: how to stitch the thing so it actually works.
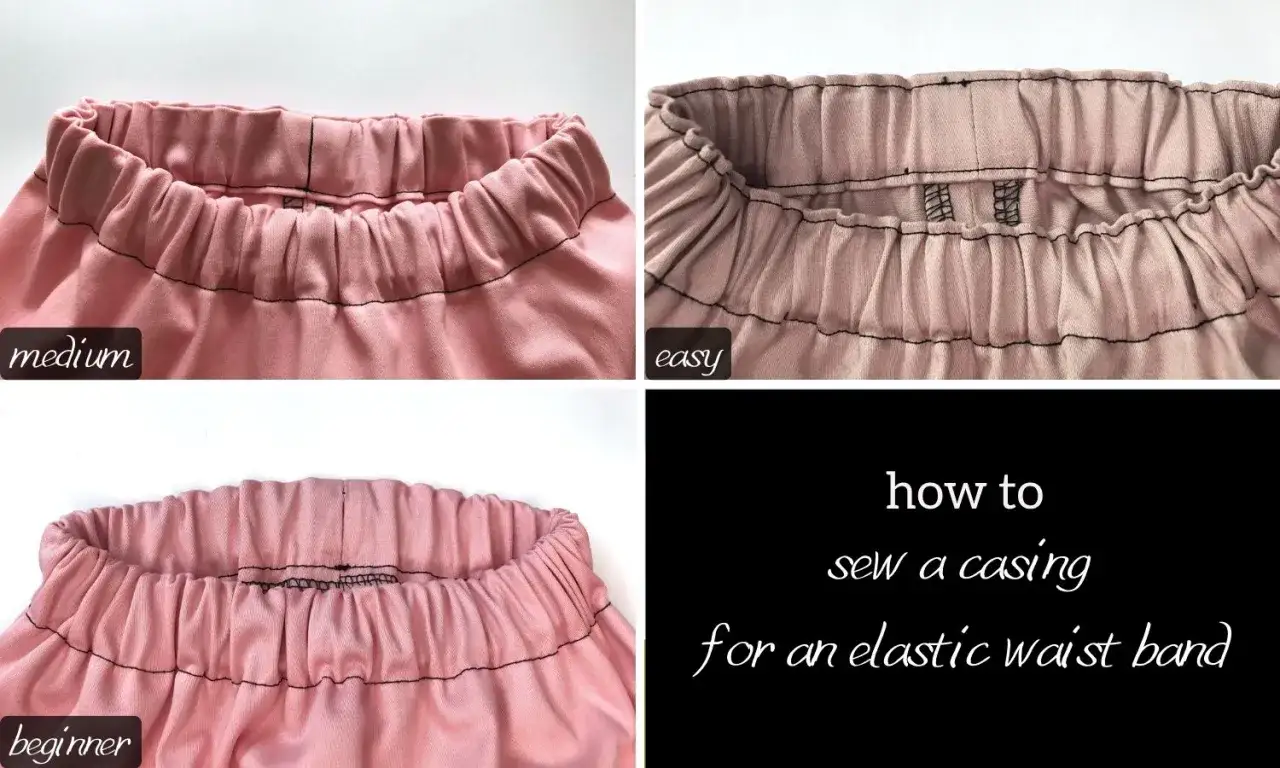
How I sew a clean casing step by step
- Measure the area first. Decide where the casing will sit, then mark the finished fold line with chalk or a fabric pen so the channel is even all the way round.
- Finish the raw edge. On woven fabric, I usually overlock, zigzag, or turn the edge under once before making the casing. This keeps fraying out of the tunnel.
- Press before you sew. I press the fold line firmly, because a good crease is more accurate than trying to follow a soft edge with the machine.
- Stitch the casing. For most woven fabrics, a straight stitch around 2.5 to 3 mm works well. Leave a gap wide enough to insert elastic or cord if the opening will be hidden later.
- Prepare the opening for a drawstring. If the casing is for cord, make the exit points first with buttonholes, eyelets, or a seam opening. A buttonhole is a stitched opening; an eyelet is a reinforced metal or stitched ring that stops the fabric from fraying.
- Insert the elastic or drawstring. A bodkin is my preferred tool for narrow channels because it grips the insert more securely than a standard needle. A safety pin still works if the tunnel is generous enough.
- Join the elastic ends. I overlap them by about 25 to 30 mm and secure them with a dense zigzag or a multi-step zigzag. That keeps the join flat without creating a hard lump.
- Close the opening and check the finish. Once the insert is inside and the fit feels right, stitch the gap closed and smooth the casing so the fabric sits evenly.
If the edge is curved, I clip the seam allowance every 20 to 30 mm before folding so the casing lies flat instead of pulling into ripples. That small step makes a bigger difference than most beginners expect.
Size the channel, elastic and drawstring without guesswork
Most casing problems start with the wrong proportions, not the wrong stitch. A channel that is too tight fights the insert; one that is too loose collapses and looks sloppy. I prefer to choose the size before sewing anything down, because it is much easier to adjust on paper or scrap fabric than to unpick a finished waistband.
| Element | My starting point | Why it works |
|---|---|---|
| Elastic length | About 5% to 10% shorter than the body measurement, depending on stretch | Gives support without cutting in too hard |
| Finished casing depth | Elastic width plus 6 to 12 mm | Leaves enough room for the elastic to move and recover |
| Drawstring length | Opening span plus enough extra for knots or a bow; for adult waist ties I usually add 60 to 75 cm in total and trim later | Prevents the tie from feeling stingy once it is threaded |
| Drawstring opening | Large enough for the cord to slide without snagging | Stops wear at the exit point and makes threading easier |
As a practical example, 20 mm elastic usually feels comfortable in a finished casing around 26 to 32 mm deep. For a 4 to 5 mm cord, a neat buttonhole around 12 mm is often enough, but I still test on a scrap first because fabric thickness changes everything. If you are working on children’s clothing, keep the cord short and check current safety guidance before deciding on a functional drawstring. That same habit of testing also helps with the little failures that can make the whole job frustrating.
The mistakes I see most often and how to fix them
- The casing is too tight. The elastic drags, the fabric puckers, and the waistband feels harsh. Widen the channel or move to a narrower elastic.
- The elastic twists inside. This usually happens when the insert is pushed through too quickly or the quarter marks were never matched. Mark both the casing and the elastic before threading.
- The opening frays. A raw hole near the drawstring exit wears out fast. Reinforce it with a buttonhole, eyelet, or bar tack. A bar tack is a dense zigzag used to strengthen a small stress point.
- The join is bulky. A thick elastic overlap shows through light fabric and feels uncomfortable against the body. Trim the ends neatly and keep the overlap flat before stitching.
- The edge waves after sewing. This is often a pressing or handling problem, not a fabric problem. Press first, sew in short sections, and let the machine feed the fabric rather than pulling it through by hand.
If I am working on a very fine or slippery fabric, I also staystitch the edge before making the casing. Staystitching is a short, stabilising row of stitching that helps stop curved or bias edges from stretching out of shape.
When I would use another finish instead
A casing is a strong choice for relaxed garments, adjustable waists, soft cuffs, and everyday bags, but it is not the answer to every finish. If I want a waistband to sit crisp and flat under a tucked-in shirt, I usually reach for a structured band or a faced waistband instead. Those options take more time, but they hold shape better and give a more tailored result.
I am also cautious with very heavy fabrics. On thick denim or dense coating cloth, a casing can turn bulky quickly, especially if the elastic is wide. In that case, a separate waistband, interfaced facing, or topstitched finish often behaves better. The same is true when the design needs a very clean front and a little more formality.
The useful habit here is to ask what the garment should do, not just how you want to sew it. If it needs ease and adjustability, a casing is usually the simplest answer. If it needs structure, shape, or a sharper line, another finish will earn its place.
When I want the cleanest result, I make a quick scrap test, press the fold before stitching, and check the insert before I close the opening. Those three habits solve most problems long before the finished piece is on the body, and they are usually the difference between a casing that feels improvised and one that looks deliberately made.
