
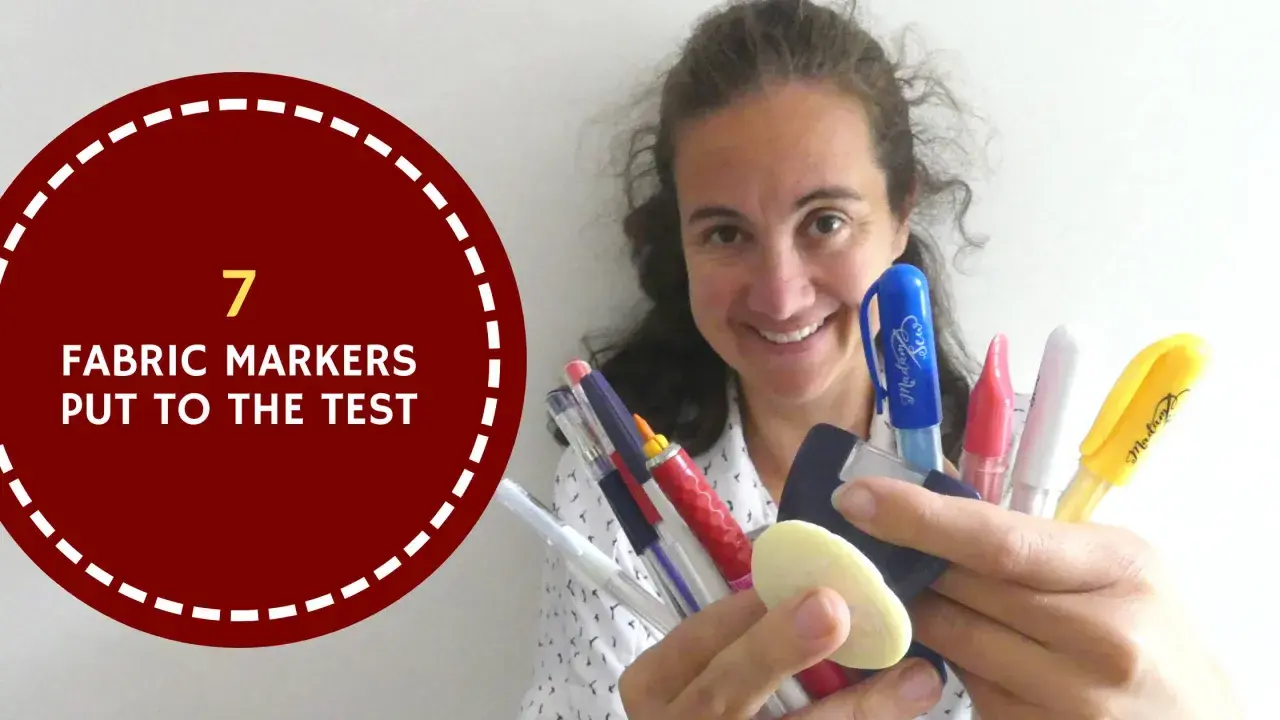
The right marking tools for sewing save time, but more importantly, they prevent avoidable mistakes when you are transferring darts, notches, seam lines, or quilting guides. In practice, the best tool is the one that shows up clearly on your fabric, stays put long enough to sew, and disappears without leaving a trace. I would rather have three reliable options in the drawer than a dozen flashy ones that fail on the cloth I actually use.
The safest mark is the one that fits the fabric, the task, and the way you will remove it
- Not every project needs the same marking method; a quilting line, a dart point, and a buttonhole position call for different tools.
- Temporary pens are useful, but chalk, tailor's tacks, and tracing methods are often safer on delicate or textured fabrics.
- Fabric type matters as much as visibility: silk, wool, knits, and pile all behave differently under ink, chalk, and pressure.
- Always test on an offcut before you commit to a garment, especially if you plan to press the piece later.
- A small starter kit can cover most dressmaking jobs without filling a whole notions box.
What fabric marking is really doing
Marking is not decoration and it is not an optional extra. It is the step that translates the flat paper pattern into information your hands can actually use on cloth. When I mark a project well, I spend less time guessing where a dart should end, which notch matches which seam, or where a topstitching line needs to sit.
The marks most sewers need are usually practical rather than decorative: grainlines, fold lines, dart points, pleat positions, pocket placement, buttonholes, seam intersection points, and quilting guides. Some of those marks can be cut directly into the pattern or transferred with a notched edge, but many need a visible line or a temporary reference on the fabric itself.
That is why over-marking can be as unhelpful as under-marking. If every piece is covered in lines, you end up chasing the wrong one later. I prefer to mark only what I will genuinely use during cutting, fitting, and stitching. Once you know what needs to be transferred, choosing the right tool becomes much easier.
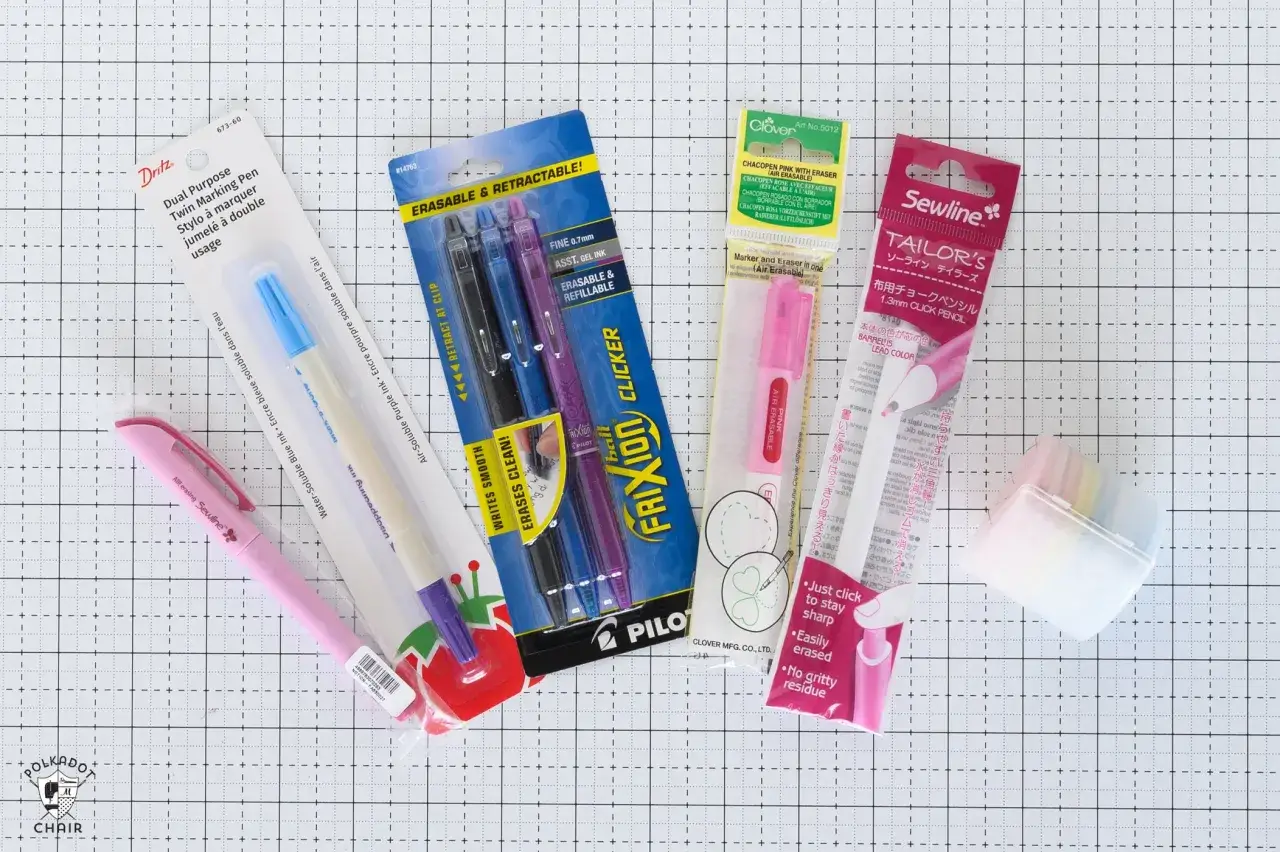
The main marking tools and when I reach for each one
| Tool | Best for | Why it works | Watch-outs |
|---|---|---|---|
| Tailor's chalk | General dressmaking, woven fabrics, quick temporary lines | Easy to see, easy to brush off, and usually gentle on cloth | Can crumble or blur on textured or very smooth fabrics |
| Chalk pencil or chalk wheel | More precise lines than a chalk block | Better control for seams, hems, and small adjustments | Needs a light touch or it can leave a thick, muddy line |
| Water-erasable pen | Short-term marks that need to be crisp and fine | Clean line, good visibility, useful for detailed transfer work | Must be removed fully; do not leave it to sit for too long |
| Air-erasable pen | Quick jobs and short sewing sessions | Convenient when you need a line and do not want to use water or heat | Can fade before you are ready, especially in warm or dry conditions |
| Heat-erasable pen | Neat, temporary lines on projects that will be pressed carefully | Very tidy and easy to read while you work | Some inks can reappear in the cold, so I never trust them blindly |
| Tracing wheel and dressmaker's carbon | Pattern markings, darts, notches, and hard-to-reach transfer points | Very accurate for transferring from paper to fabric | Heavy pressure can distort thin cloth or leave marks where you do not want them |
| Tailor's tacks | Delicate fabrics, matching points, couture-style construction | No pigment at all; the thread simply carries the placement through the layers | Slower than pens or chalk, but worth it when the fabric is unforgiving |
| Hera marker | Quilting lines, folds, and marks you want as a crease rather than a stain | Leaves a visible impression without ink | Not ideal on very textured cloth where a crease may disappear |
My own rule is simple: use pigment when you need a visible line, and use thread or a crease when you want zero residue. That keeps the marking method aligned with the fabric instead of forcing one tool to do every job. The next question, then, is which of these options actually suits the cloth on your table.
How to match the tool to the fabric
Fabric behaviour changes the whole decision. A marker that looks perfect on quilting cotton can fail on silk, sink into velvet, or vanish on a dark wool before you have even cut the seam. I treat fabric type as the first filter and project length as the second.
| Fabric or situation | Usually works well | Why I would choose it | What I would avoid |
|---|---|---|---|
| Cotton and linen | Chalk pencil, water-erasable pen, tracing wheel with carbon | These fabrics are stable, readable, and forgiving | Very thick marks that can show through after pressing |
| Silk, viscose, and other slippery fabrics | Tailor's tacks, very light chalk, fine water-erasable pen on a scrap test | Delicate cloth needs the least aggressive method possible | Heavy pressure, broad chalk lines, and aggressive rubbing |
| Wool and tweed | Tailor's chalk, tailor's tacks, sometimes a Hera marker | The texture often swallows fine ink, while thread marks stay reliable | Fine pens that disappear into the nap or leave residue in the fibres |
| Knits | Light chalk, tailor's tacks, careful use of a transfer method | Knits can stretch, so I prefer methods that do not drag the fabric out of shape | Pressing a wheel too hard or drawing heavy lines that distort the grain |
| Pile fabrics such as velvet | Tailor's tacks or thread tracing | Ink and chalk often disappear into the pile, while thread stays readable | Anything that relies on a clean surface line |
| Dark fabrics | White or pale chalk, chalk pencils, tailor's tacks | Visibility matters more than elegance here; a faint line is no use at all | Dark pens that you cannot see once the light shifts |
| Quilting cotton | Water-erasable or heat-erasable pen, chalk, Hera marker | It usually gives the widest choice because it is stable and easy to handle | Air-erasable pens if the project will sit unfinished for a while |
| Coated or water-resistant fabric | Tailor's tacks, fabric-safe tape on the outside of the seam allowance, or a light mechanical transfer method on a test piece | Ink and chalk can bead or smear on the surface | Any marker that depends on absorption |
If I am unsure, I test on an offcut before I touch the garment. That one habit saves more projects than any branded marker ever will. Once the fabric is matched to the method, the final job is to mark in a way that keeps the line accurate and removable.
A marking routine that keeps lines accurate and removable
The sequence matters almost as much as the tool. A neat line drawn on wrinkled fabric is still a bad line, and a removable mark is only useful if it stays readable until you are done with it. This is the routine I trust most.
- Press the fabric and the pattern piece first so there are no false folds or wrinkles.
- Work on a flat, well-lit surface and secure the pattern with weights or pins so it does not creep.
- Test the marker on an offcut of the same fabric, then press or rinse it exactly as you plan to on the finished piece.
- Mark on the wrong side when possible, especially for seam lines, darts, and construction points.
- Transfer only the marks you truly need right now instead of drawing the entire pattern onto the cloth.
- Use the lightest mark that still reads clearly from a normal sewing distance.
- Remove temporary marks as soon as it is safe to do so, rather than leaving them to sit through finishing and pressing.
For removal, I keep the method just as simple. Brush off chalk gently rather than scrubbing it in. Dab water-erasable lines with a barely damp cloth instead of soaking the cloth in one spot. Use heat-erasable products only if you are happy with the fact that some inks can behave oddly after cold storage or repeated handling. And if a mark is meant to survive through fitting, I do not choose an air-erasable option at all.
That routine is boring in the best possible way: it reduces risk, and it makes the sewing itself more predictable. The main thing that gets in the way is a handful of avoidable habits, and those are worth calling out directly.
Common mistakes that cause stains, warped lines, or wasted time
Most marking problems come from using the right tool at the wrong moment. I see the same mistakes again and again, especially when someone is trying to move quickly.
- Relying on an air-erasable pen for a long project - those lines are great when you can sew immediately, but they are a poor choice if the garment will sit overnight or longer.
- Pressing before checking the mark - some inks become harder to remove after heat, and some colours change once the cloth is ironed.
- Using heavy pressure with a tracing wheel - the goal is transfer, not embossing the fabric into a new shape.
- Marking on pile or textured fabric with a fine pen - the line may vanish into the surface or leave an uneven blot.
- Covering the whole project with unnecessary lines - too many marks make it harder, not easier, to keep your place.
- Skipping the offcut test - a marker that behaves well on one fibre finish may fail on another, even if the fibres are similar.
- Forgetting which side should carry the mark - a mirror-image mistake on a neckline or dart is one of the most annoying fixes in dressmaking.
My blunt take is that most beginner frustration comes from overconfidence in a single pen. Fabric is less cooperative than paper, so the marking method has to be chosen with a little respect. That is exactly why a small, sensible starter kit beats a drawer full of duplicates.
What a practical starter kit looks like in the UK
For most home sewers in the UK, a useful starter kit usually costs about £15-£30 if you buy modest, reliable versions rather than premium sets. You do not need everything at once. You need a mix that covers common fabrics, a few transfer situations, and at least one non-ink option.
| Item | Typical price range | Why it earns a place |
|---|---|---|
| One light chalk pencil | About £3-£8 | Good for day-to-day marking on woven fabrics and quick adjustments |
| One water-erasable pen | About £4-£10 | Useful when you want a fine, clearly visible line for temporary placement |
| Tracing wheel and dressmaker's carbon | About £5-£12 | Handy for transferring pattern details without drawing directly on the cloth |
| Thread, needle, and a small spool for tailor's tacks | Usually under £5 if you already sew | Essential for delicate or pile fabrics where ink is a risk |
| Optional Hera marker or chalk wheel | About £4-£9 | Nice to have for quilting, folds, and marks you want without pigment |
If you sew mostly cotton garments or quilts, start with the chalk pencil and the water-erasable pen. If you work with more delicate dressmaking fabrics, add tailor's tacks sooner rather than later. That combination covers most of what a beginner or intermediate sewer is likely to need without turning the notions drawer into a museum of half-used gadgets.
The habits that matter more than the gadget itself
In the end, the tool matters, but the habit matters more. I keep an offcut beside the machine for testing every new marker under the same light, pressure, and pressing routine I plan to use on the project itself. I also label the tools I trust for dark fabrics, delicate fabrics, and quick jobs, because memory is a poor substitute for a repeatable system.
If I had to reduce the whole subject to one rule, it would be this: choose the least aggressive mark that still gives you a clear result, then check it before it touches the garment. That approach keeps sewing calmer, reduces waste, and makes your finishing work look cleaner from the start. Once that habit is in place, the rest of the process becomes much more dependable.
