
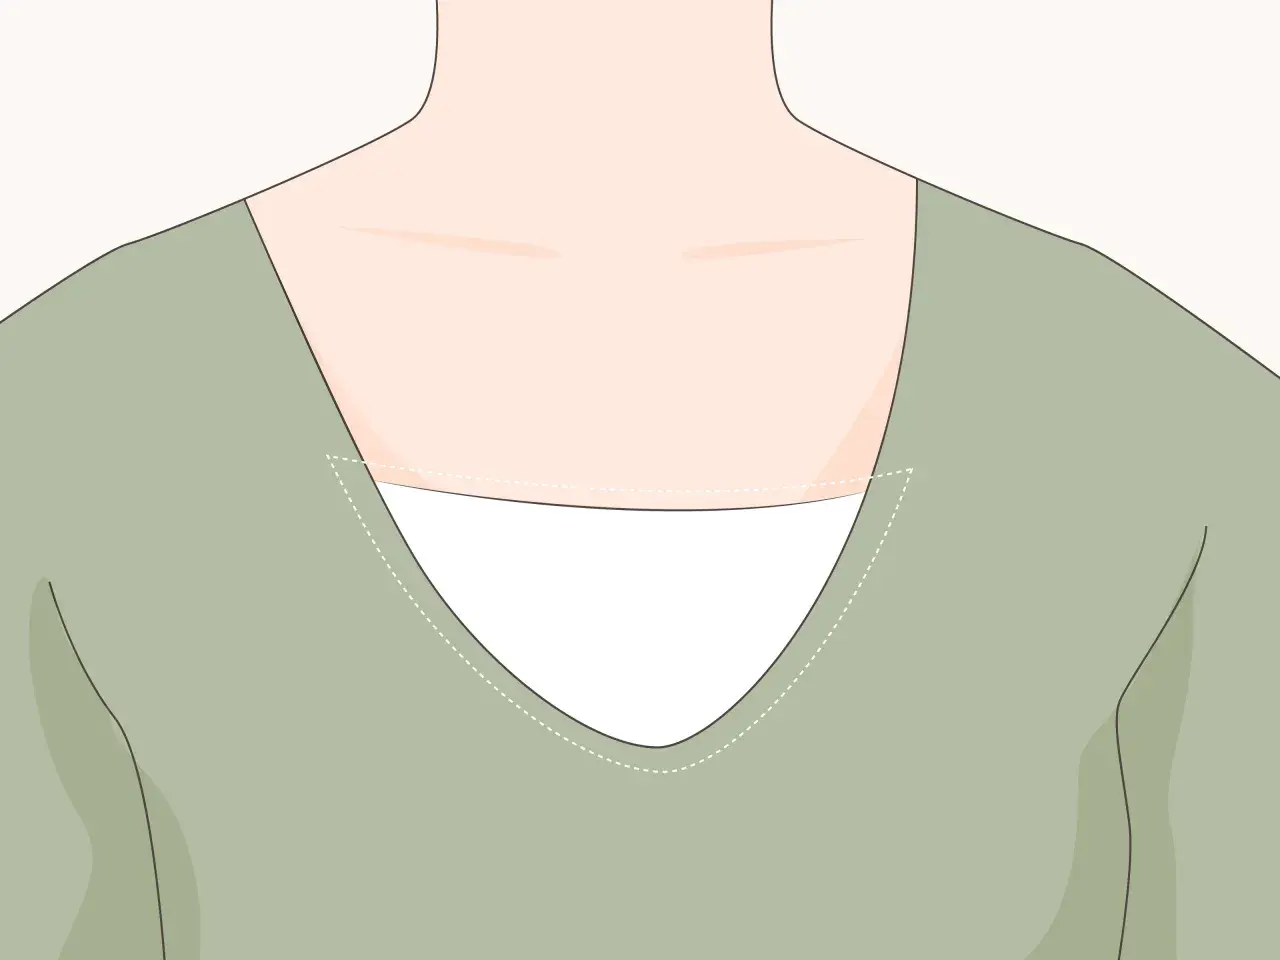
Neckline finishing does more than hide raw edges: it controls shape, comfort, and how polished the whole garment looks. If you have ever wondered how to sew neckline edges neatly, the answer depends on the fabric, the neckline shape, and whether the garment needs structure or stretch. In this guide I break down the methods I rely on for woven and knit garments, plus the prep steps and fixes that stop rippling, gaping, and wobbly edges.
The cleanest neckline starts with the right finish and a little stabilising
- Use a shaped facing when you want a crisp, structured finish on woven fabric.
- Use bias binding when the neckline is curved, lightweight, or meant to look softer.
- Use a knit neckband for jersey, rib knit, and other stretch fabrics so the opening keeps its shape.
- Staystitching curved woven necklines early prevents distortion before the finish goes on.
- Press, grade, and understitch whenever the edge wants to roll to the outside.
- Most neckline problems come from poor prep, not the final stitching itself.
Choose the finish that suits the fabric
I start every neckline by asking one question: does this opening need structure or stretch? A crisp blouse wants a different treatment from a jersey tee, and a sleeveless dress usually needs a cleaner inside than a casual tank.| Finish | Best for | Why I use it | Trade-off |
|---|---|---|---|
| Shaped facing | Woven necklines, especially round or softly squared openings | It gives a smooth inside and holds the neckline shape well | Can feel bulky if the fabric is heavy or the seams are not graded and pressed well |
| Bias binding | Curved edges, lightweight fabrics, V-necks, and decorative finishes | It follows curves neatly and can disappear into the garment or stand out as a feature | Needs accuracy; if stretched, it can ripple |
| Knit neckband | T-shirts, sweatshirts, jersey dresses | It stretches with the garment and helps the neckline recover after wear | Requires the right stretch ratio; too long gapes, too short pulls |
| All-in-one facing | Sleeveless garments and bodices where the inside matters | It creates one clean finish around both neckline and armholes | More fabric, more steps, and less forgiveness if the cut is off |
If I want the neckline to look almost lined, I reach for an all-in-one facing. If I want lightness and flexibility, I reach for binding. That choice sets up the rest of the work, which is mostly about keeping the fabric stable before I touch the machine.
Prepare the neckline before you stitch
Most neckline mistakes begin before the first seam. On woven fabric, I staystitch the neckline about 6 mm or 1/4 inch inside the seam line using a regular straight stitch, usually around 2.5 to 3 mm long. That stabilises the edge without locking it rigidly. On a V-neck, I stitch from shoulder to point, pivot, and continue to the other shoulder so the angle stays sharp instead of drifting.
On stable knits, I usually skip staystitching and let the neckband do the work, because extra stitching can fight the stretch. When I am working from a UK pattern, I check the instructions first because seam allowances vary, although 1.5 cm is common. I also mark notches, shoulder points, and the centre front or centre back before any facing or binding goes on, because those reference points matter more than most beginners realise.
- Interface the facing or binding if the fabric is soft, sheer, or bias-prone.
- Keep the visible garment edge flat while you handle it; do not let it hang over the table edge.
- For curved necklines, clip or notch only after stitching, and stop 1 to 2 mm before the seam line.
- Press pattern pieces before sewing so the edge starts true, not stretched or curled.
Once the neckline is stable and marked, the actual sewing becomes much more predictable, especially on woven garments with facings or binding.
How I finish a woven neckline cleanly
On woven garments, I usually choose between a shaped facing and bias binding. A facing gives the neatest, most tailored result; binding gives a lighter finish and is easier to use on curves or when I want a softer look.
Shaped facings for round or softly curved necklines
I sew the shoulder seams first, join the facing pieces, and press those seams open so the neckline sits flat later. Then I place the facing right sides together with the garment, stitch the neckline, trim and grade the seam allowance, and understitch the facing so it rolls to the inside rather than peeking out.
The underside of the neckline is where the real quality shows. I press the curve over a tailor’s ham, and I clip the seam allowance every 1 to 1.5 cm on gentle curves so the edge can spread. On a sharper curve, I clip more closely, but never so far that I weaken the stitching.
Bias binding for V-necks and lighter finishes
Bias binding is my choice when I want the neckline to feel less built-up. I sew the binding into a loop, pin it to the neckline right sides together, and stitch it with the pattern’s seam allowance. On a V-neck, I work slowly through the point and clip to within 1 to 2 mm of the stitch line so the point can turn cleanly without puckering.
After that, I fold the binding to the inside, press it firmly, and edge stitch or topstitch it in place, depending on the look I want. If the fabric is thin, I keep the visible stitching narrow and controlled; if it is a casual piece, a slightly wider topstitch can look intentional rather than fussy.For sleeveless garments, I often pick an all-in-one facing instead. It takes more planning, but the inside looks almost as finished as a lining, which matters on a dress or blouse where the neckline is visible when the garment moves. That clean interior is the bridge to stretch fabrics, where the rules change quite a bit.
How I handle knit necklines without distorting the edge
Knits are less forgiving than people expect. The neckline has to stretch enough to get over the head, but not so much that it turns into a wavy ring after one wear. I sew knit necklines with a neckband, not a woven facing, because the band supports the opening while still moving with the garment.
I fold the band wrong sides together, press it, sew the short ends into a loop, and press that seam open. Then I mark the quarter points on the band and the neckline so the stretch is distributed evenly; if the pattern gives notches, I trust those over my own guesses. For a self-drafted band, I usually start with a piece that is about 80 to 90% of the neckline length and test it on scrap first.
- Use a narrow zigzag, stretch stitch, or overlocker/serger so the seam can move.
- Place the neckband on the lower layer while sewing if that helps you control the curve.
- Stretch the band only enough to match the opening, not enough to reshape the neckline itself.
- Press the seam allowance toward the body and use a tailor’s ham if the curve needs help settling.
- Topstitch with a twin needle only when the fabric can handle the extra weight and you want that sporty finish.
If the knit is particularly soft or recovery is poor, I would rather use a firmer rib band or stabilise the neckline slightly than force a decorative finish that will sag later. That leads straight into the small technical details that separate a good neckline from a truly polished one.
The small techniques that make the finish look professional
The gap between “done” and “well done” is usually a handful of quiet steps. I grade bulky seams so the layers do not stack up in one hard ridge, and I press after each major stage instead of waiting until the end. A neckline that is pressed only once often looks rushed, even if the stitching itself is accurate.
Understitching is another detail I never skip when the design allows it. It keeps the facing or lining on the inside and prevents the edge from rolling to the front, which is one of the most common reasons a neckline looks homemade in a bad way rather than a good way.
- Use a tailor’s ham or rolled towel to press curves instead of flattening them on a board.
- Do not stretch the neckline while sewing, pinning, or pressing.
- Grade the seam allowances so the facing edge is slightly narrower than the garment edge.
- Reinforce V-points with precise stitching and a careful press, not with heavy topstitching.
- For a very soft fabric, baste first and check the hang before committing to the final stitch.
Once these details are in place, the neckline usually looks better from every angle, which is exactly what you want before you start checking for faults.
What I check before I cut my last thread
Before I call a neckline finished, I do one last practical check. I look for ripples, a facing that wants to creep out, a V-point that sits off centre, and any spot where the seam allowance has twisted underneath. If something looks wrong now, it will look more obvious after the garment has been worn and laundered a few times.
| What I see | Usually means | I fix it by |
|---|---|---|
| Front neckline gaps away from the body | The curve is too shallow or the opening is too large | Adding shaping, checking pattern size, or choosing a firmer finish next time |
| Wavy or stretched edge | The fabric was pulled while stitching or pressing | Re-staying the neckline, easing the band more carefully, and using less handling |
| Facing shows on the outside | It was not understitched or pressed firmly enough | Understitching, pressing over a ham, and grading the seam allowance |
| V-neck point looks blunt | The clip did not reach close enough to the stitch line | Reworking the point and stitching more precisely at the angle |
| Neckband twists | Quarter points were uneven or the band was stretched too much | Re-marking the quarters and easing the stretch more evenly |
The simplest rule I follow is this: choose structure for woven fabric, choose stretch for knits, and never skip the prep that keeps the edge from changing shape. That is the practical side of neckline sewing, and it is the part that makes a garment look finished rather than merely assembled.
